Help! I've Used Mohair for Warp!
We’ve all put a warp on our loom and regretted it later. Sometimes we even know ahead of time that it isn’t a good idea and we do it any way! And if you’re like me, when it comes off the loom and is so beautiful and soft and cuddly and you just love it so much, you promptly forget how terrible it was to weave and you actually choose to do it all over again!

Today we’re going to look at mohair. Specifically the really fuzzy mohair. You definitely need the right mindset to weave with this as warp. Usually I limit myself to using this as weft, but occasionally I have a moment of weakness and think “how bad can it be?” I assure you, it can be bad, but I’ve put together a list that will hopefully make it easier for you.
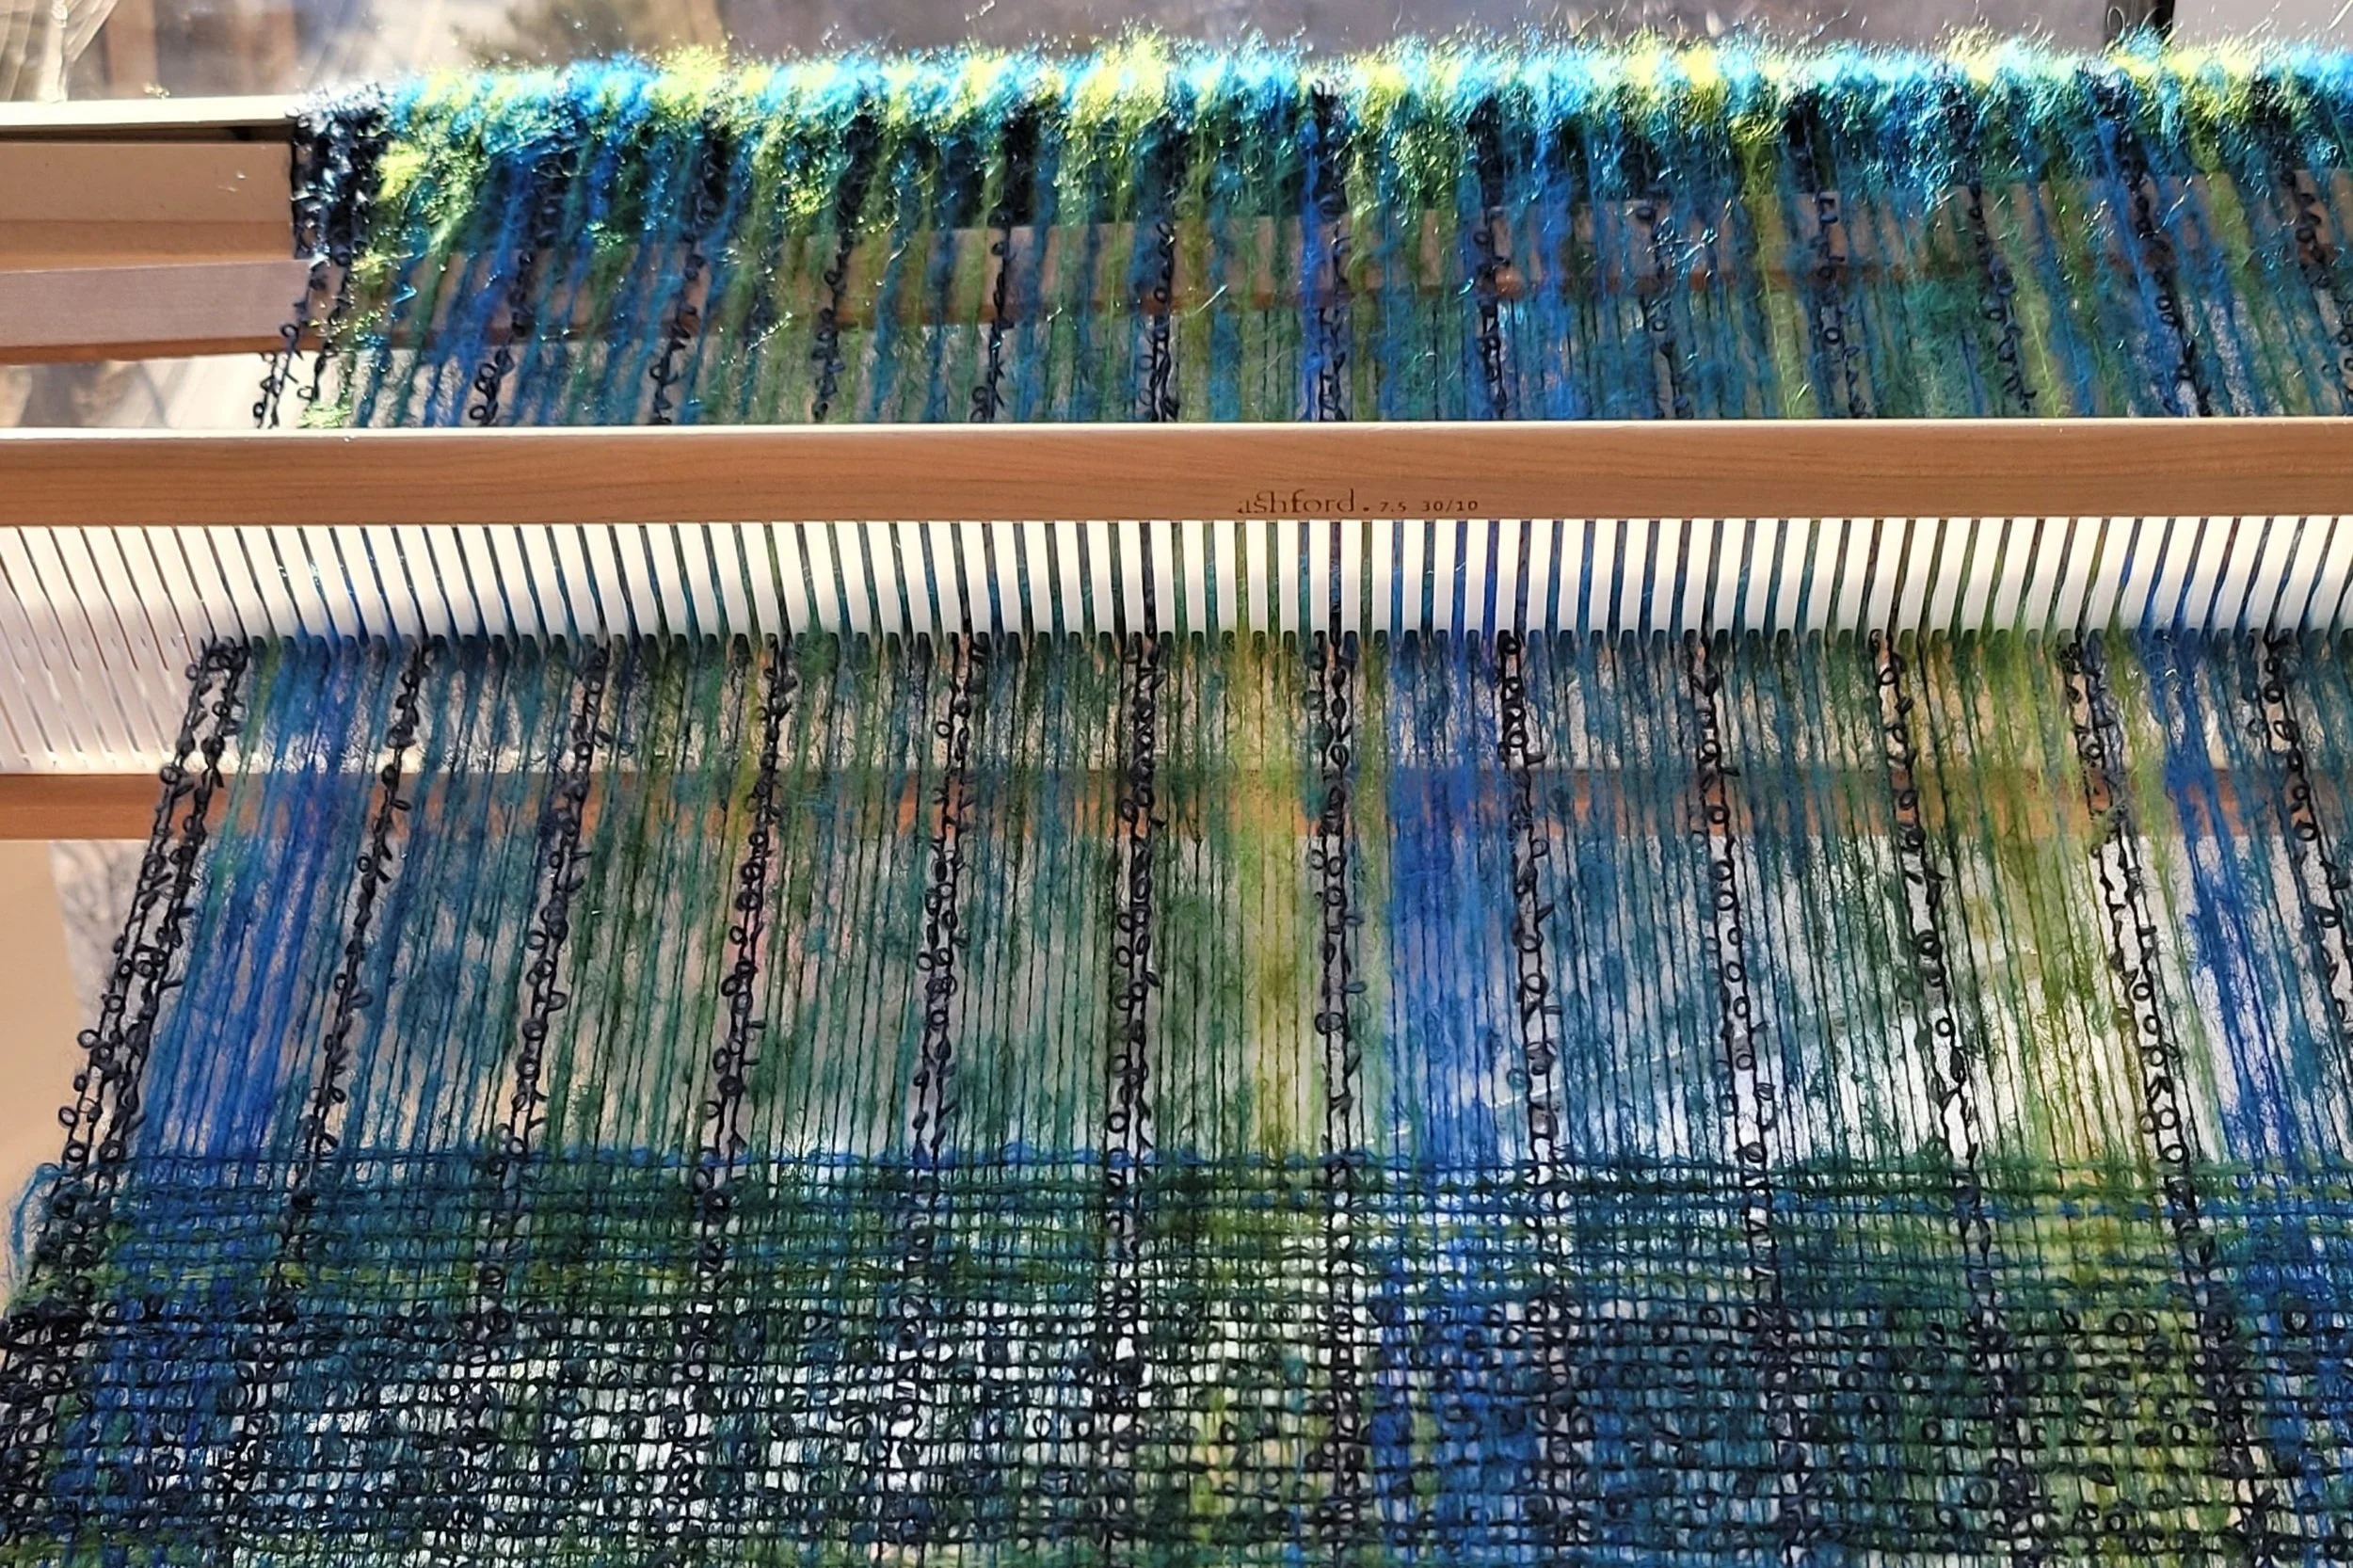
First, use a bigger reed than you think. Remember all that fluff is going to spread. And the fluff will hold everything together, so if the work looks you’re weaving a window screen, it’s ok! Second, prepare yourself mentally. This will be a slow weave. You will need to clear sheds, maybe every single one. Keep the finished project in mind. Have a good audio book downloaded, or a podcast or a binge-worthy show ready to go! I also have a nice cup of tea. (But I always have a nice cup of tea!)
Ok, the mind is ready, let’s look at the actual weaving! Here are my tips to help you survive and thrive!
1. Insert a shuttle or pick-up stick in the down-shed behind the heddle and push it to the back. That will clear your down-shed...just slide it forward on edge each down-shed or as needed. Make sure that it is longer than the width of your project.
2. Keep your tension high. I always have a high tension, but this is especially important with a fuzzy or sticky warp. Mohair is strong, it is not going to break under tension. (If you need a reminder of this, try breaking it with your hands…can’t be done without leaving deep, painful, grooves!)
3. When moving from the down-shed to the up-shed, pull the heddle slightly higher than usual to help clear things out. I actually lift the heddle so that the reed is completely above the heddle block, then lower it in to the block. You will probably still need to clear the shed some.
4. The fuzz builds up behind the heddle...this binds the warp ends together. Regularly clean out that fuzz! I wish had taken a picture of this…the fuzz is amazing, both behind the reed and under the loom. There is so much fuzz that you might consider masking up.
5. Send the shuttle through the shed close to the reed. When the shuttle is fully inserted into the shed, flip it on edge to check you have gone under every end and have no floats. Then, while the shuttle is still in the shed, slide it down to the weaving (the fell line). This makes sure the ends are all separated and will make it easier to bring the reed forward.
6. Finally, don't try to unweave! Fix any floats after the work is off the loom!!
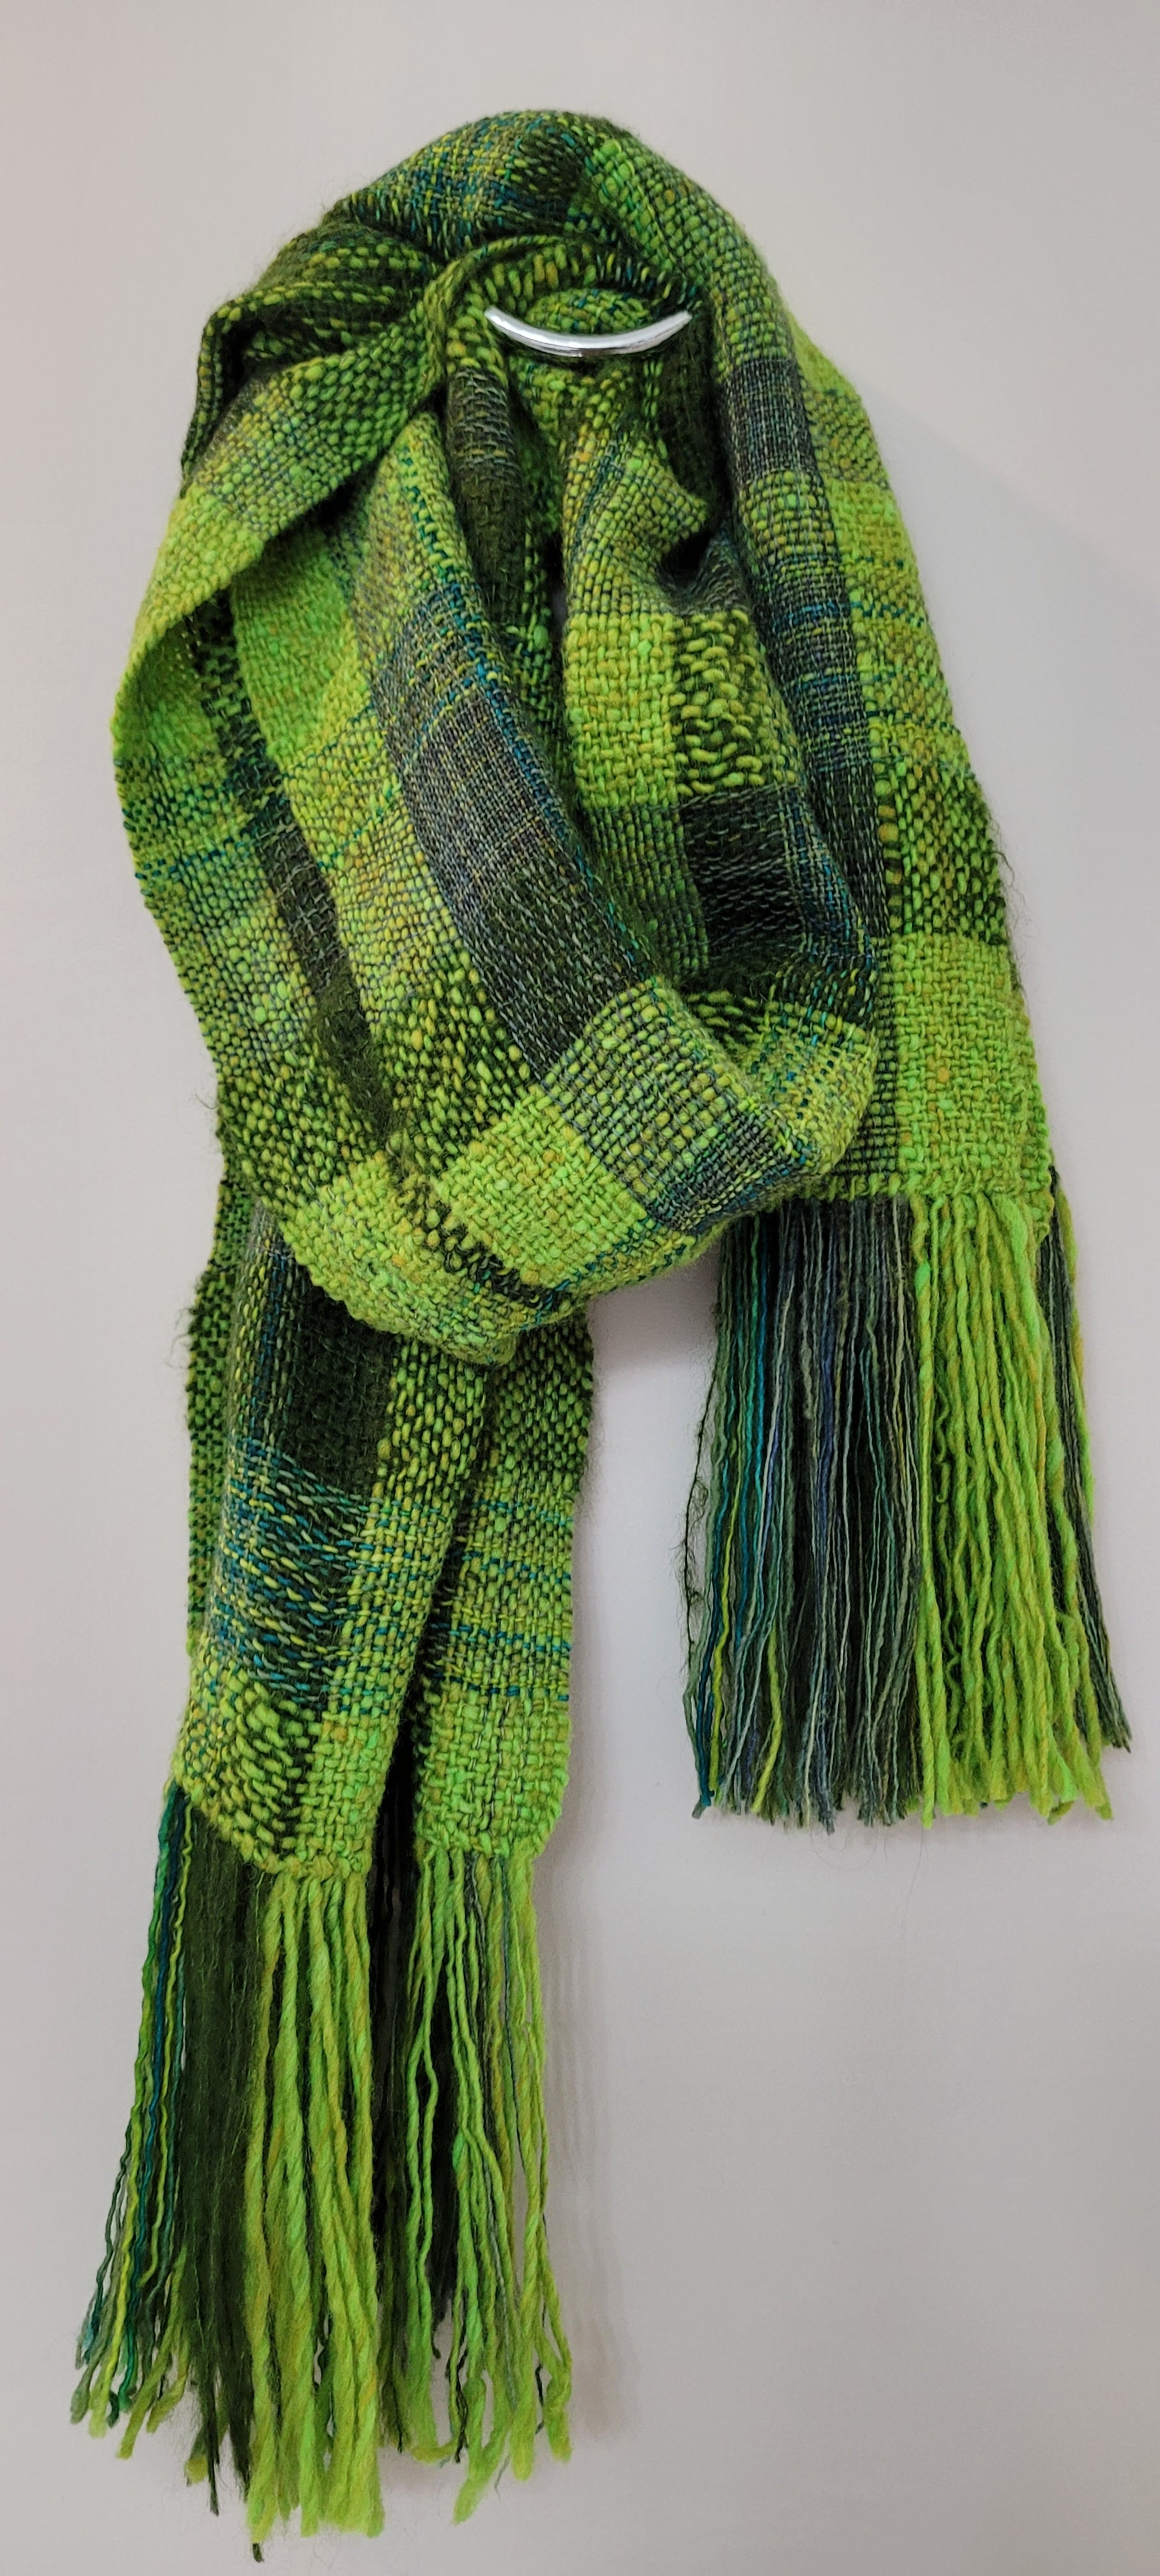
Of course, these tips will work with any sticky warp, not just mohair, so, now that you know how to weave a sticky warp, it’s time to put the knowledge into action. Go see what’s in your stash and put it on your loom! A single skein of hand-dyed mohair with a lace-weight weft is beautiful! (picture 1 below). Need some inspiration? Try these: Saori-Style Scarf or Lighter Than Air. I promise that they won’t be terrible to weave, but these tips may come in handy!