
Warp Speed Ahead! An Introduction to Warping Your Rigid Heddle
If you follow me on social media you will know that I recently had a warping disaster. Far too much cotton ended up in my garbage and my husband had to refrain from comments like, “I slid your loom over a bit to the left, hope that’s ok”. (Seriously, he thinks that’s funny!) Anyway, it led me to think a little more about warping and why I wanted to learn how to indirect warp. So, today, we’re going to look at different ways to warp your loom and why you might choose one way over another. I’m not going to go into all the details (we’ll do that over a few posts), but I’ll look at some pros and cons.
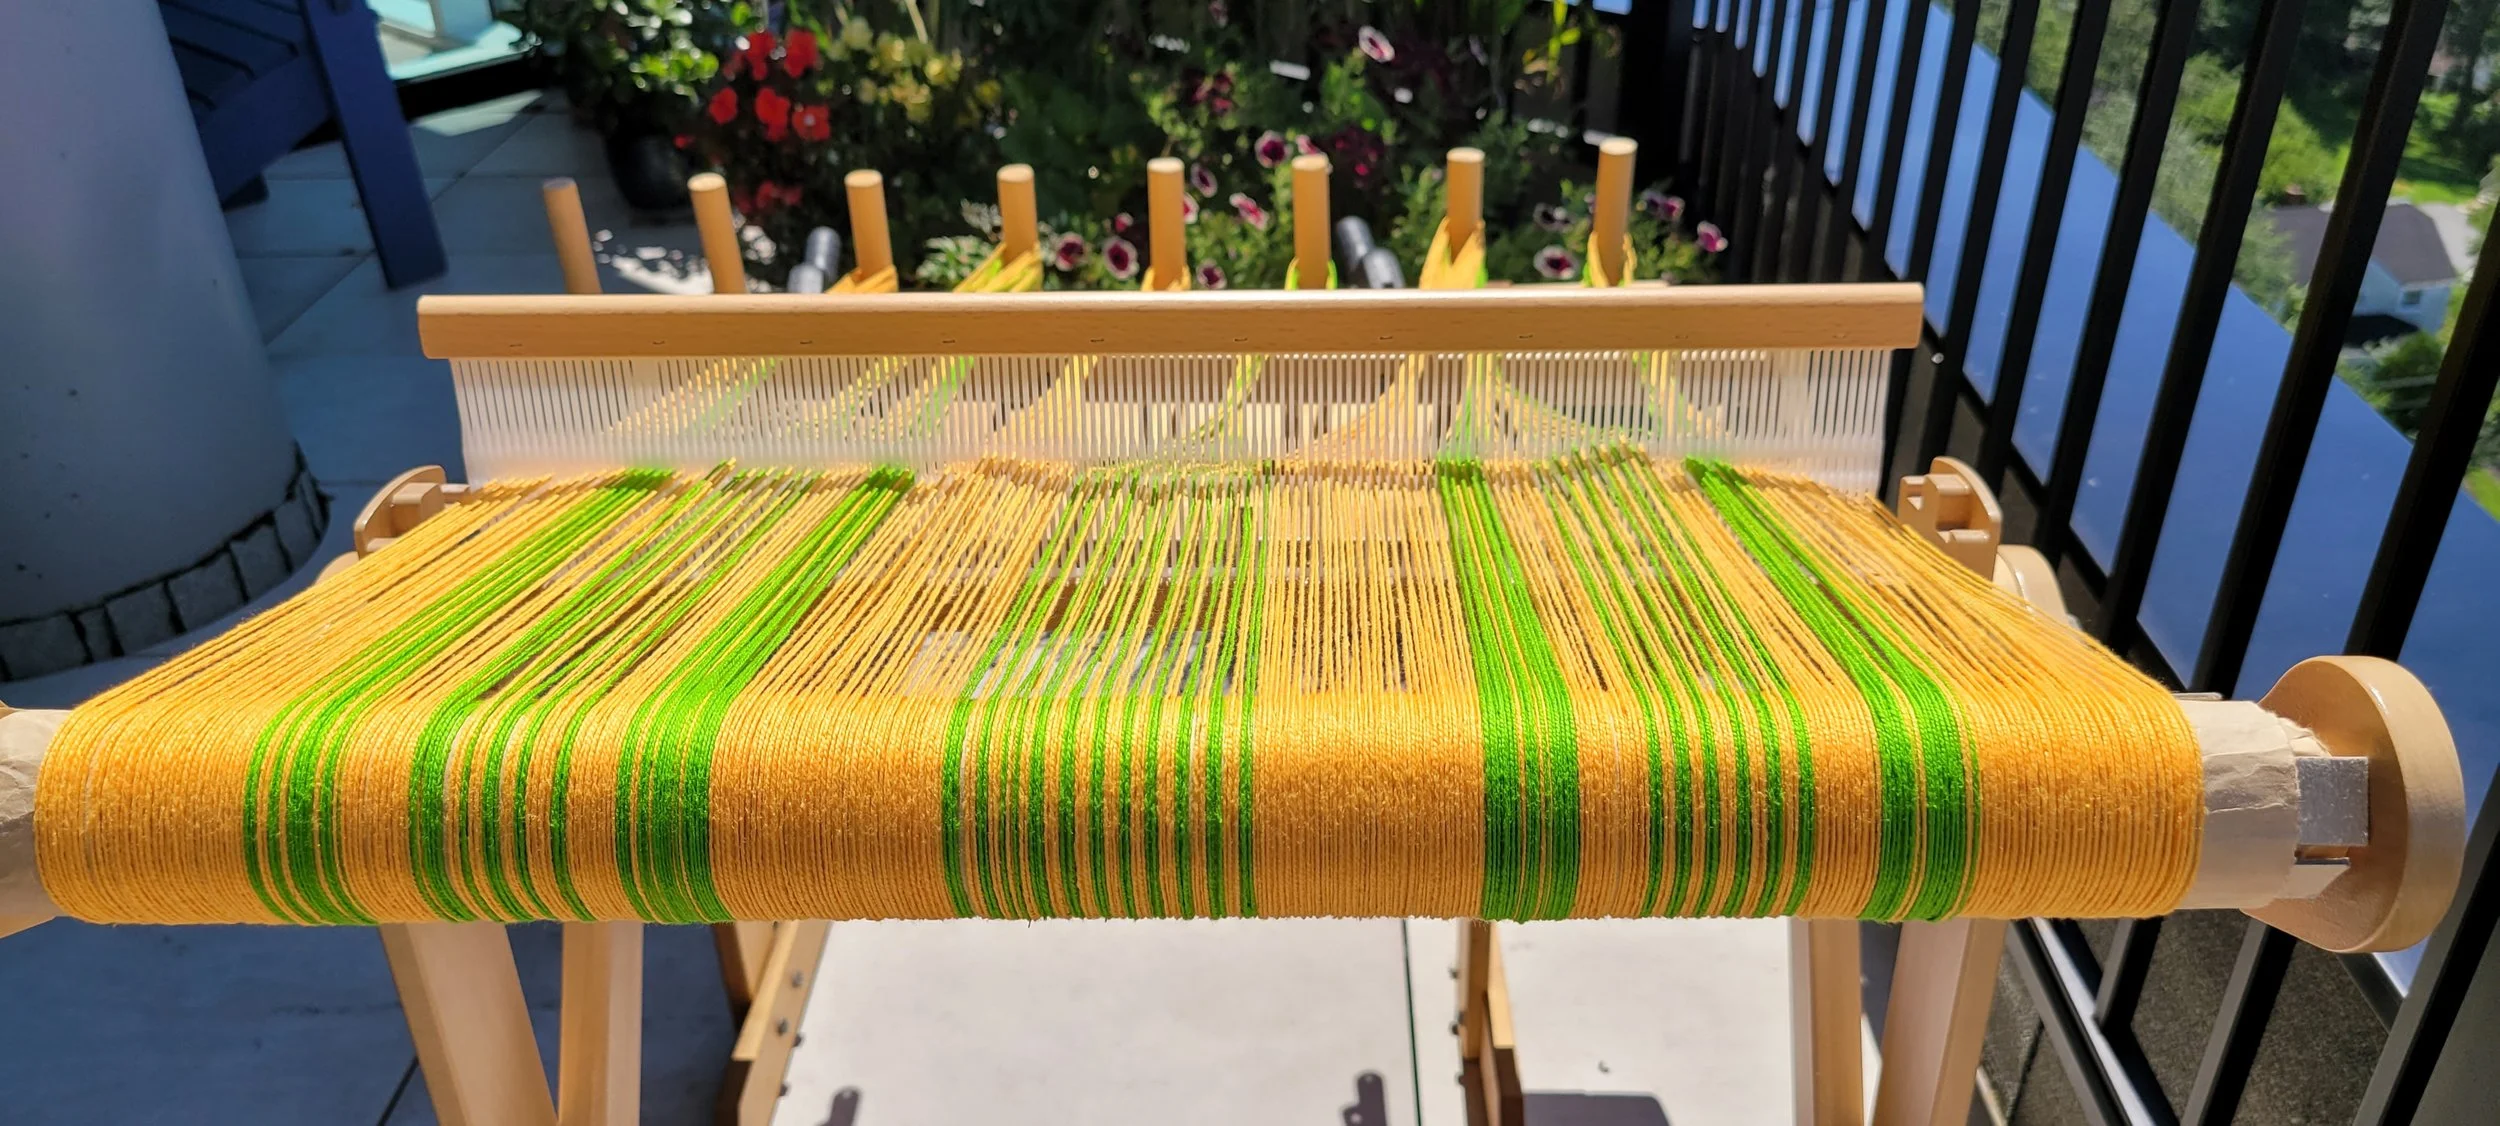
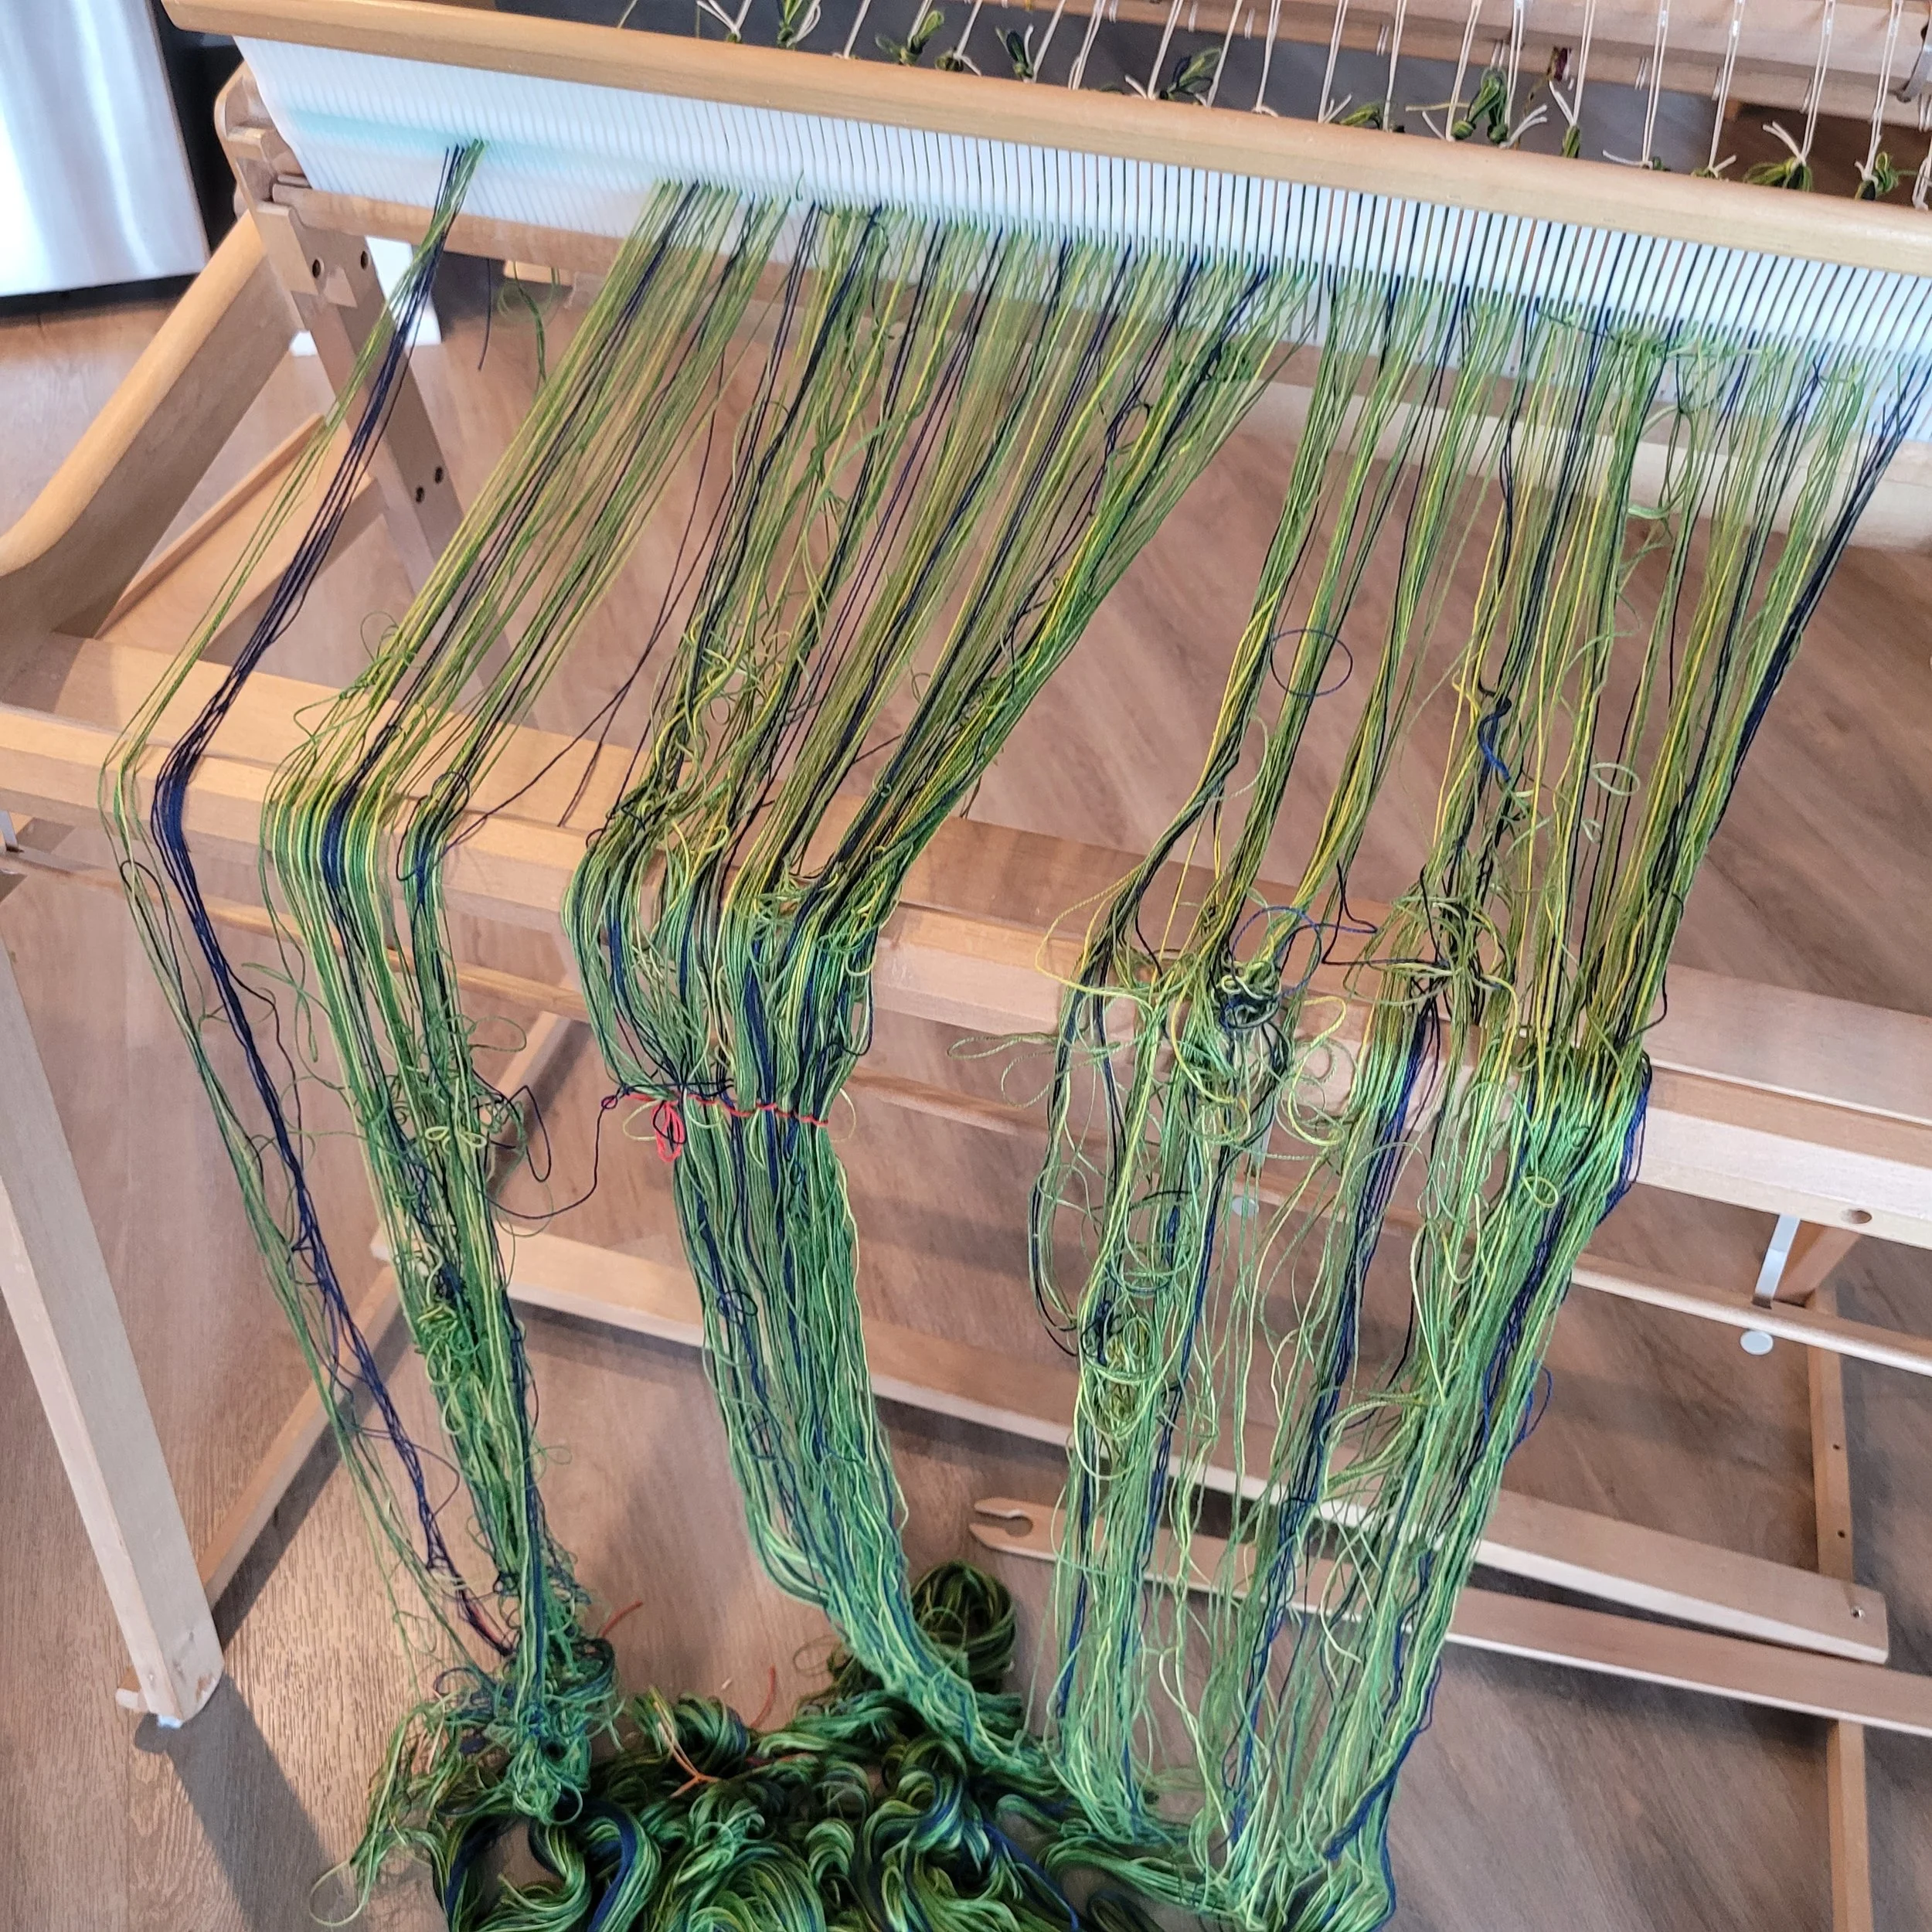
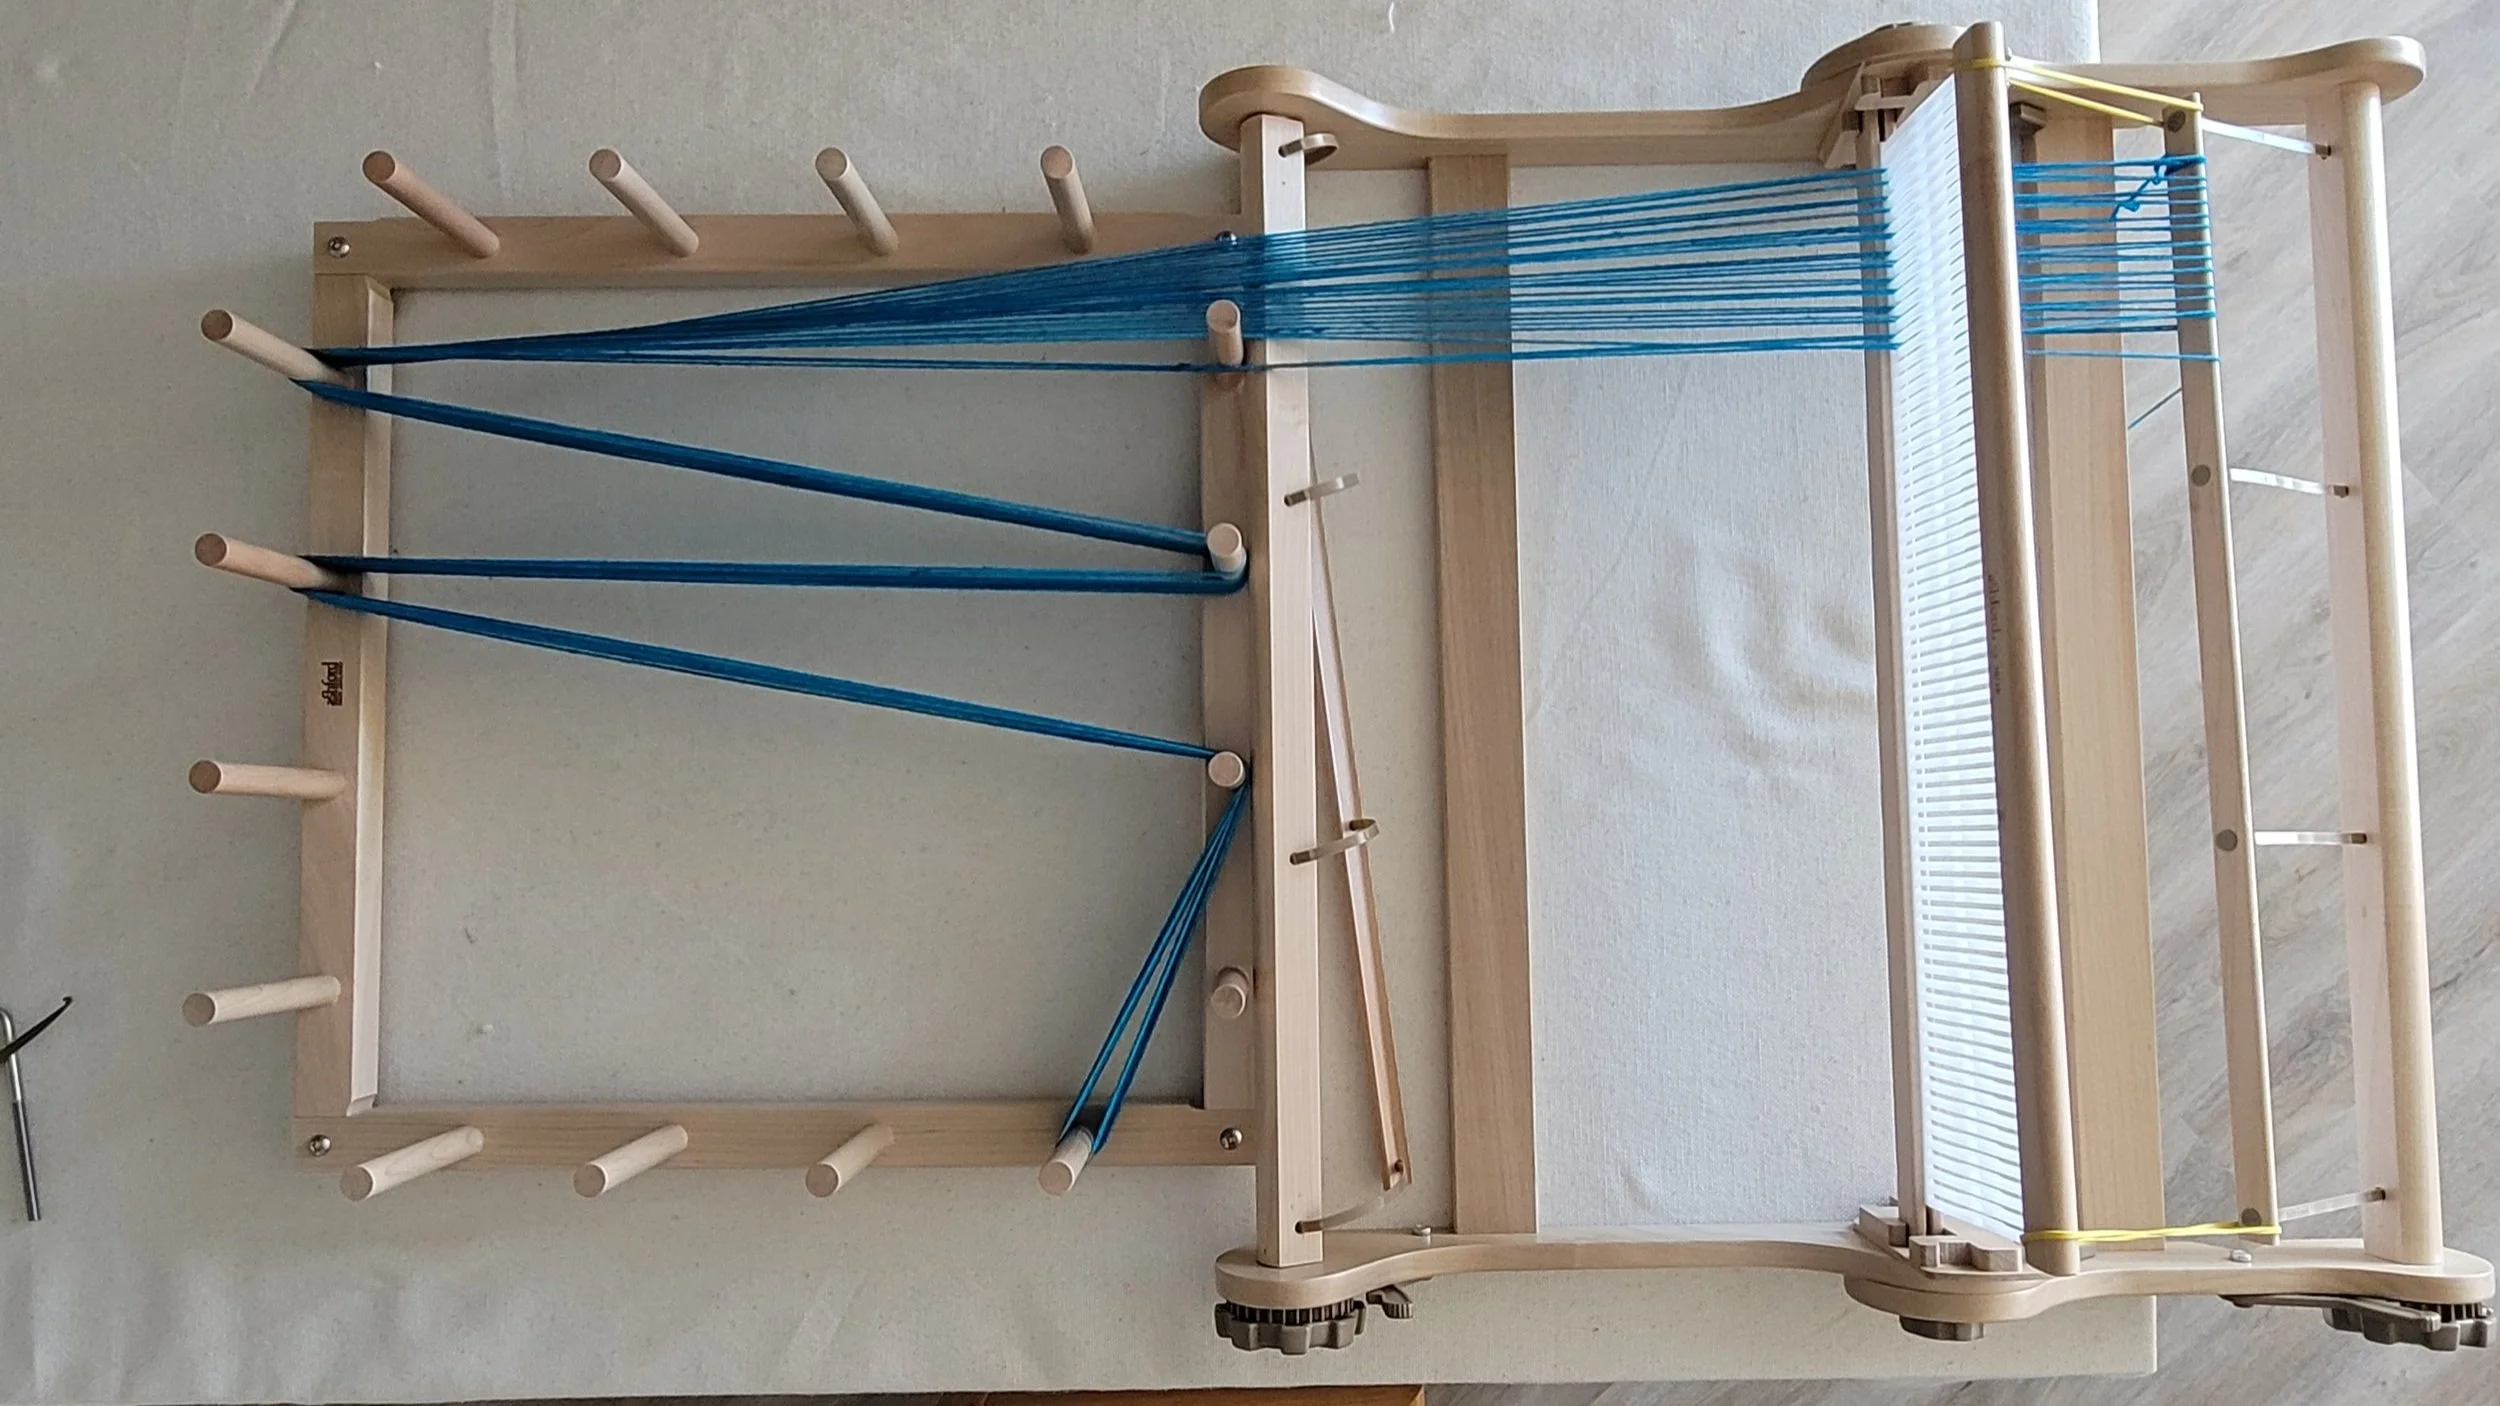
Let’s start with direct warping. In my opinion, this is where the rigid heddle shines! All you need is a loom, a peg and space. I have a stand. (By the way, I recommend a stand for everyone…it makes your warping life a breeze! Definitely worth sacrificing some yarn to purchase a stand.) Simply plunk your loom where you want it, fasten a peg or pegs to a dresser, stool, chair, counter, and warp. So simple! It’s fast, easy and if the warp is long enough you get to count a lot of steps! Plus, it’s portable, you can warp anywhere there is space! (I love warping on my balcony in the summer.) But it’s not for everyone. It’s easy for partners, children or pets to accidently knock the loom. Not everyone has a space long enough. If you need to leave mid-warp it might be challenging for others that live in your home. This isn’t great for people who have mobility issues either. I did once try to warp while sitting in an office chair and trying to scoot myself back and forth without standing up. It didn’t work, but that might be because I’m short and my feet didn’t sit comfortably on the floor: I have heard of people doing this successfully.
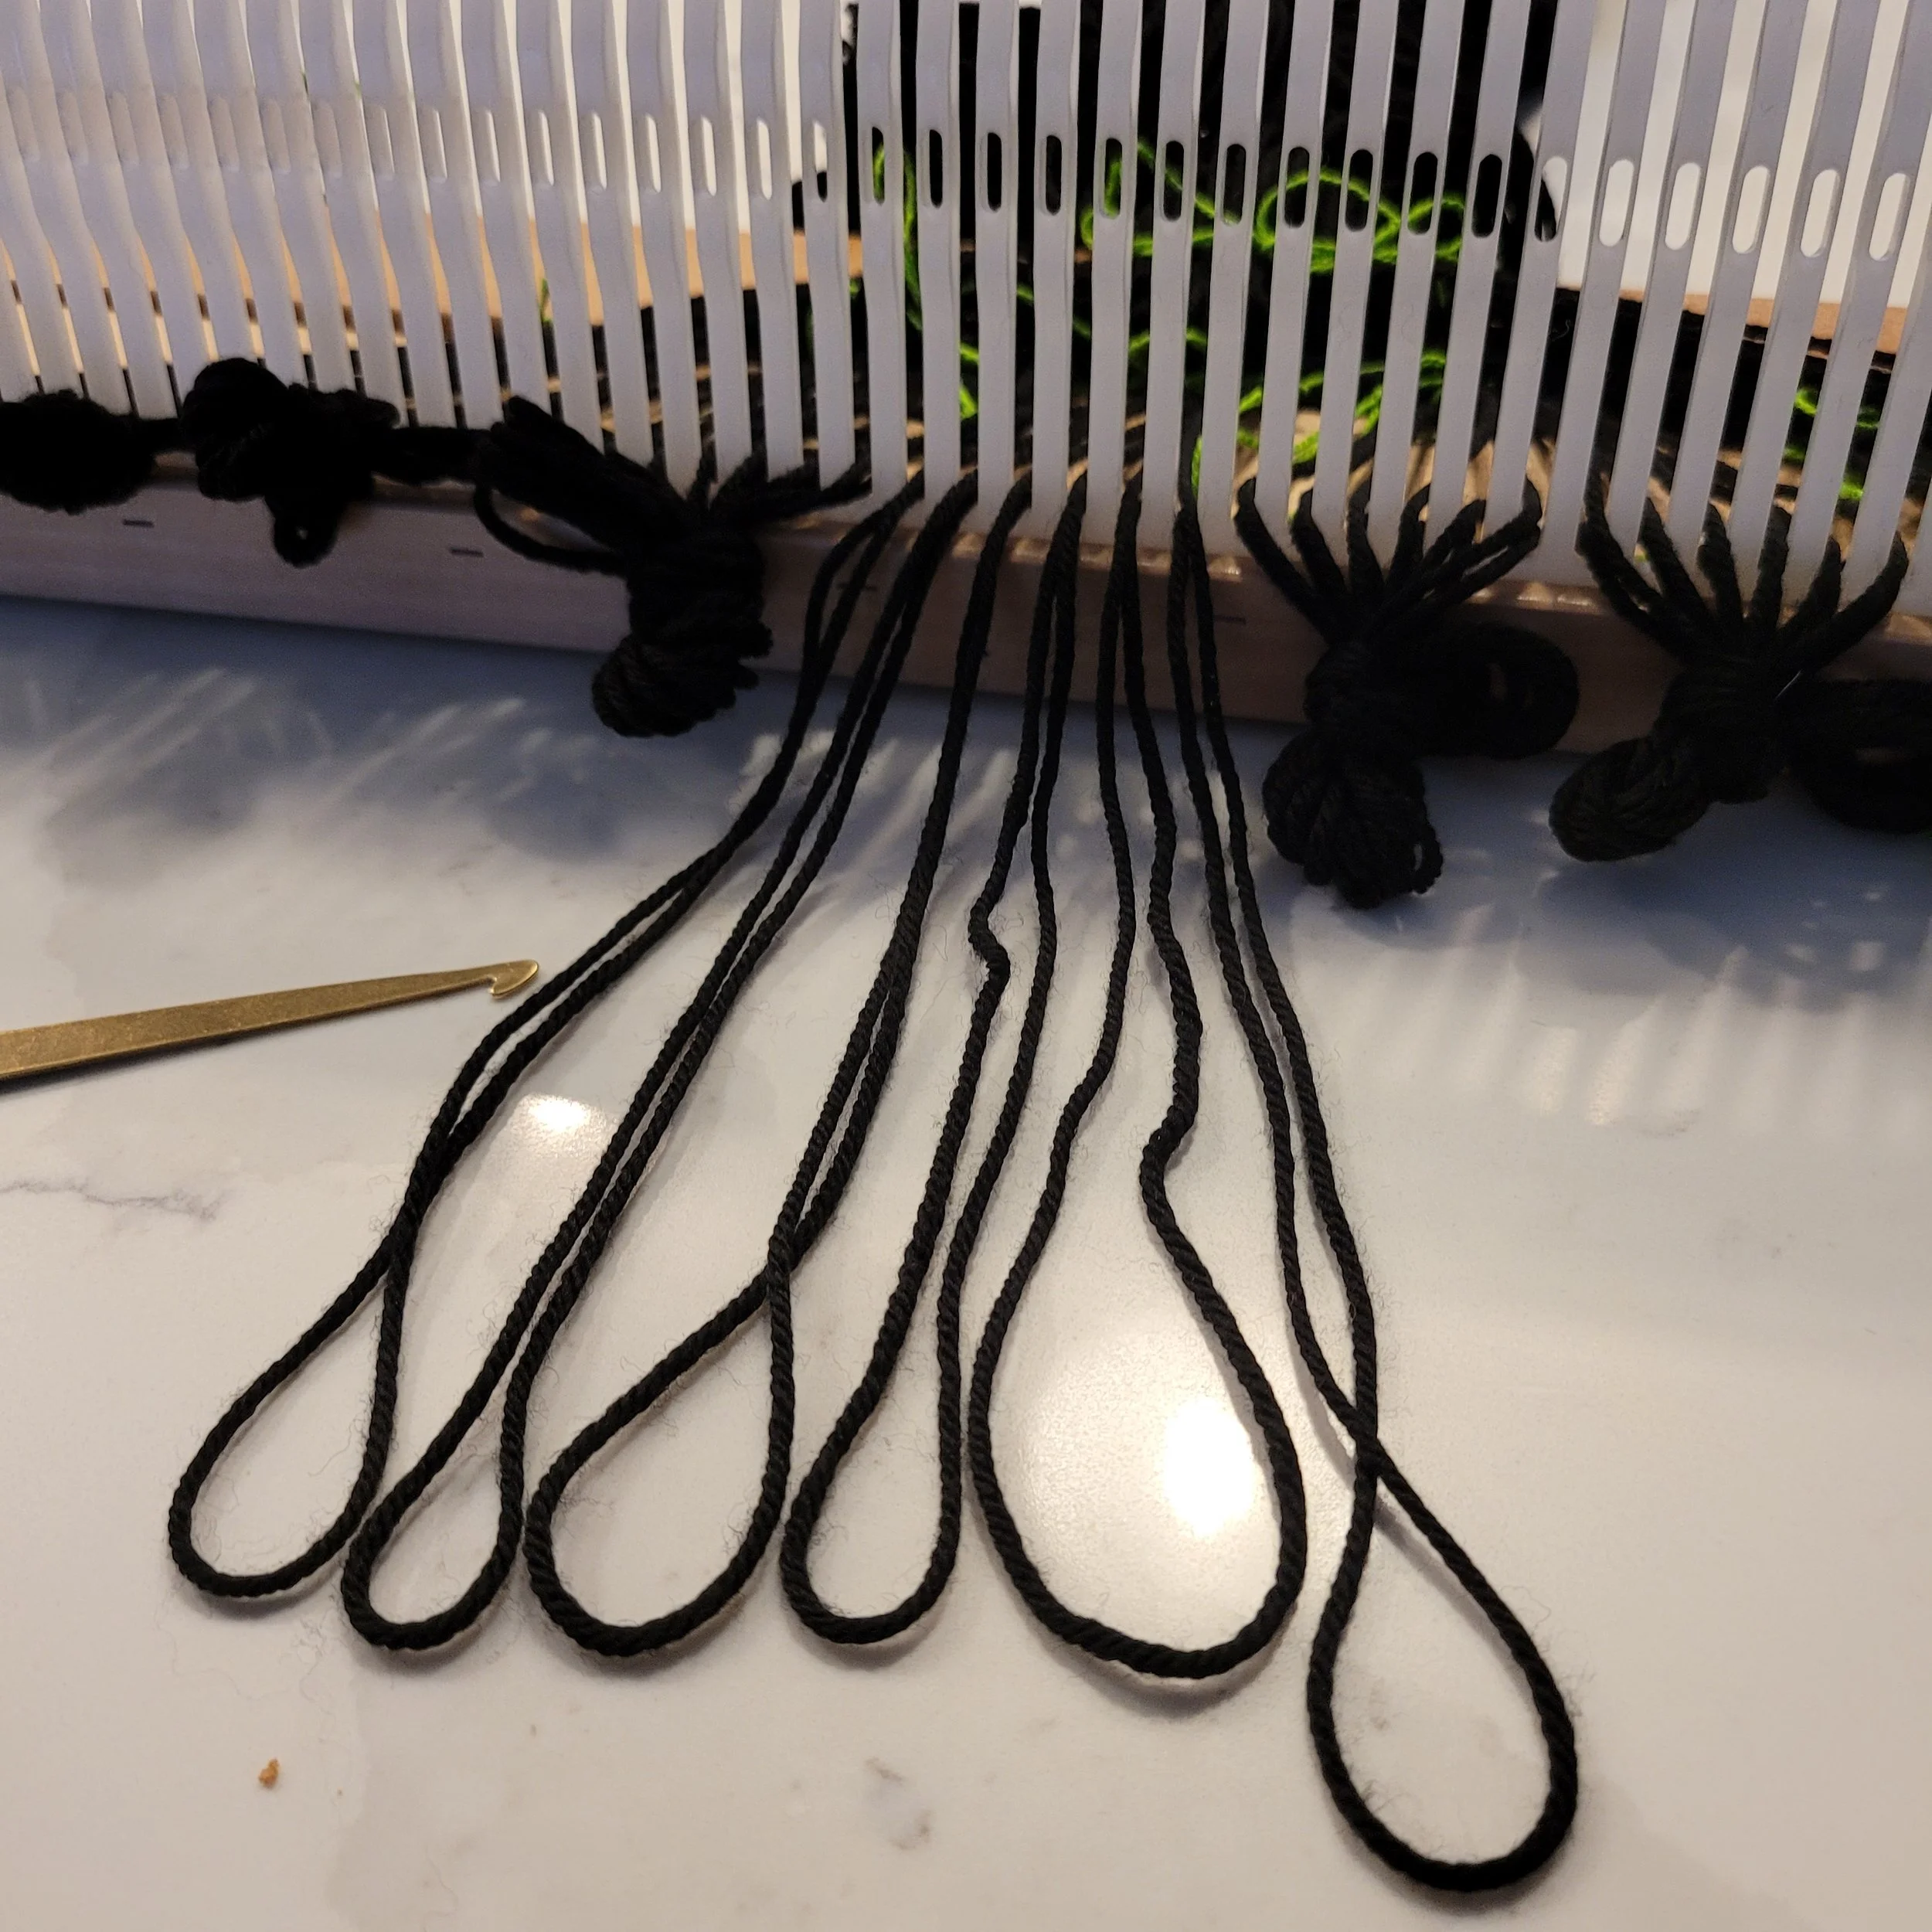
Next let’s look at indirect warping. Indirect warping means that you wind a warp separately from your loom. You then bring the warp to your loom and wind it on. You will need a warping board, and a place to hang it or lay it while warping. The newer Ashford looms have a built-in warping board but you will need to buy the pegs separately. If you aren’t sure if your loom has one, flip it over…if you have a built-in warping board, the underside of your loom will have holes for pegs to fit in. As you wind the warp, you need to create a cross and maintain that cross until the warp is threaded into the heddle. After threading the heddle, the warp needs to be attached to the back beam, then wound on. Compared to direct warping there are a lot of extra steps, and extra steps means more chances to make mistakes. On the flip side, you don’t need a lot of space and if you need to leave mid-warp, it’s easy to tuck away until later. I also know some people who wind multiple warps at a time. This is great if you want to travel…pre-wind warps, pack them in your suitcase and weave all vacation!
My personal experiences with indirect warping are very…mixed. I’ve had great success, reasonable success and one horrible mess. My suggestion is to try smaller warps with heavier yarns until you are confident. And then maybe a few more, just to be sure! Then maybe try a towel. If you have a friend who is experienced invite them to help. On the other hand, if you are a proficient floor loom warper, you will have no trouble with this…warp speed ahead!
Finally, you can combine the two methods, also known as hybrid warping. You will need a warping board (the one built into your loom won’t work unless you are using two looms). Place the warping board at the front of your loom and clamp it down. You will want the loom and board at the same level, so you may need to remove the loom from its stand. Warp the loom as usual, but instead of walking the yarn to the peg, wrap it around the pegs on the warping board to get the desired length. This is the best of both worlds. I have warped and wound without ever standing up (I wanted to see if it was possible). This takes up less space than direct warping, works for those with mobility issues, is easy to set aside if for some reason you cannot complete your warp all at once, and has fewer steps than indirect warping.
So there, a very brief overview of the three ways to warp your rigid heddle. I haven’t gone into method or detail, I’ll save that for future posts. As for my opinion? I love direct warping. If I didn’t teach, I would never warp any other way, but since I teach and I want to make sure that weaving is as accessible as possible to every person, I think it is important for me to learn all the ways so I can pass useful information on to you, the weavers!
Here’s a few fun facts and just general information about me and warping:
I use an Ashford 14’ warping board for hybrid and indirect warping. I kinda wish I bought the larger size.
I attached my warping board to my window with suction cups to wind my warp. I was afraid they would not hold, but it was fabulous. My board was at just the right height and firmly planted. Far better than anything else I have tried! (I used 3 suction cups.)
It took me 5 hours to ruin my tea towel warp with indirect warping. That was winding the warp, taking it to the loom, threading the heddle (badly) and deciding it was beyond redemption. It took me slightly more than an hour (like an hour and 10 minutes or so) to direct warp the same pattern, and wind it onto the back beam and tie onto the front warping stick. That included a brief break when my husband came home, taking pictures and notes for a new pattern and responding to a few text messages.
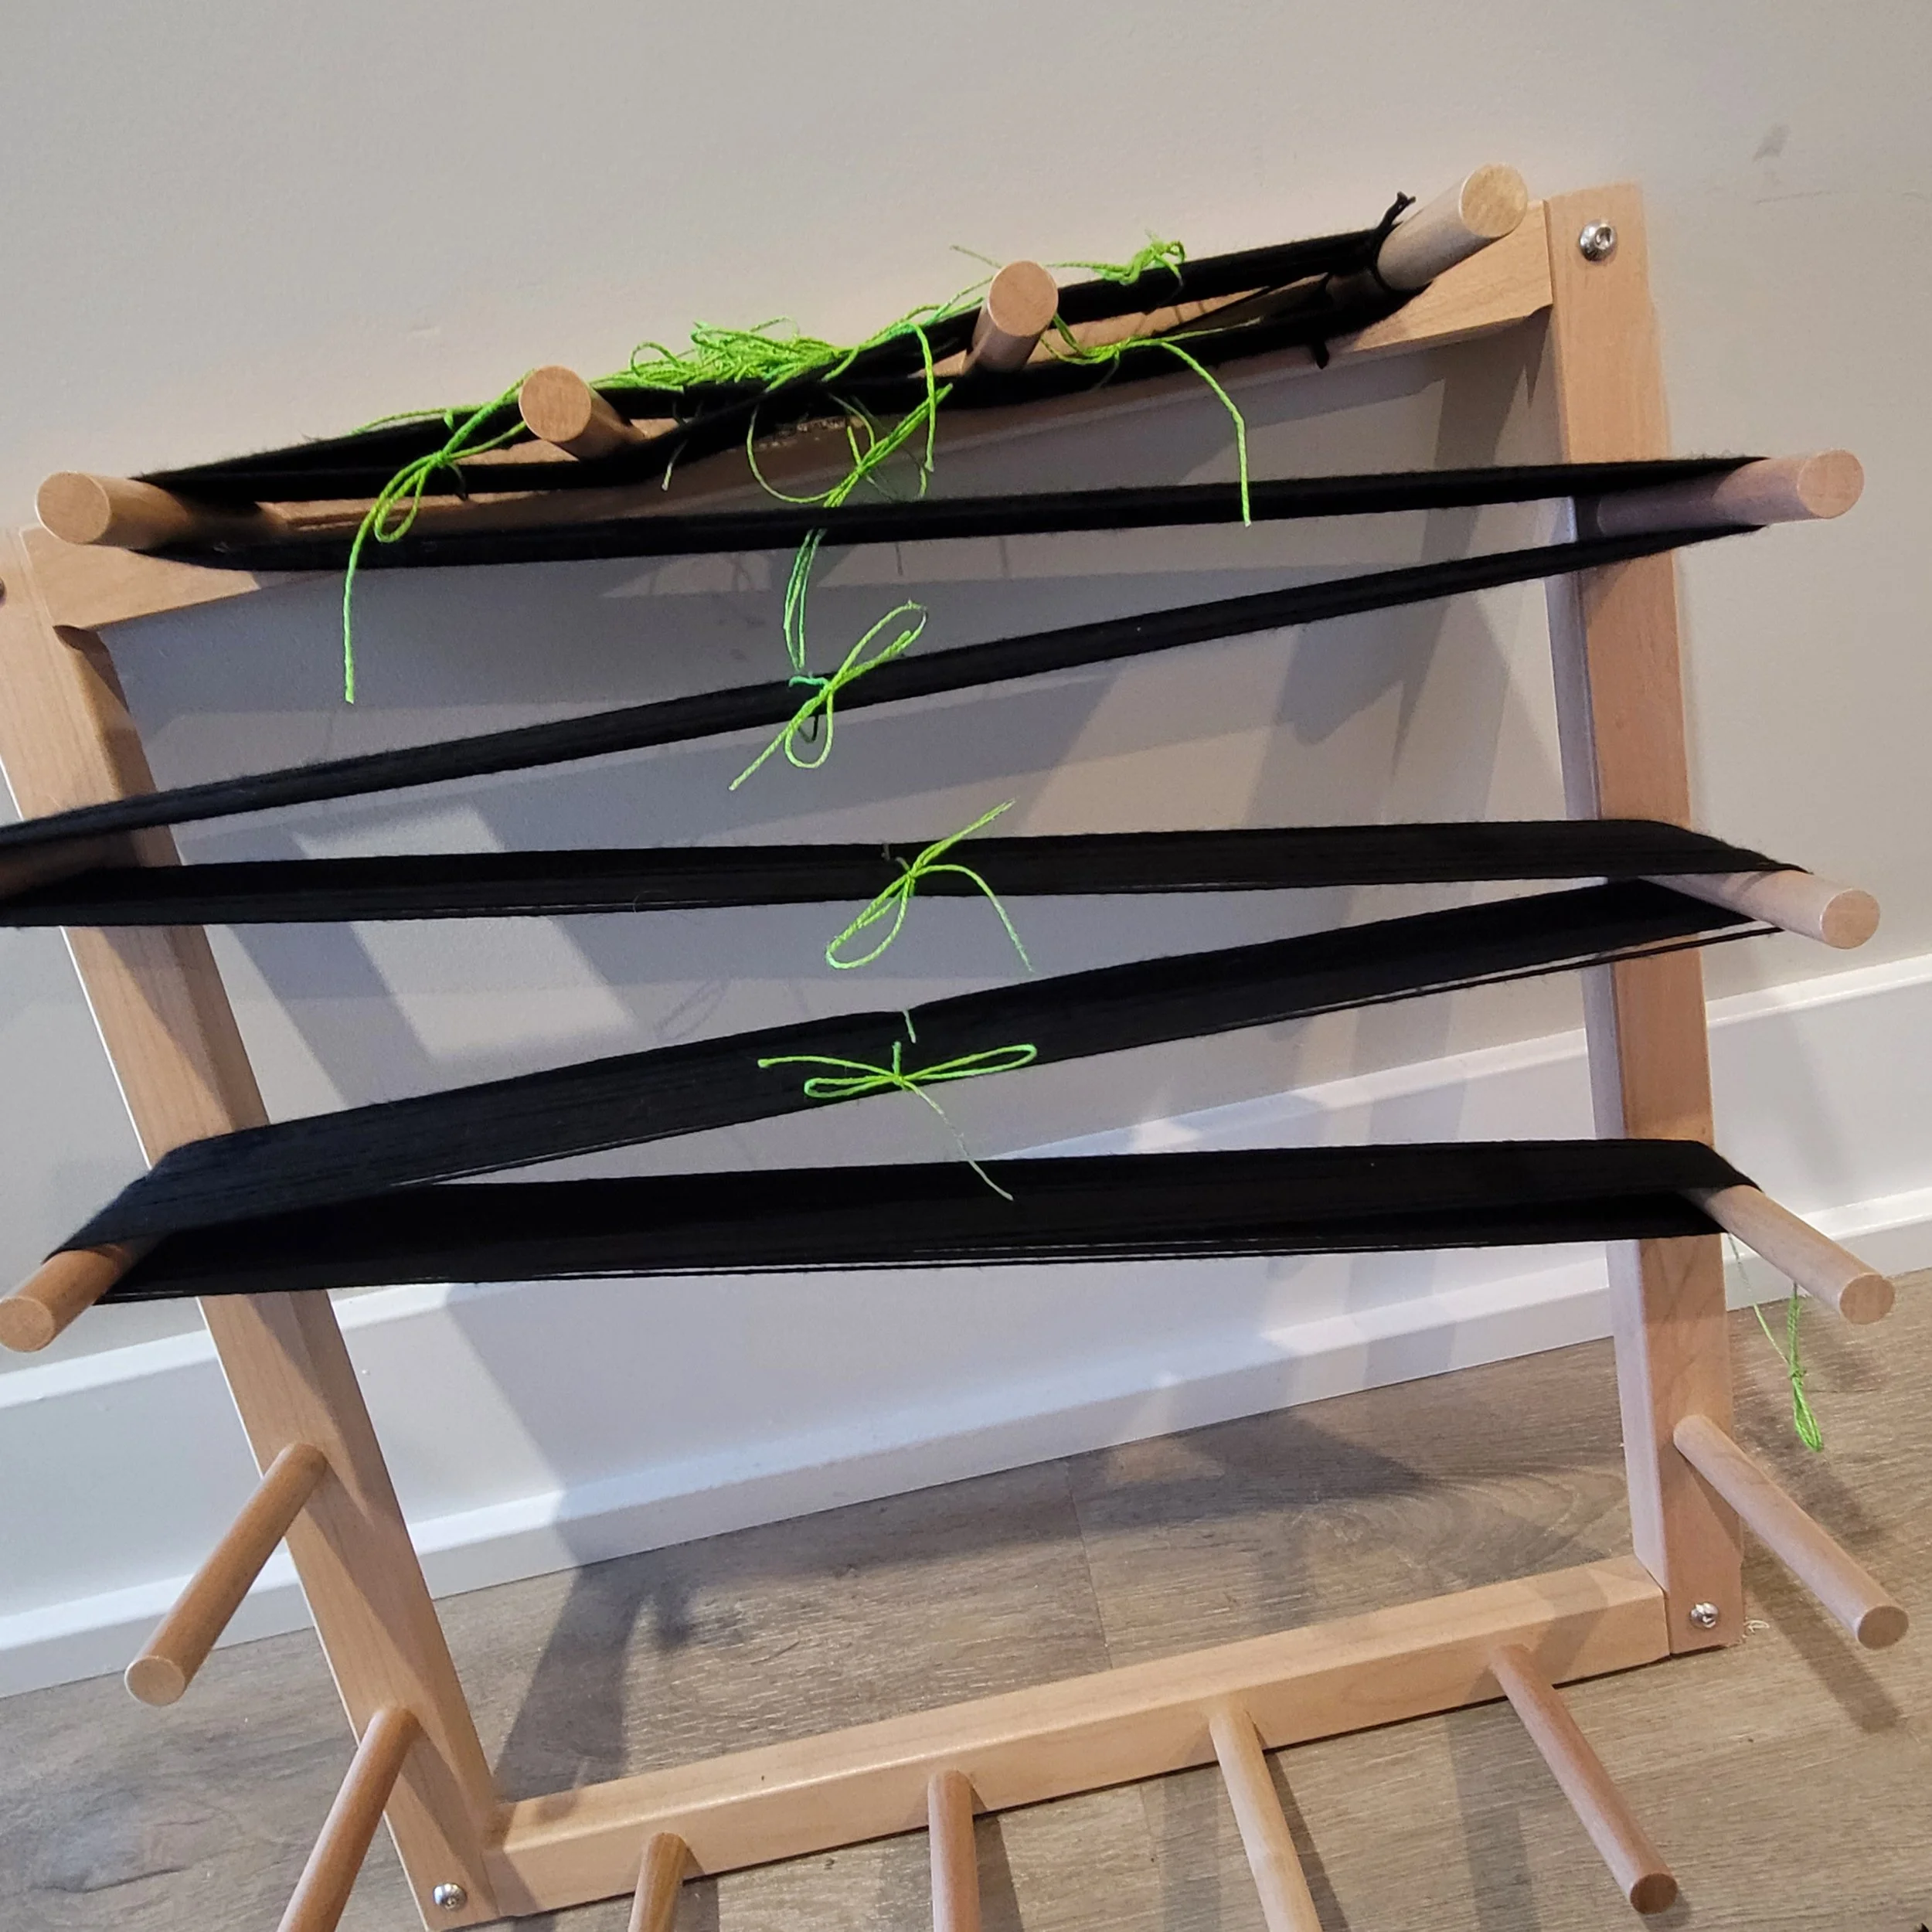
I have a floor loom and warp it sectionally, which I love. (If you have a floor loom, get a sectional beam, it is life-changing!!!) My first floor loom did not have a sectional beam, I have never had a smooth transition from warping board to loom. I think I need a class!