
Why is my Weaving Crooked?
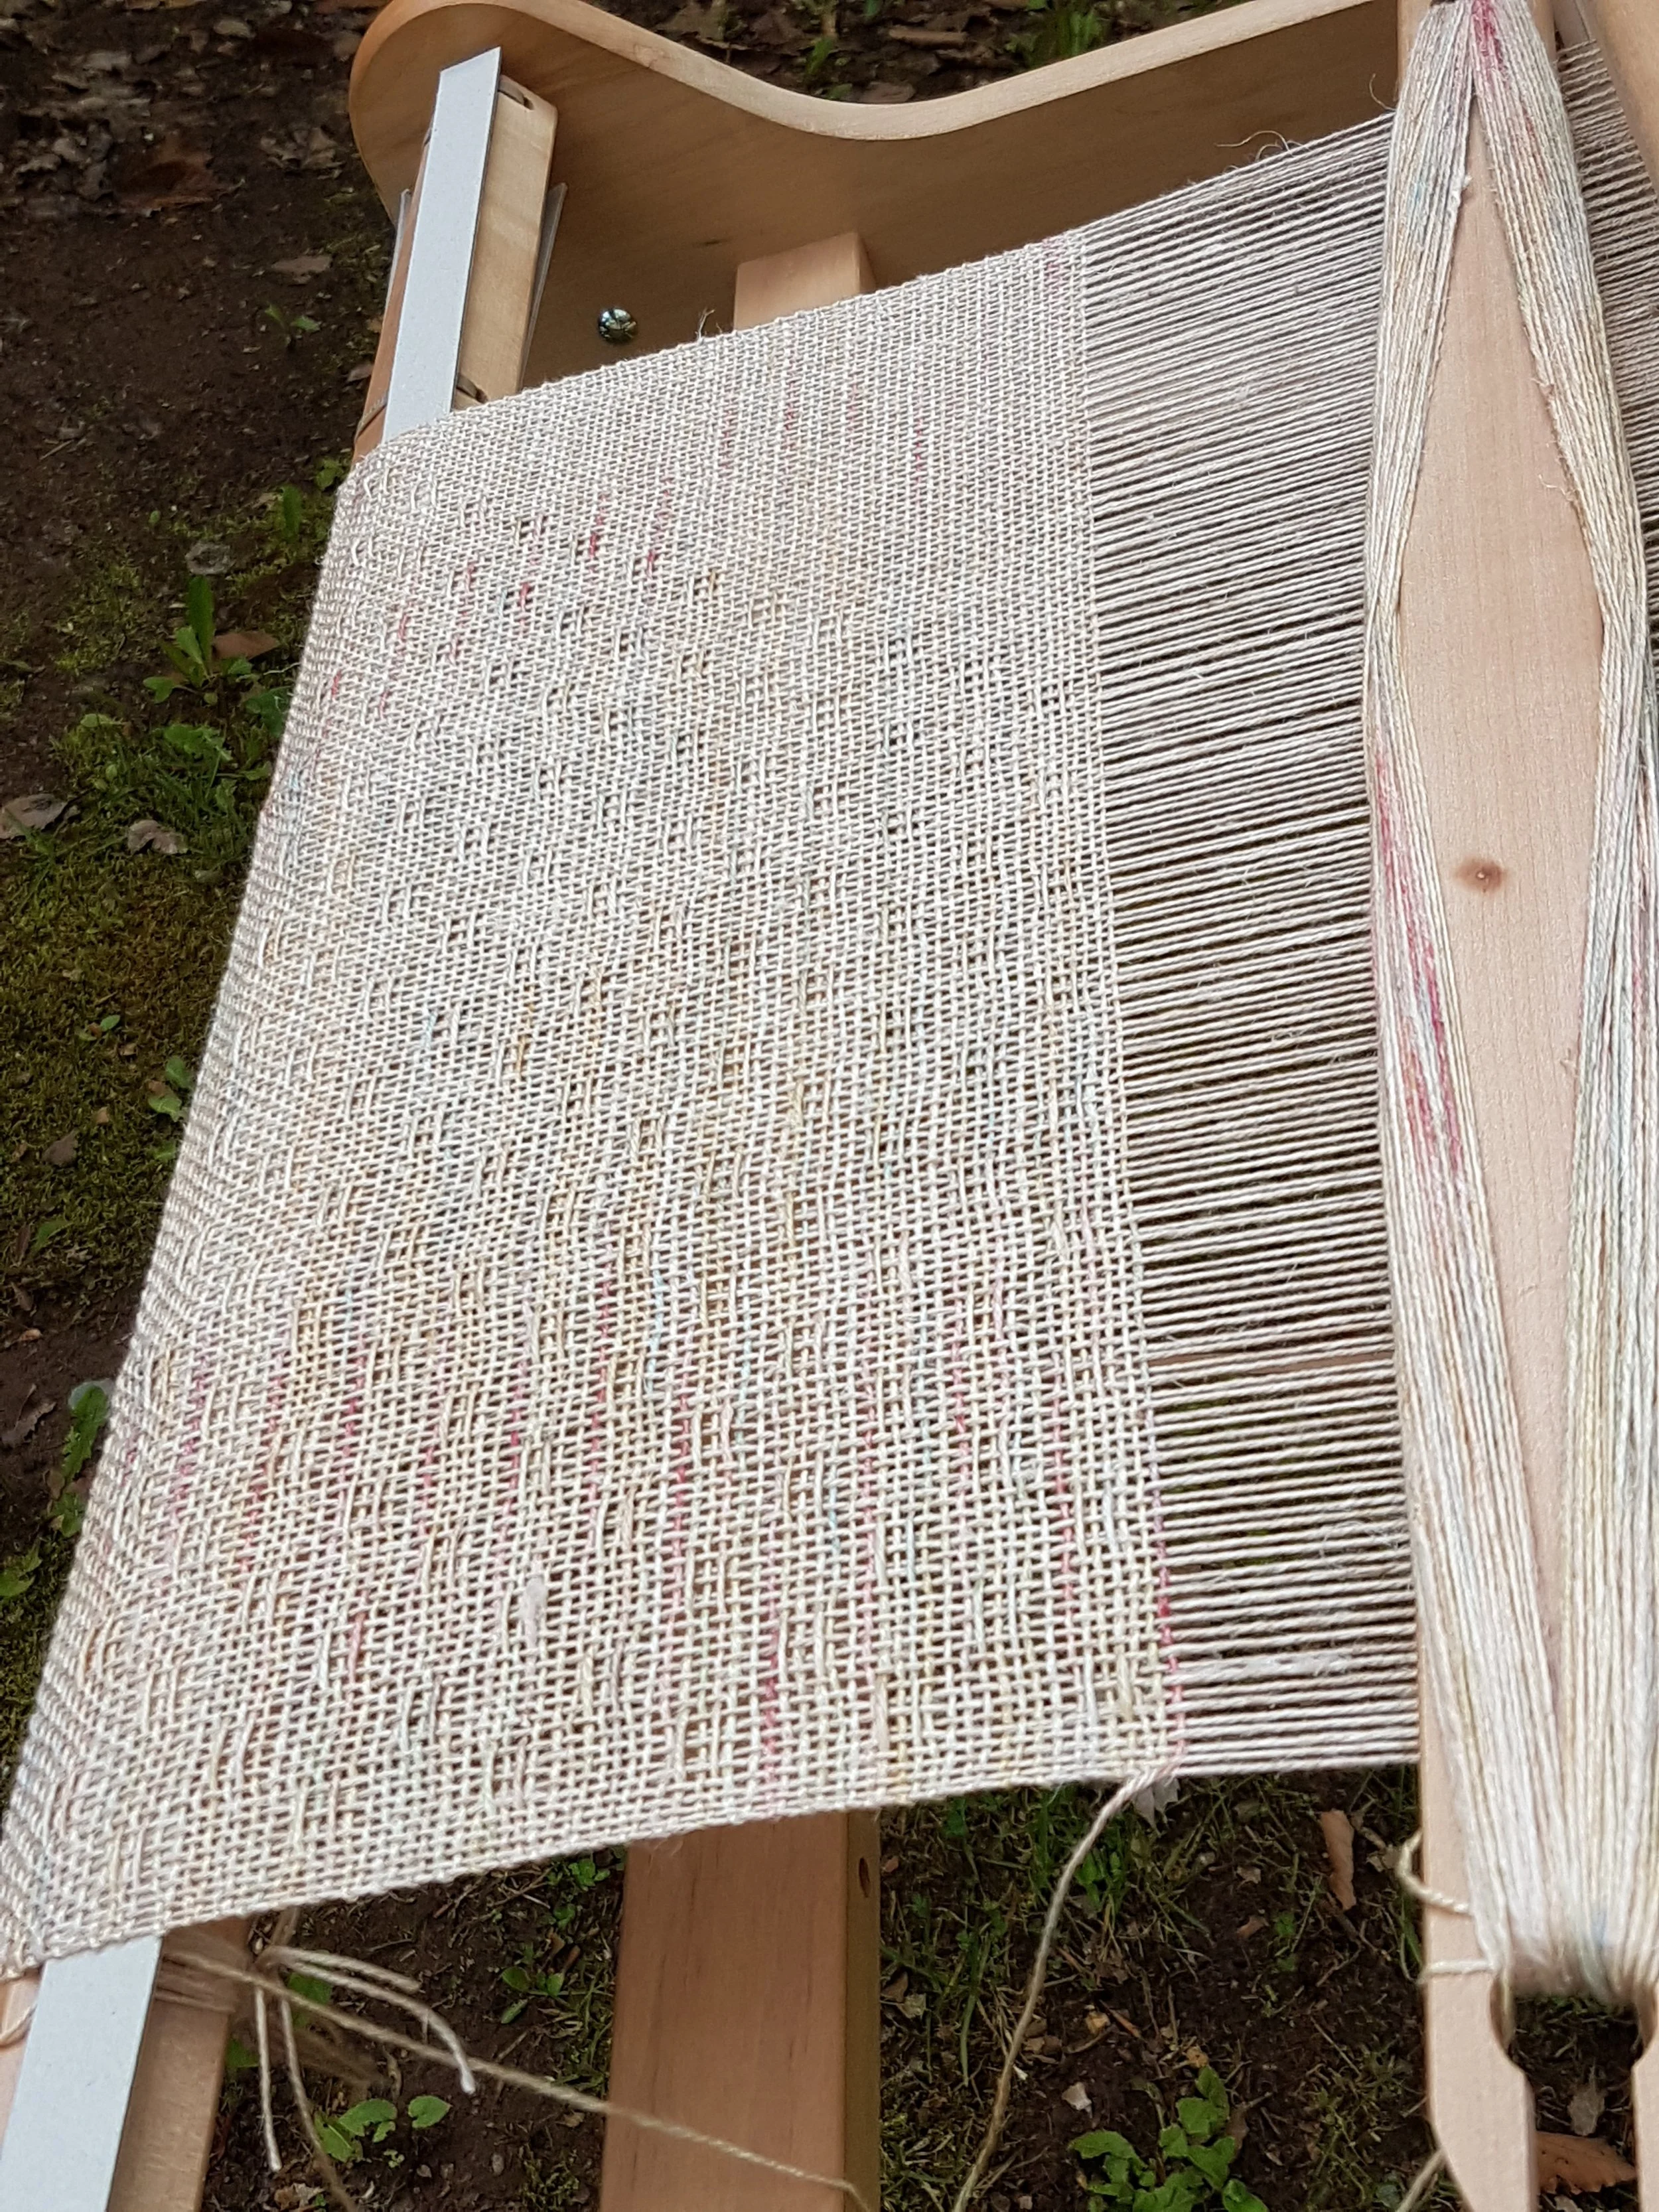
Have you ever been weaving away and suddenly you realize that your weaving is crooked? That one side is way higher than the other? Maybe that happens to you a lot, or maybe on just certain types of projects. For me, this is most likely to happen when I’m working with really fine yarn. Today we’re going to look at possible reasons this happens, how to prevent it, and how to fix it if it does happen.
If you are in Facebook rigid heddle weaving groups looking for solutions, the most common response is tension. *Maybe* the issue is tension. I’ve rarely found this to be the issue for me; though I strongly recommend spending a little extra time learning to warp and wind well. (If your weaving is smiling or frowning, that IS a tension issue.)
I found the answer browsing through comments on floor loom pages. There, the solution is first to make sure your loom is square and second, check your body.
Make sure your loom is square: since you have a rigid heddle, it is hard for it to get out of square…it does not take the beating (see what I did there) that a floor loom does. However, it’s good to go over your loom regularly and make sure all the screws are tight.
Check your body: this is likely where the problem starts. We each have a dominant side. For most it is likely your right side. That side is stronger and might press just a little harder than the left. This will cause the right side to be lower while the left side is higher. I have three solutions.
a) Make sure you are sitting square to the loom and centered in the middle;
b) Move the dominant hand (the hand on the side that is lower) slightly closer to the middle of the reed. Even an inch can make a difference. This changes how you press putting less pressure on the dominant side;
c) If a and b don’t work, move your body slightly to to the higher side…again, just an inch can make a difference.
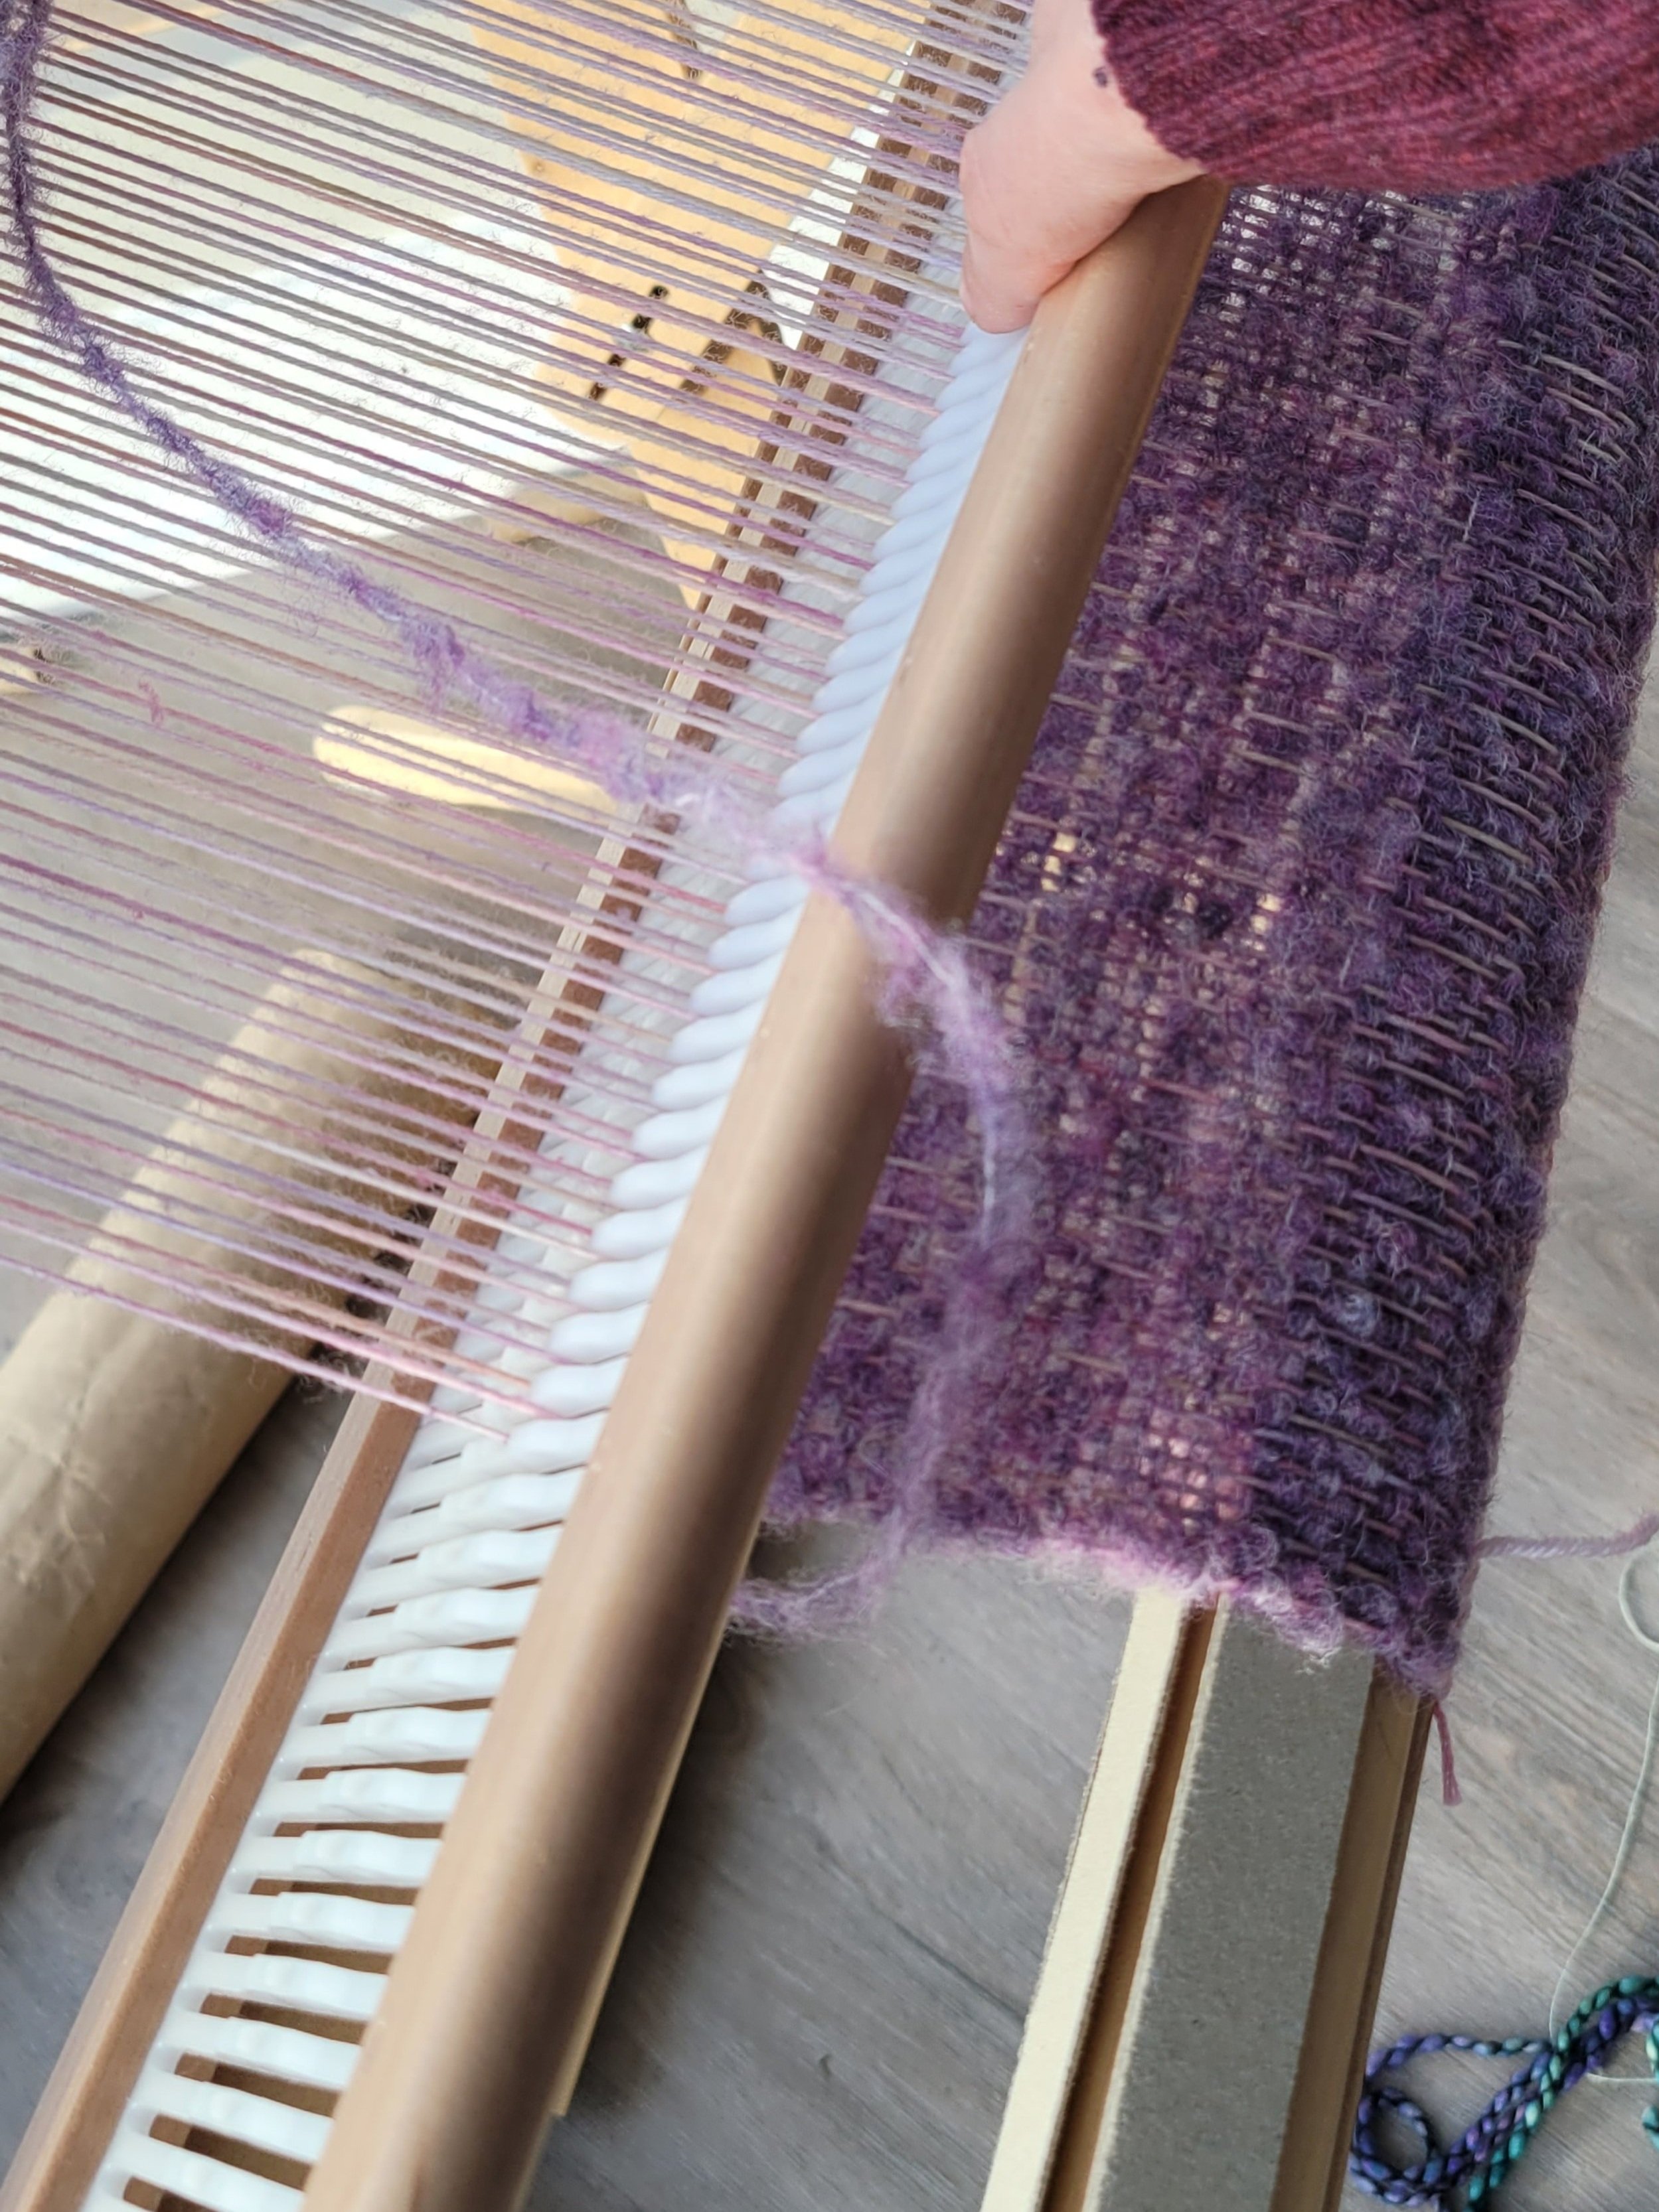
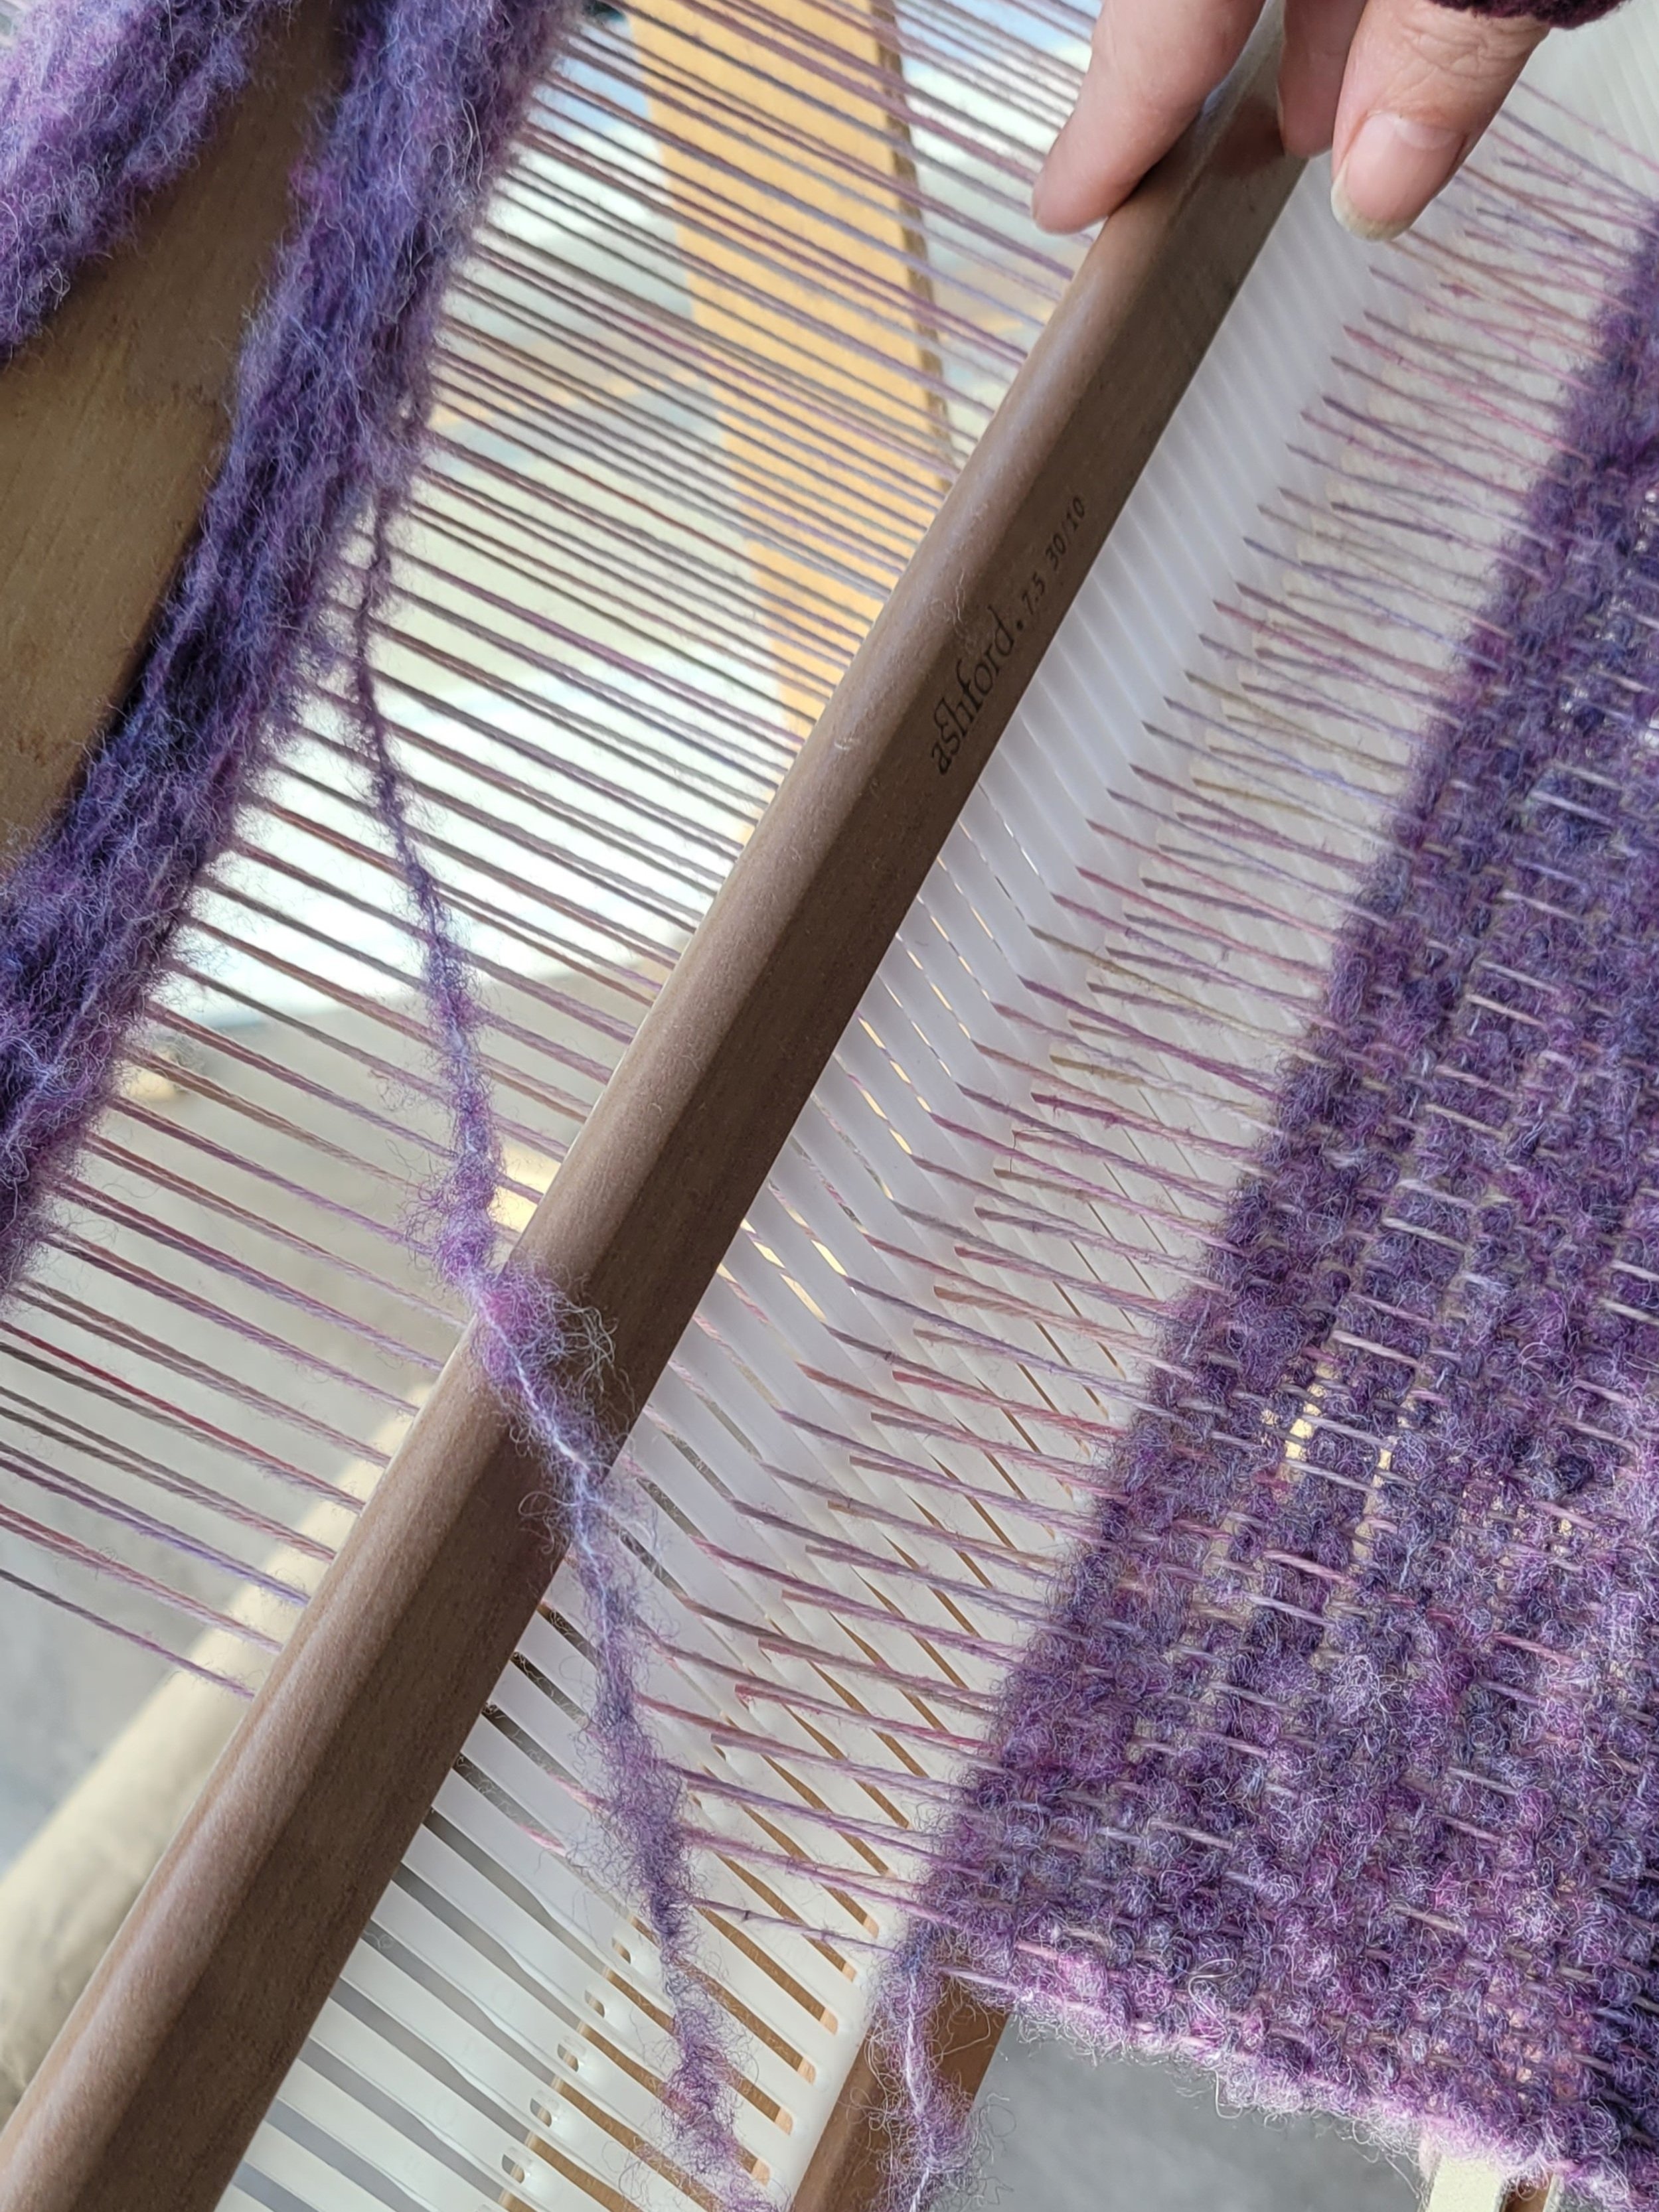
3. Once you have checked and adjusted as per #1 and #2, pay attention to your reed. I often see weavers pull the heddle forward and have it tilted toward the front of the loom. I recommend tilting the reed toward the back of the loom. When the reed is tilted back, you can see exactly what is going on at the fell line (where the new weft meets the woven work) allowing you to place the weft precisely where you want it. Your eye should do a quick run from side to side to make sure the weft is square. I eyeball it with the cross bar under my loom. Others suggest lining it up with lines you have drawn on your loom. Gently press the weft into place with a single, gentle (like a kiss) movement. If possible, try to refrain from a double or triple beating. Three beats means three chances to press harder on one side!
4. Check your work regularly…as you train your eyes, they will learn to catch the slant as soon as it happens! I can see when it is 1/16” off. (I think my students dread when I do a double-take walking by their work!)

There, four ways to prevent the slant from happening! But what if the slant is there? If you’ve caught it early, less than a quarter inch, pay particular attention to the reed. Press slightly harder on the raised side and less hard on the lower side until everything is even again. It won’t be perfect but it will even out in the wet finishing. If it’s between a quarter and a half inch, use a pin to move the threads to even things out. If it’s more than a half inch you should probably unweave until things are even again.
Happy Weaving!