
More On Pick-Up Sticks
I’ve already written a blog covering pick-up sticks, you can read it here. Since writing this blog though, I have learned so much more! So today we’re going to look at combining plain weave and pick-up patterns.
Combining plain weave with weft floats is easy, just insert the stick and away you go! But adding in warp floats can cause some issues. I did learn how to add plain weave borders to waffle weave, but it was a bit cumbersome. Here’s a video. For a while I was stuck with this and adding waffle weave (or any warp floats) combined with plain weave was too complicated to attempt. Then, as happens when an idea is percolating in your mind for a few months (or in this case, years), the solution just came to me. Two pick-up sticks!
Normally, pick-up sticks are inserted with the heddle in the down-shed and the pick-up stick will go over some ends, but will mostly sit in the shed. If, however, the pick-up stick sits mostly on top of the warp, warp floats are easy! Placed correctly, 2 pick-up sticks can be inserted and used without removing them. One stick will be used to create the weft floats, the other creates the warp floats.

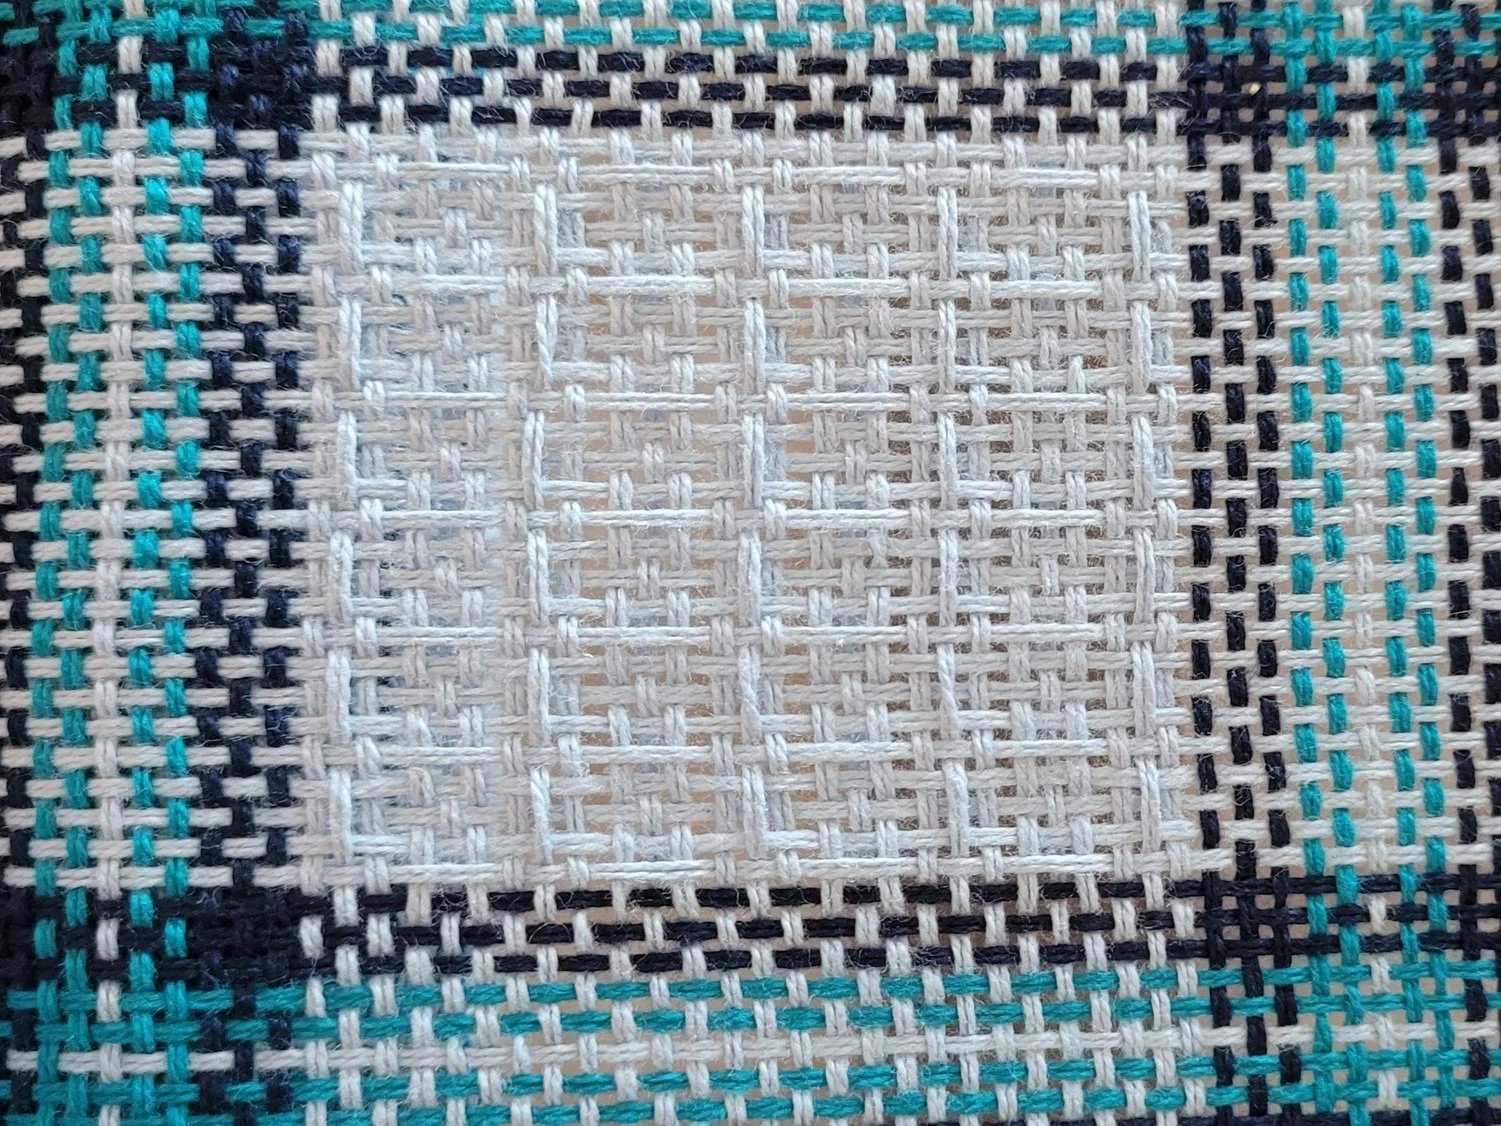
The Mini Plaid Tea Towels is a perfect combination of plain weave and waffle weave. A waffle weave is usually created with the use of a single pick-up stick. The warp floats are made when the heddle is in the up position and the pick-up stick is flat and slid to the back of the reed. The weft floats are made when the heddle is in neutral and the pick-up is on edge behind the reed. Let’s look at what’s going on with the pick-up sticks in the Mini Plaid pattern.

The bottom (or first) pick-up stick is the stick that is inserted as usual. When the heddle is in the neutral position and the pick-up flipped on edge, all the ends on top of the stick will be raised up. When the weft passes through, it will go under those raised-up ends and form the weft floats.
Let’s visualize what would happen if I used this stick for the warp floats of the waffle weave. The heddle is in the up position, so all the hole ends are raised up. The pick-up is slid forward behind the reed, raising up all the slot ends on top of the pick-up stick. Pay attention to the middle of the picture where 7 ends (7 slots in a row) are on top of the stick. The holes are raised up because the heddle is up, and the slots below are also raised because they are on the pick-up stick. That means the underside of the work has a 13-end float!
Now, we could move the pick-up stick back and forth as in the video I mentioned earlier. That would be quite complicated. BUT if we add a second pick-up stick, we can weave quite easily! So let’s examine the top pick-up stick in the photo.
The top (or second) pick-up stick is a little unusual as it sits on top of most of the warp. Note that it is going under the same ends as the bottom pick-up stick only in the patterned area. Now, when the heddle is up and the second pick-up stick is slid forward, the pick-up stick does not interfere with any of the plain weave ends.
Note that the top pick-up stick (the one that creates the warp floats) goes under the same ends as the bottom pick-up stick in the patterned area only. This allows them to move smoothly past each other as needed. The easiest way to insert this second pick-up stick is to place the heddle in the down position and with the second pick-up on top of the warp, slip it under the same ends as the first pick-up in the patterned sections only. Here’s a video of how it all works together.
And that’s it! Easy to weave plain weave and waffle weave together! Want to try it for yourself? Try these patterns: Mini Plaid Tea Towels or The Boy Friend Scarf.