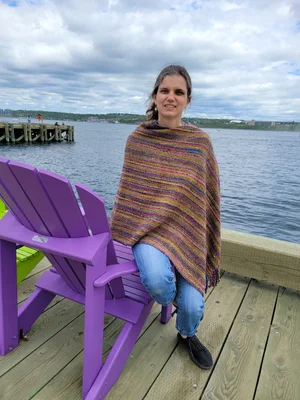
Adapting Patterns: Pick-up Sticks
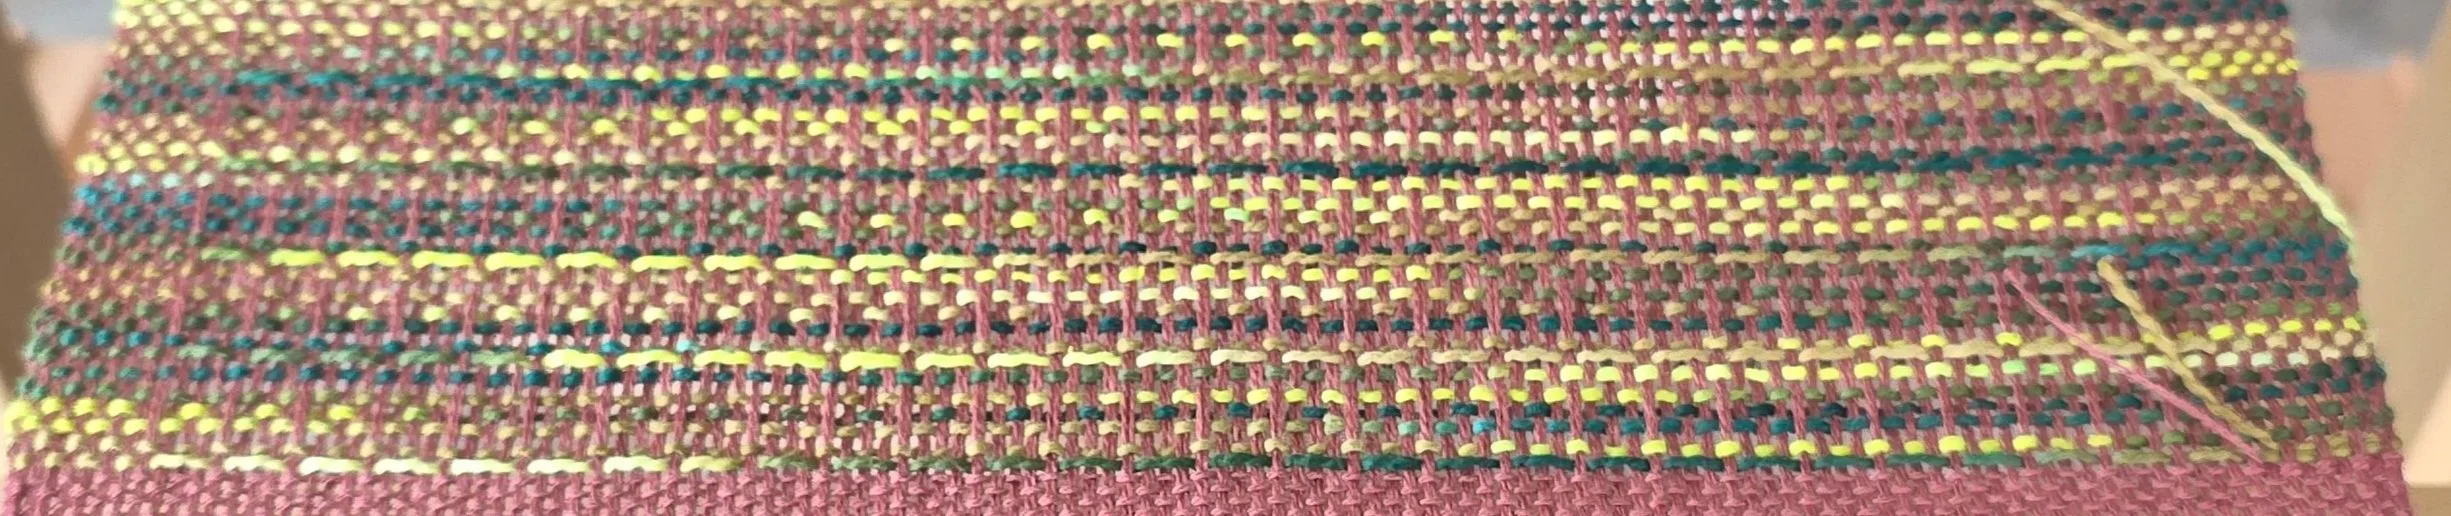
Pick-up sticks are my favourite. They take a flat plain weave and turn it into a textured, inviting squishy-ness.
And they are so easy to use! If you aren’t familiar with pick-up sticks, here’s a blog I wrote a few years ago.
I get questions all the time from people who love the pattern, but want to use a different reed, or make the pattern wider, or skinnier. I can’t rewrite the pattern for everyone, but I do try to make suggestions. But then I thought, why not write a blog? (Actually, someone else thought of it first and nudged me a little!)
I know lots of people use software to try different weaving patterns. I don’t know if I am just not tech savvy enough, or if the software really doesn’t work so great with rigid heddle looms, or Android instead of Apple, but for whatever reason, I have no success with weaving software. So all my work is done either at the loom using trial and error, or on paper with coloured markers. (I do love my coloured markers!)
Let’s look at trial and error
Imagine you are using a pattern that has (over 1, under 1) warp floats and a plain weave border. If it is one of my patterns, it will read something like this:
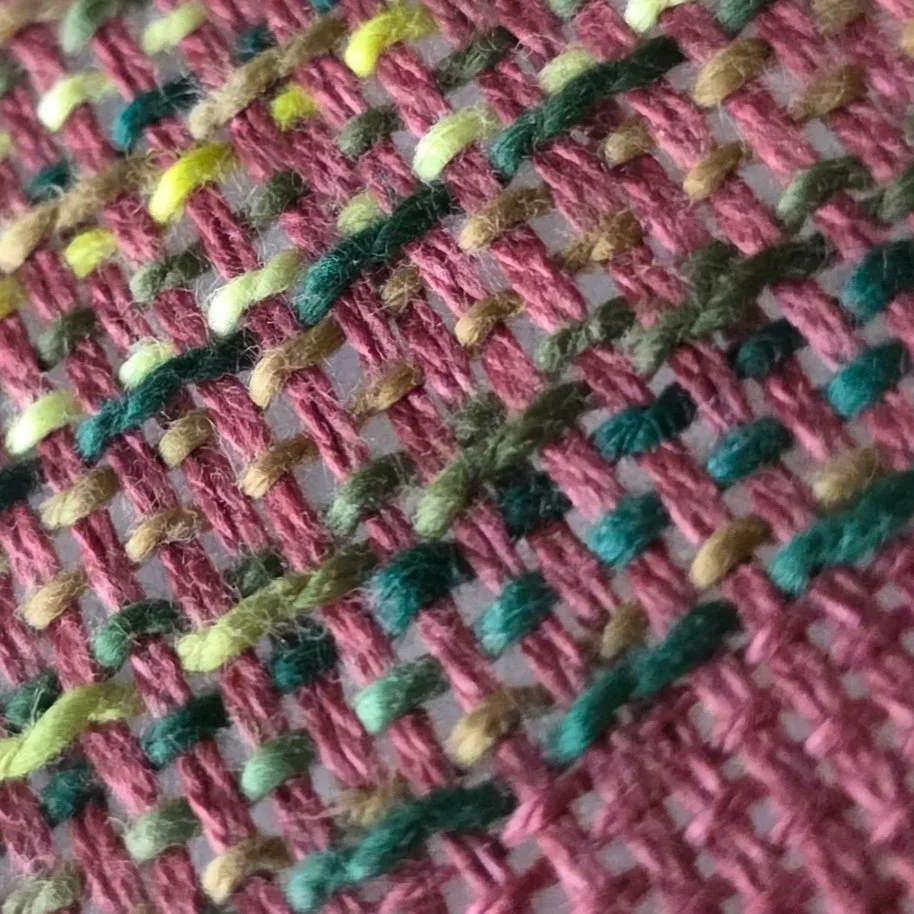
Go under the first 3 ends, then go (over 1, under 1) 15 times, then
Go over 1 and under the final 3 ends.
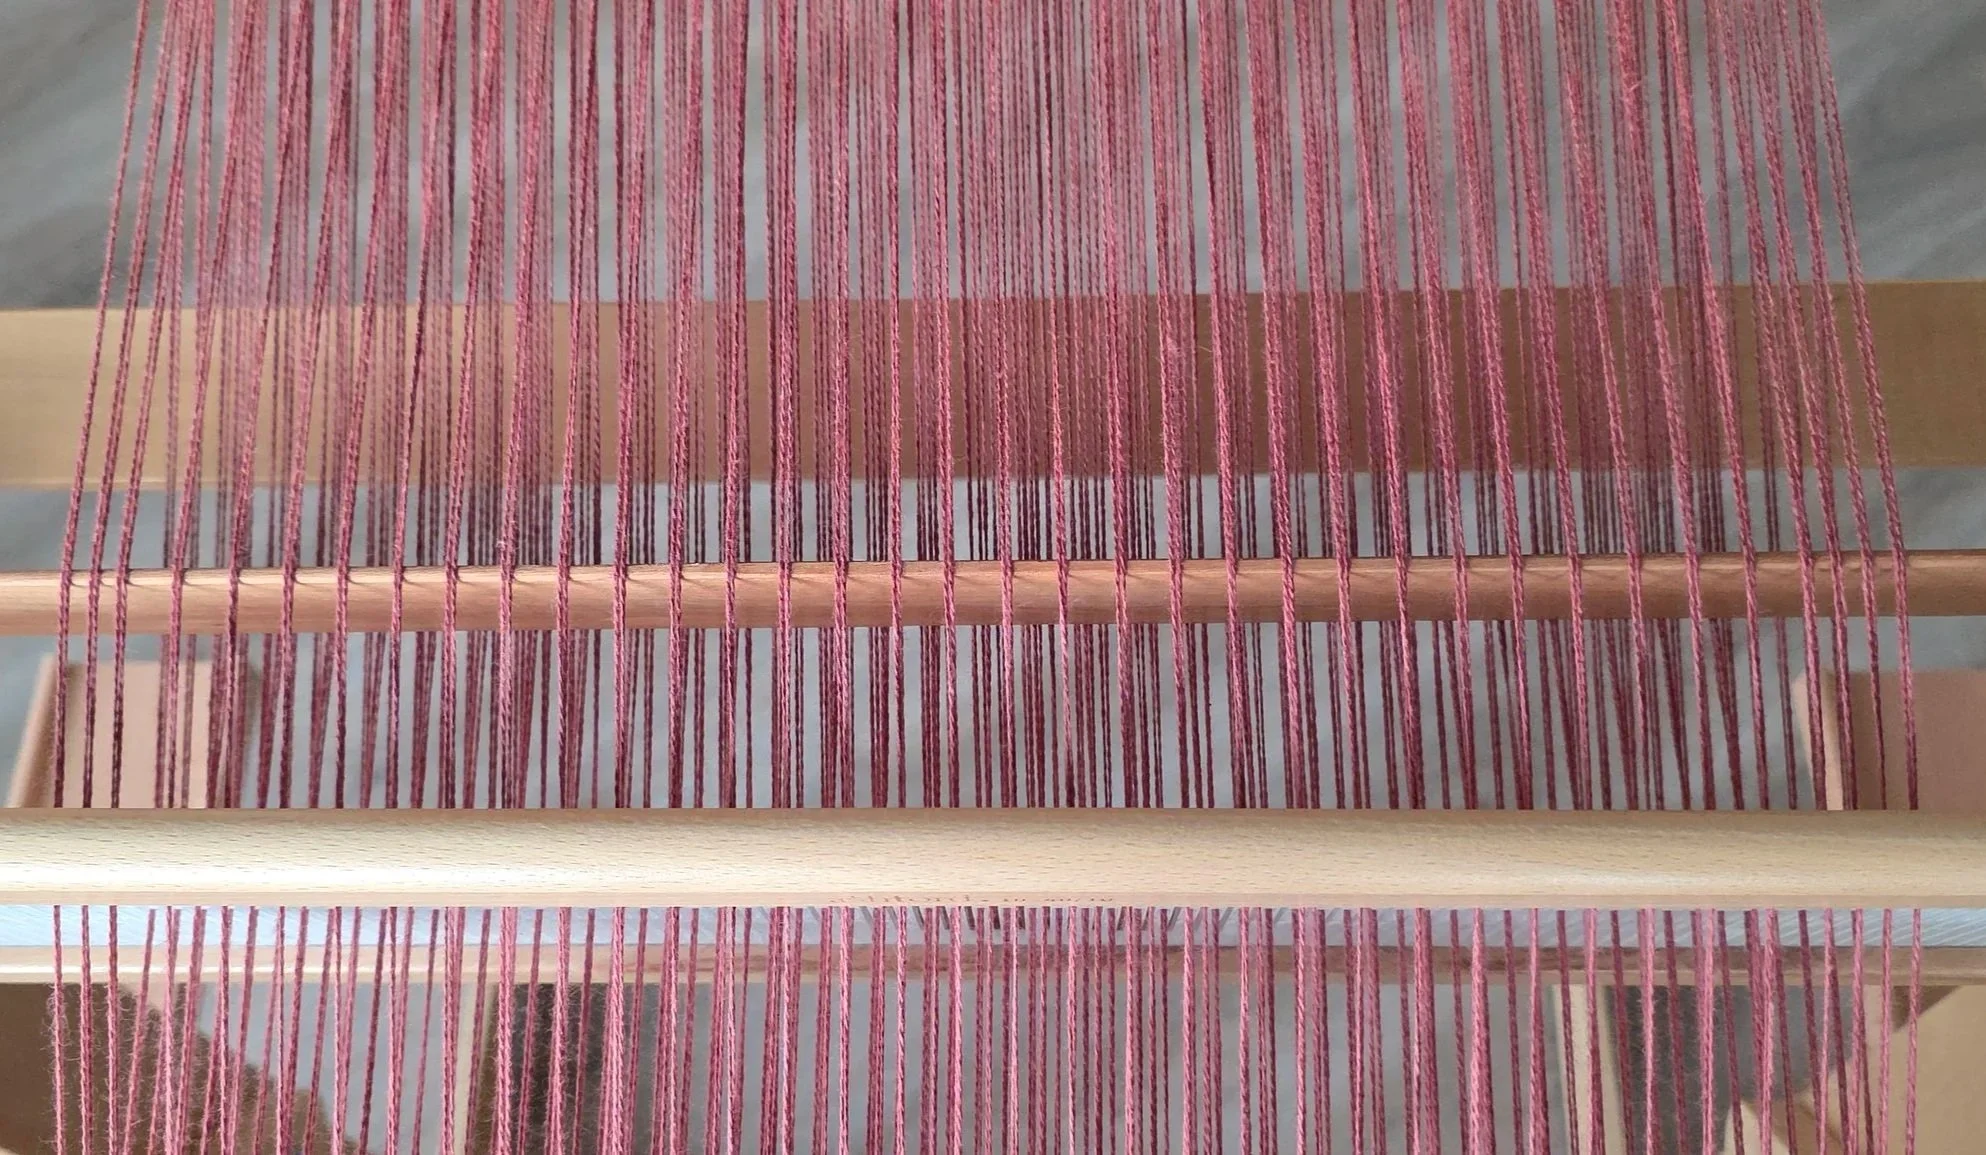
This is a basic 1/3 weft float…the weft will pass over 3 warp ends.
Now, let’s pretend that you want to make something that is wider on the same size reed. How many times should you go over 1, under 1? Honestly? I wouldn’t even count. I would go under the first 3 ends, then over 1, under 1 across the loom, then under the final 5, 4 or 3. If my end is under 3 it is perfectly centered - no adjustments needed.
If your final under is 4, it is as centered as it can be and no adjustments needed. No one will notice if one border is 1 pick wider than the other border. (See the picture to the right.)
But if the number is 5 (or greater because you want a wider border), we can adjust. To perfectly center the pattern in the warp, add the first under 3 and the final under 5.
3+5=8.
Divide by 2
8/2=4.
Instead of going under the first 3 ends, go under the first 4 ends. This should leave you with 4 ends at the other end.
Some Math with Visuals
But what if you have columns of weft floats and plain weave? This is where I get out the markers and paper. Because I need the visual. Usually a cup of tea is also involved. 📒🖍️☕
When we use pick-up sticks we are only picking up ends that are in slots…so we are looking at only half of our warp. A warp that has 130 ends has only 65 ends in slots. I actually draw them out, using arrows. ↑ ↓
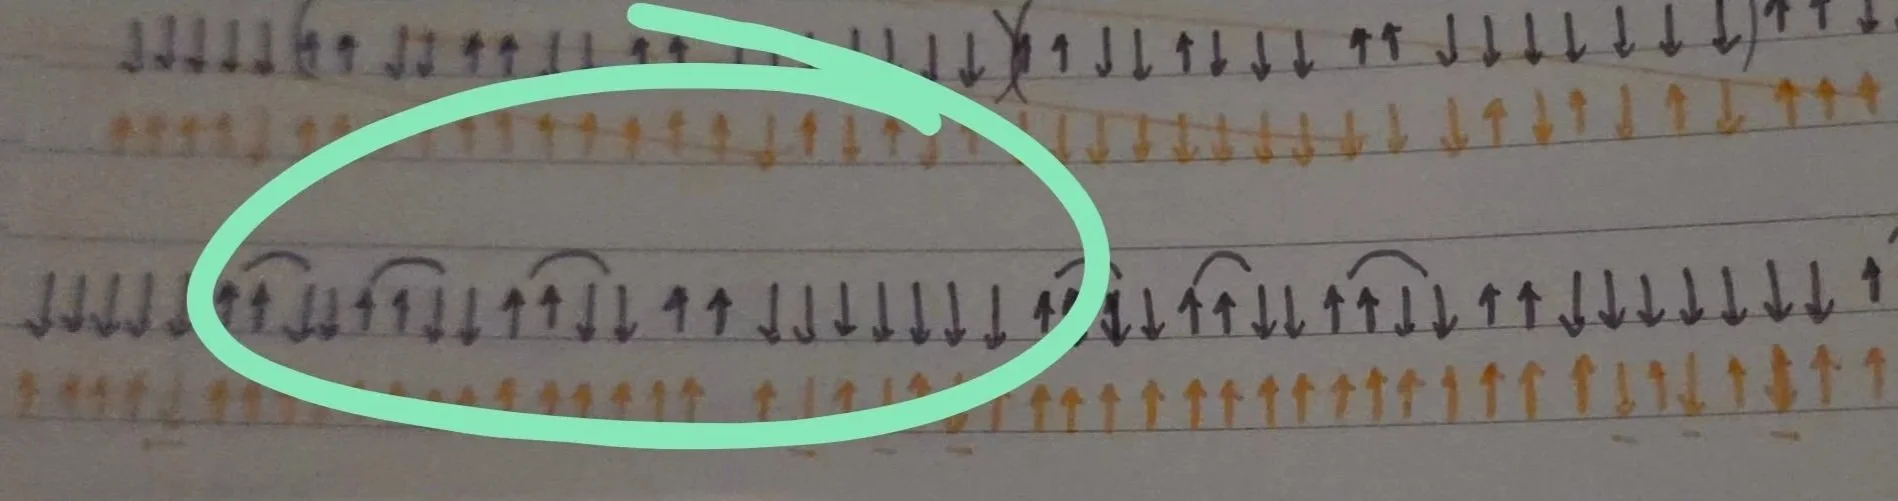
The above picture tells me to go under 5 ends (border), then (over 2, under 2) 3 times, then over 2 and under 7.
Then the pattern is repeated (Yes, I got mixed up with my arrows!)
My repeat begins at the first over 2 and ends at the end of the under 7. So my repeat is 21 slots. BUT! I want symmetry…so I want to end with an (over 2, under 2) 3 times, then over 2. AND I want everything to add to 65.
So my total to add is:
border + x(21) + 14 (for symmetry) + border =65
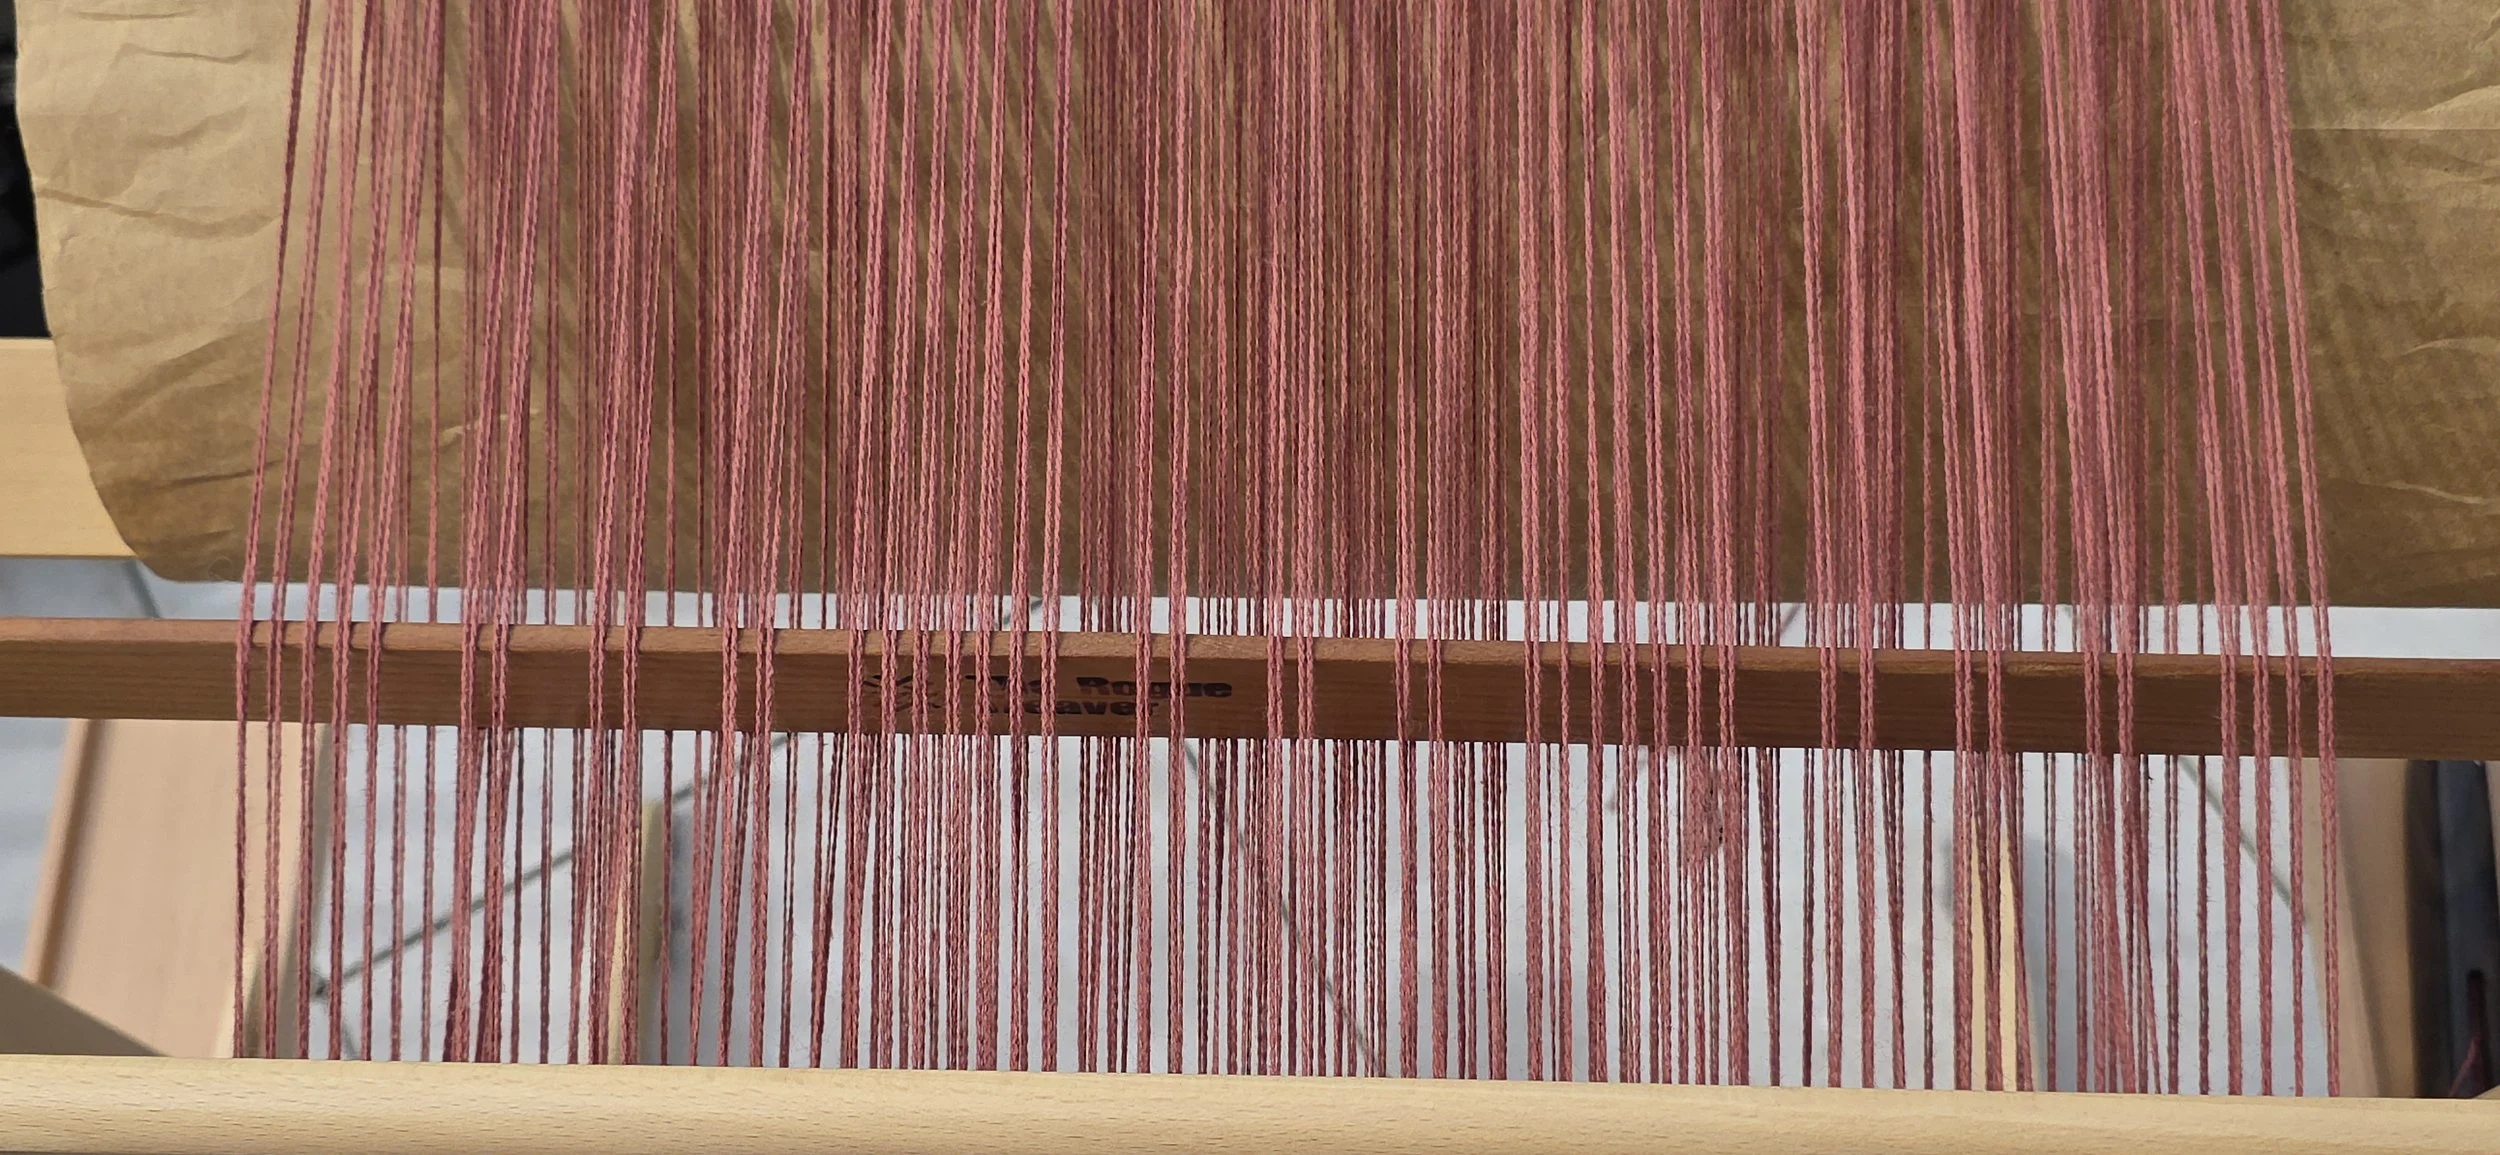
21 × 2 = 42
42 + 14 (symmetry) = 56
This is close to 65. I can’t do another repeat because it will bring me to over 65.
So now I can figure out how big my border can be. To do this I will take the total number of ends in my pick-up pattern (56) and subtract that from the total number of slots I have available (65)
65 - 56 = 9
I can have 9 border ends. I need 2 borders, so 9/2 = 4.5.
I can’t go under half an end so I’ll round up on one side and down on the other.
My border will be under 5 at one end and under 4 at the other.
If you glanced at this and saw all the numbers and switched off…I get it. Math is not my thing. I did several coloured ink renderings before I arrived at something I was happy with (see the picture below!) I much prefer the trial and error on the loom method of design…but to adapt, pen and paper is really helpful. I did the math because there are some people who get math - kudos to you!
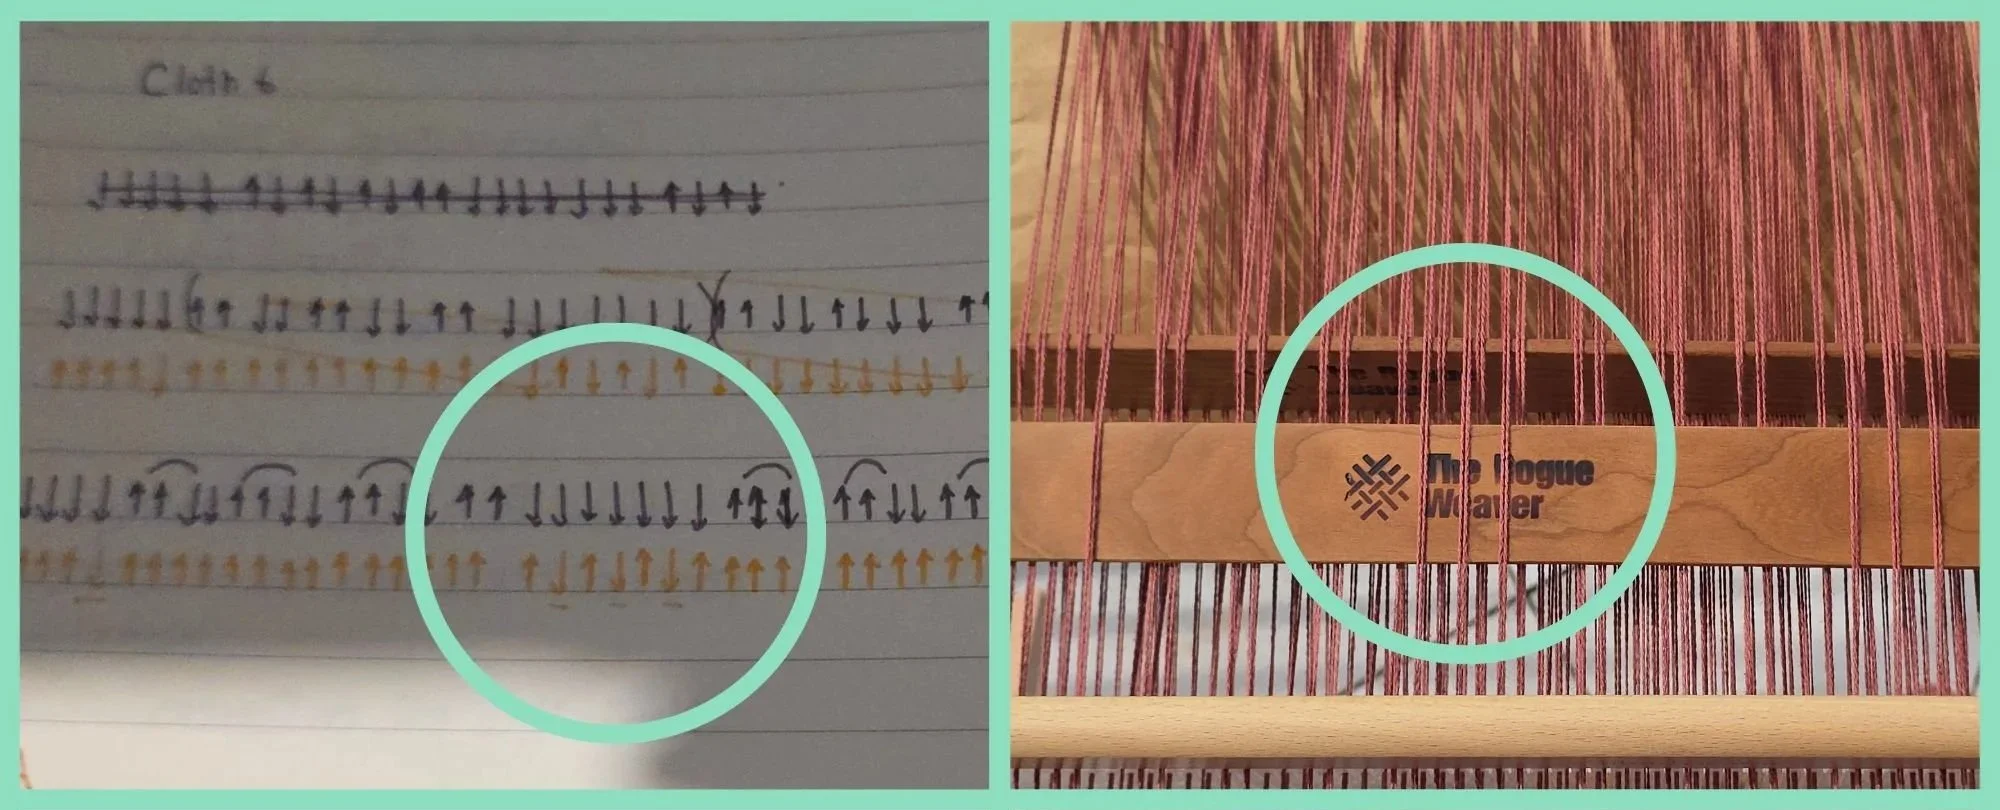
I need the visual. And it’s also super useful. If I now want to add a second pick-up stick, I can line my arrows up and see if I my sticks will pass over each other or need to be re-inserted each time.
Or, in this case I added warp floats to the plain weave sections. Since I already have the first pick-up stick drawn, I can easily see where the plain weave is and work only with that section.
I did not understand this overnight - and some days I still don’t understand it! But with practise and lots of weaving, this does get easier.