
5 Tips to Winding the Perfect Warp
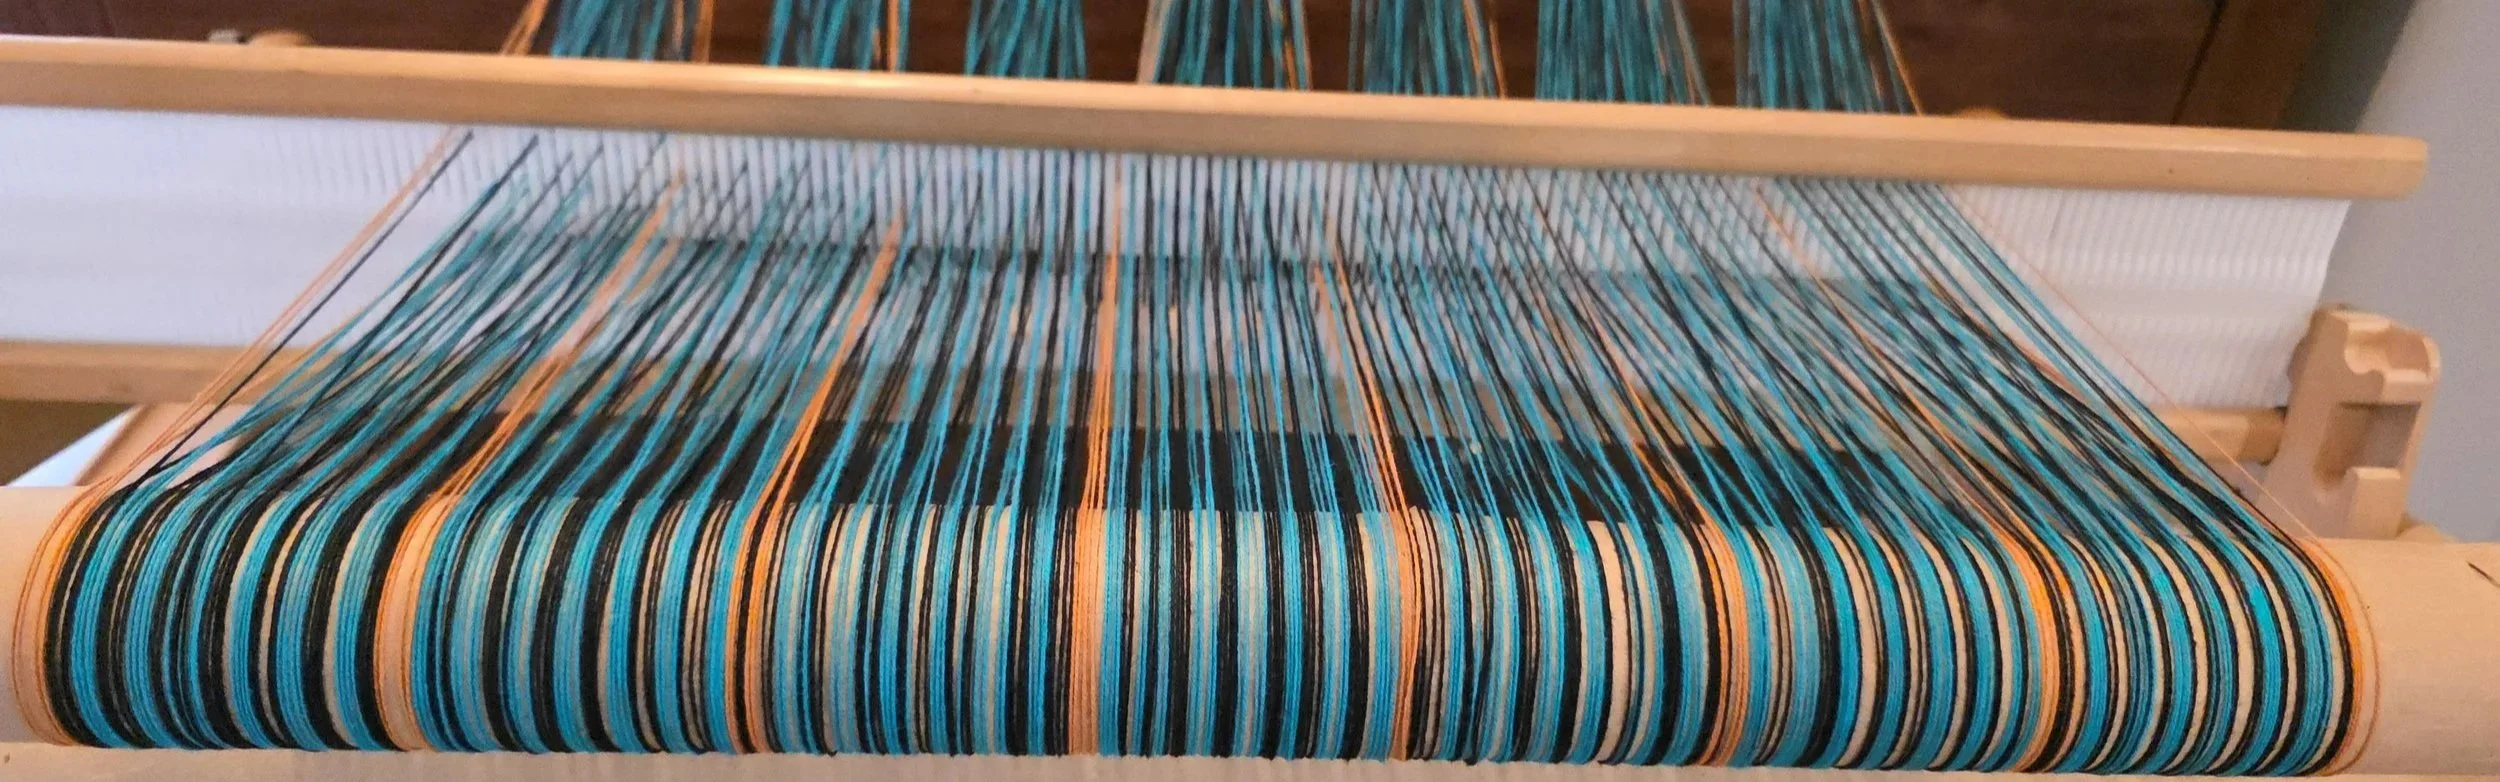
I’m not sure there is anything more beautiful than a perfectly-wound warp. It is the promise of an enjoyable weave.
But we all know that the perfect warp doesn’t just happen, there is a lot of work that goes into it. Here are a few of my favourite warping tips.
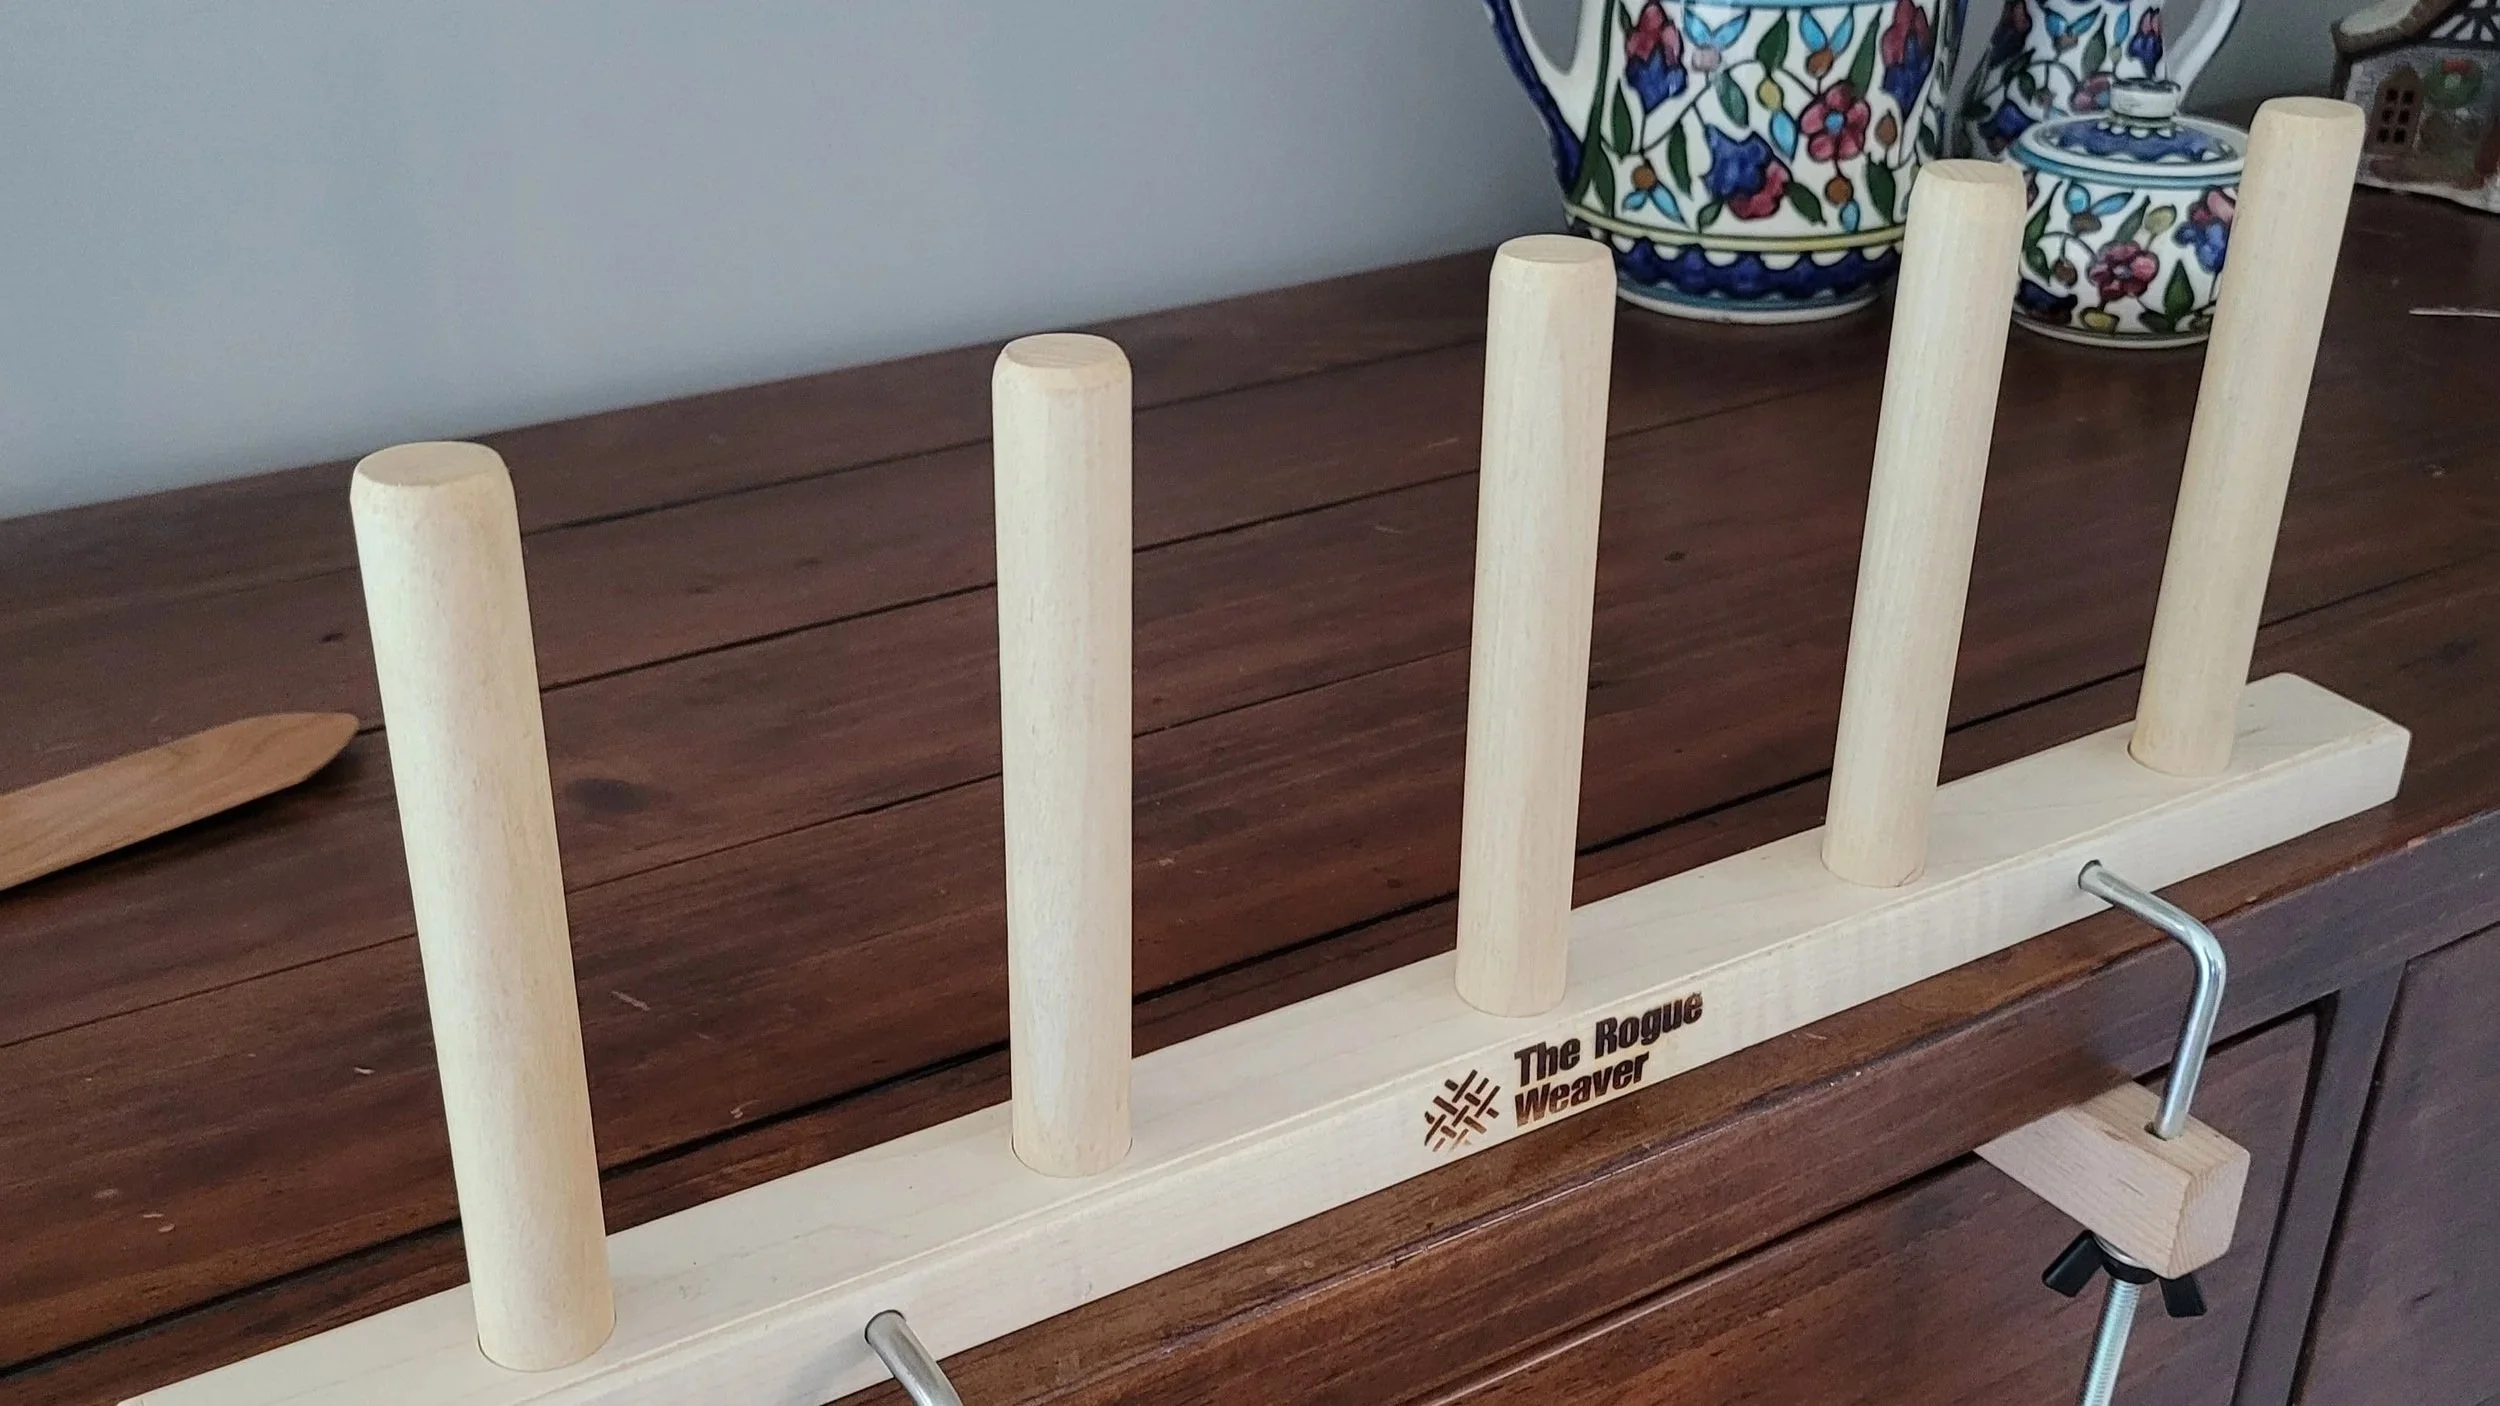
The Warping Peg: your loom probably came with a single warping peg. You can, even on a 32” loom, achieve a beautiful warp with a single peg. BUT having multiple pegs will help.
i) multiple pegs allows the warp to be more even…the warp travels with less angle from the loom to the peg.
ii) it is easier to walk your loom to the peg (if you use a single peg and a wide warp, you really should crank and yank).
iii) multiple pegs are less likely to pop off mid-warp.
I have a special multi-peg tool, but a coat hook, over the door coat rack or even the back of a chair can work - just be sure that whatever you use is secure.
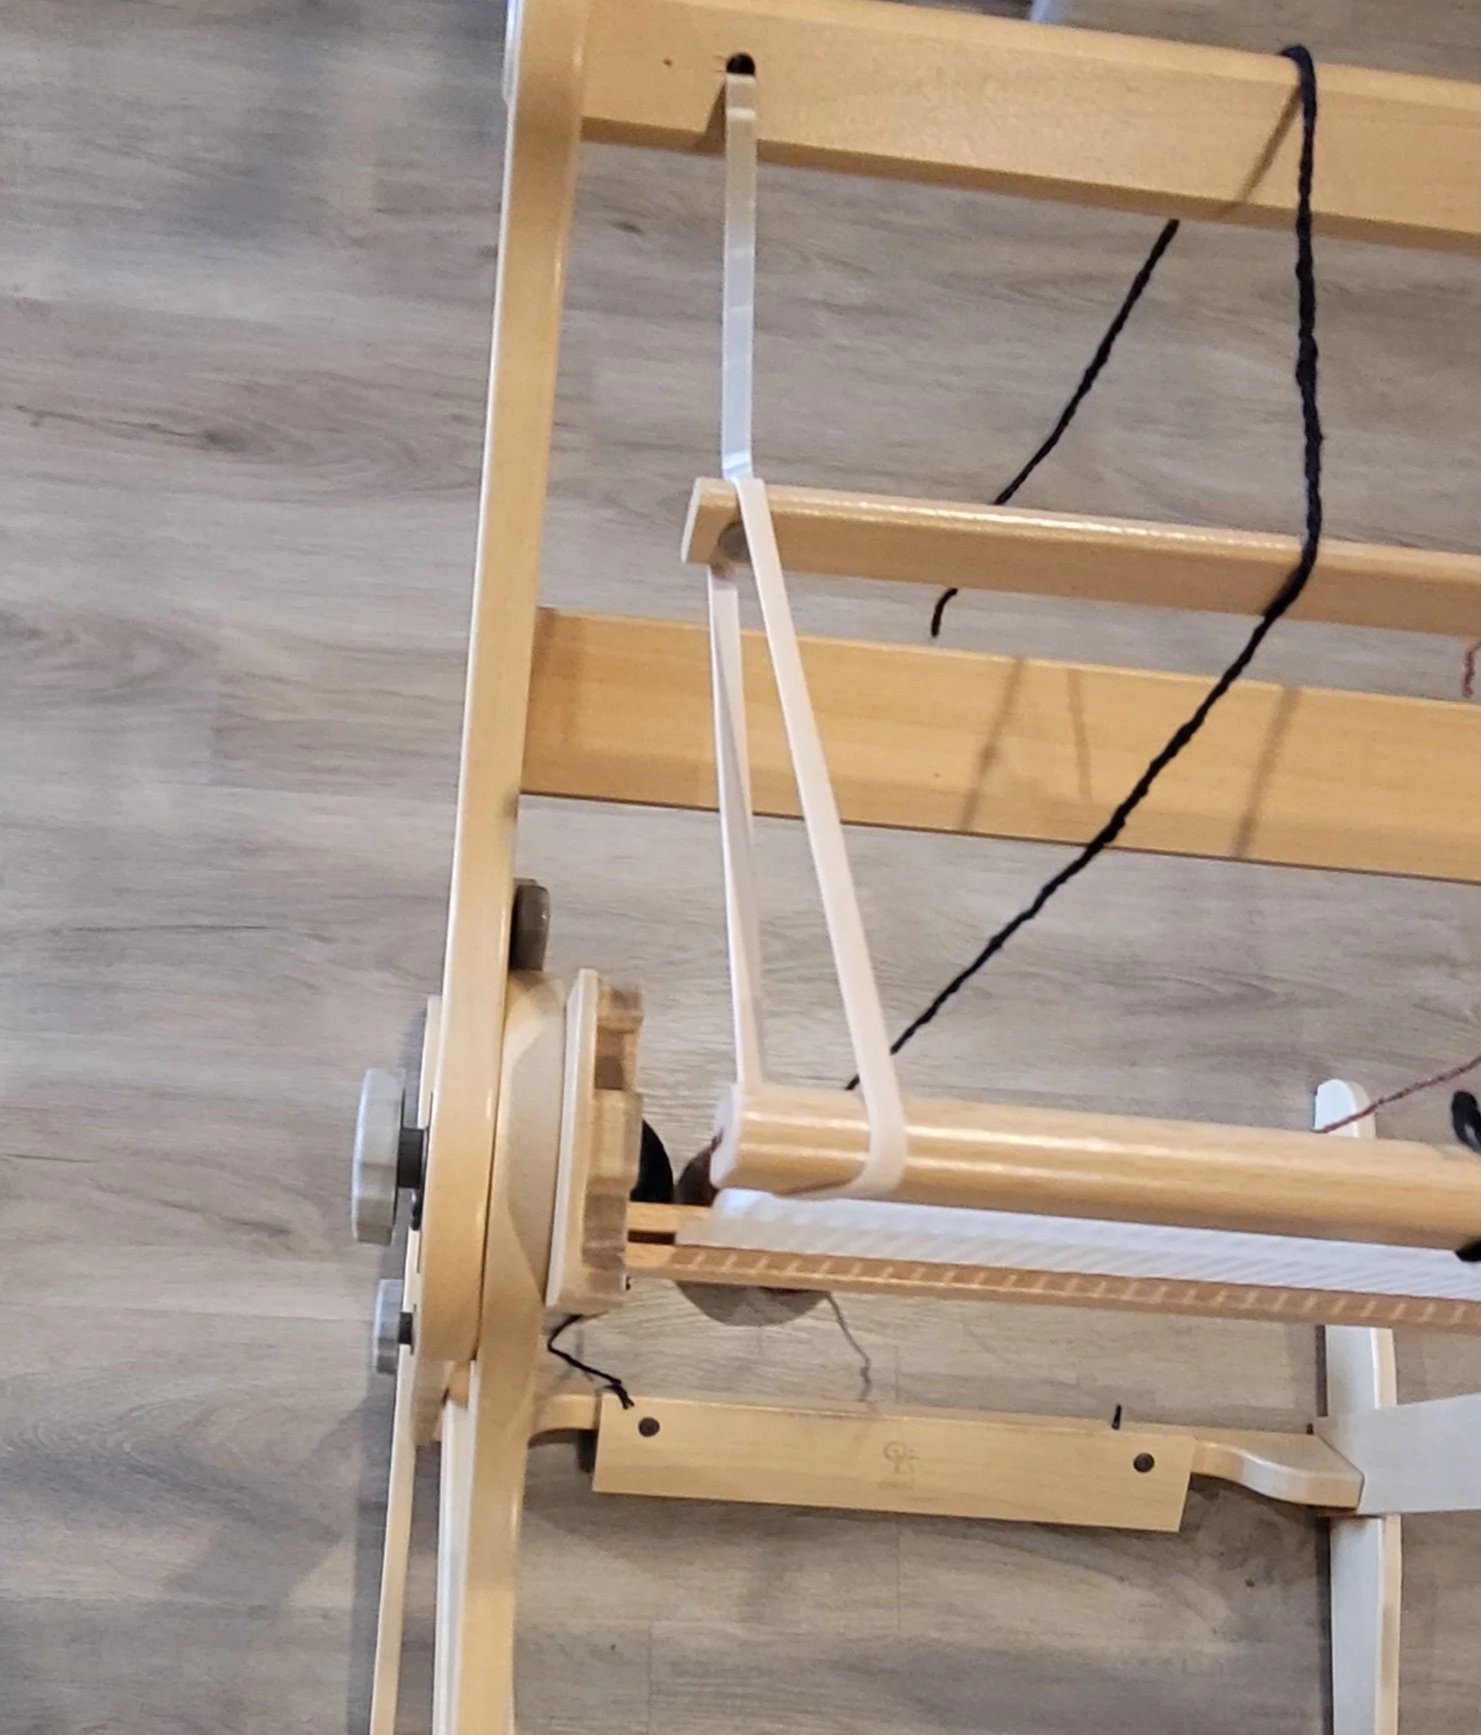
Elastic bands (or for my American weavers, rubber bands). As you wind your warp, you are adding more and more threads to the back warping stick. So as you warp, the extra pressure causes the stick to pull out further as you add more ends. So what looks beautiful and even when you start, is all droopy when you get to the end.
Using elastic bands to hold the back warping stick solves that problem! Stretch the band from the reed to the back warping stick on both sides of the loom. If you have Texsolv ties holding the back warping stick, wind enough that it is comfortable to get your fingers between the reed and the warping stick and between warping sticks and the back beam.
Let the yarn self-tension. Bring the warp through the slot, walk it to the peg, then drop it over the peg and let it go! There will be a big sag between the loom and the peg…but as you pull the warp through the next slot that sag will disappear. You should try to avoid petting, combing or otherwise arranging the warp as you wind. The less you touch it, the better. Your warp is one long length of yarn: if you let it, it will take care of the tension. But each time time you try to “fix” something you can introduce a tension issue. Here’s a video.
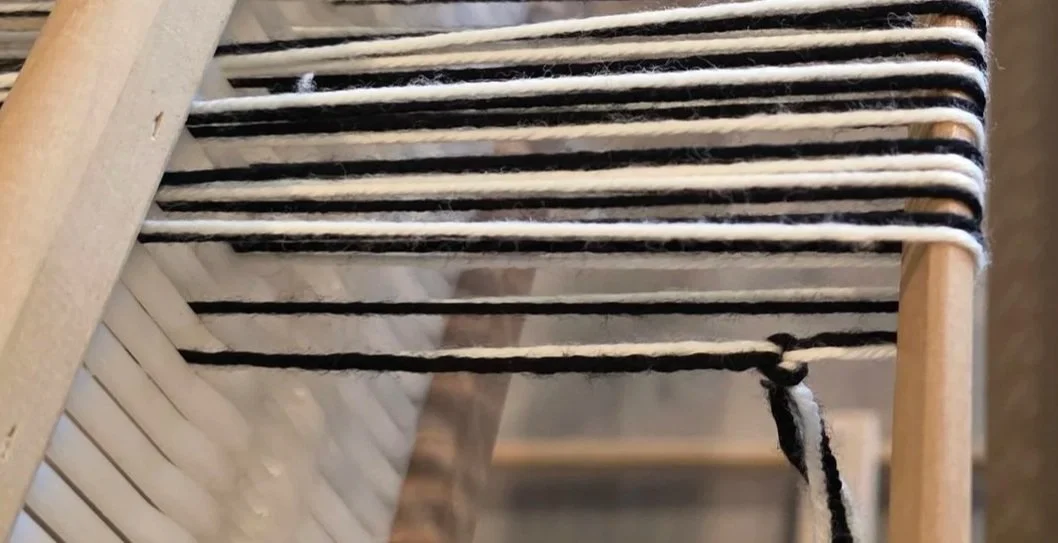
Colour changes: This is related to #3. A long continuous strand will self-tension as you warp. Every time you tie onto the back warping stick, you add a possible tension issue. Instead, continue the long strand by tying the new colour to the old colour. The previous video shows colour changes.
5. If possible, maintain the tension on your warp until it is fully wound. I like to walk my loom to the pegs. This keeps everything even as I wind and I don’t need to move to the front of the loom and crank. Here’s a video.
If you don’t have this option, crank and yank takes a little longer but works really well! (I teach this method because I think everyone should know how to crank and yank.)
When you crank and yank, it works best to yank small sections. I will divide a warp into 4-6 sections. Be sure to do the same thing to each bundle - for example if you give the first bundle a single yank, do that for all the bundles. If you like 3 sharp tugs, do that to all the bundles. When you are ready for the next yank, start from the other side of the loom and yank with the opposite hand. This will help keep things even if you start hard and get more gentle as your arm moves across the loom.
Crank and yank is much easier to show than explain, so here is a video. It’s long - but worth it!
So, those are my top 5 tips for getting a great warp!
Do you have a favourite tip I missed? Do you use/like tensioning rods? Or a warping board? Share your tips in the comments!