
Split Plying and Weaving Single Picks
This is not an exciting blog. I’m not sure technique posts are ever exciting. I do think that weaving is worth doing well though, and this is a technique that will up your weaving skills.
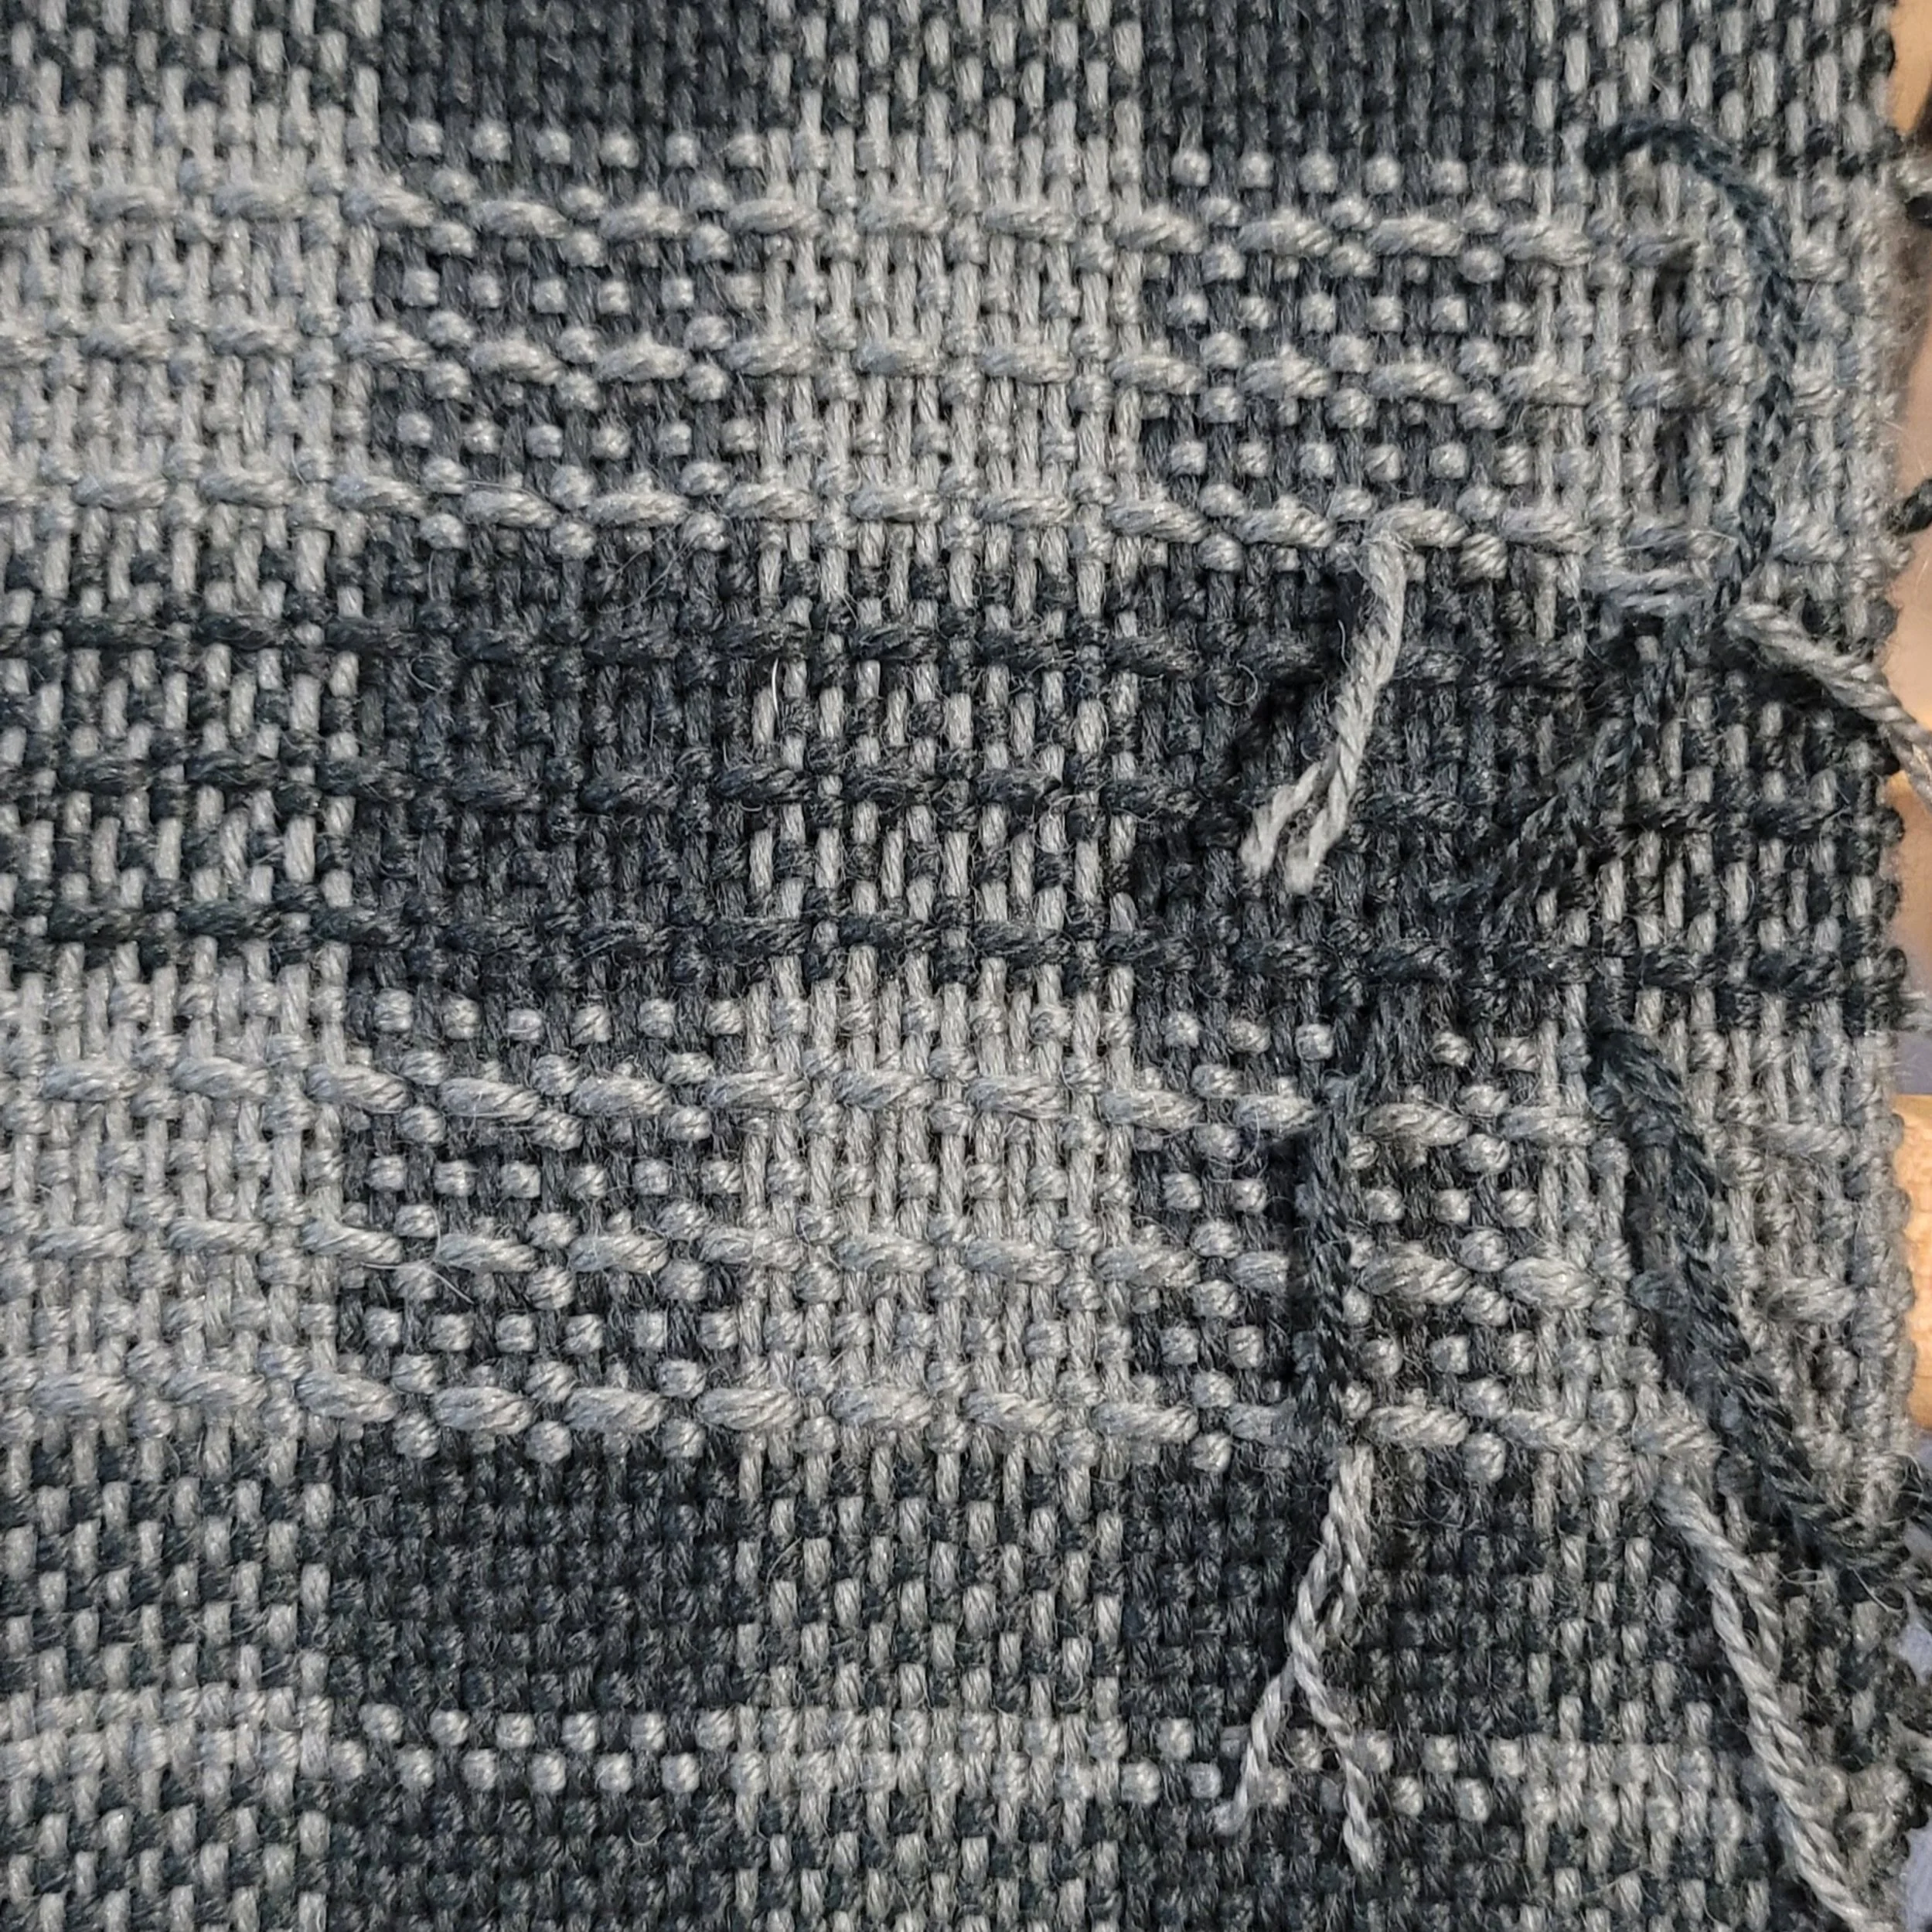
This project had a lot of colour changes and I split the plies. After wet finishing the changes are invisible.
A common question I see on FB groups is about changing colour: how long to carry a colour up the side, how to reduce bulk at the changes, where to change colour etc. My way is not the only way and you should absolutely do what makes you happy and gives you the results you like.
If you’ve read my blogs and posts, you will know that I strive for visual perfection. I want my weaving to look perfect. Not machine made: hand weaving will always be distinguishable from machine woven fabric and should be, but I don’t want visible mistakes. So I’ve worked to perfect the colour change.
Here’s how I do it.
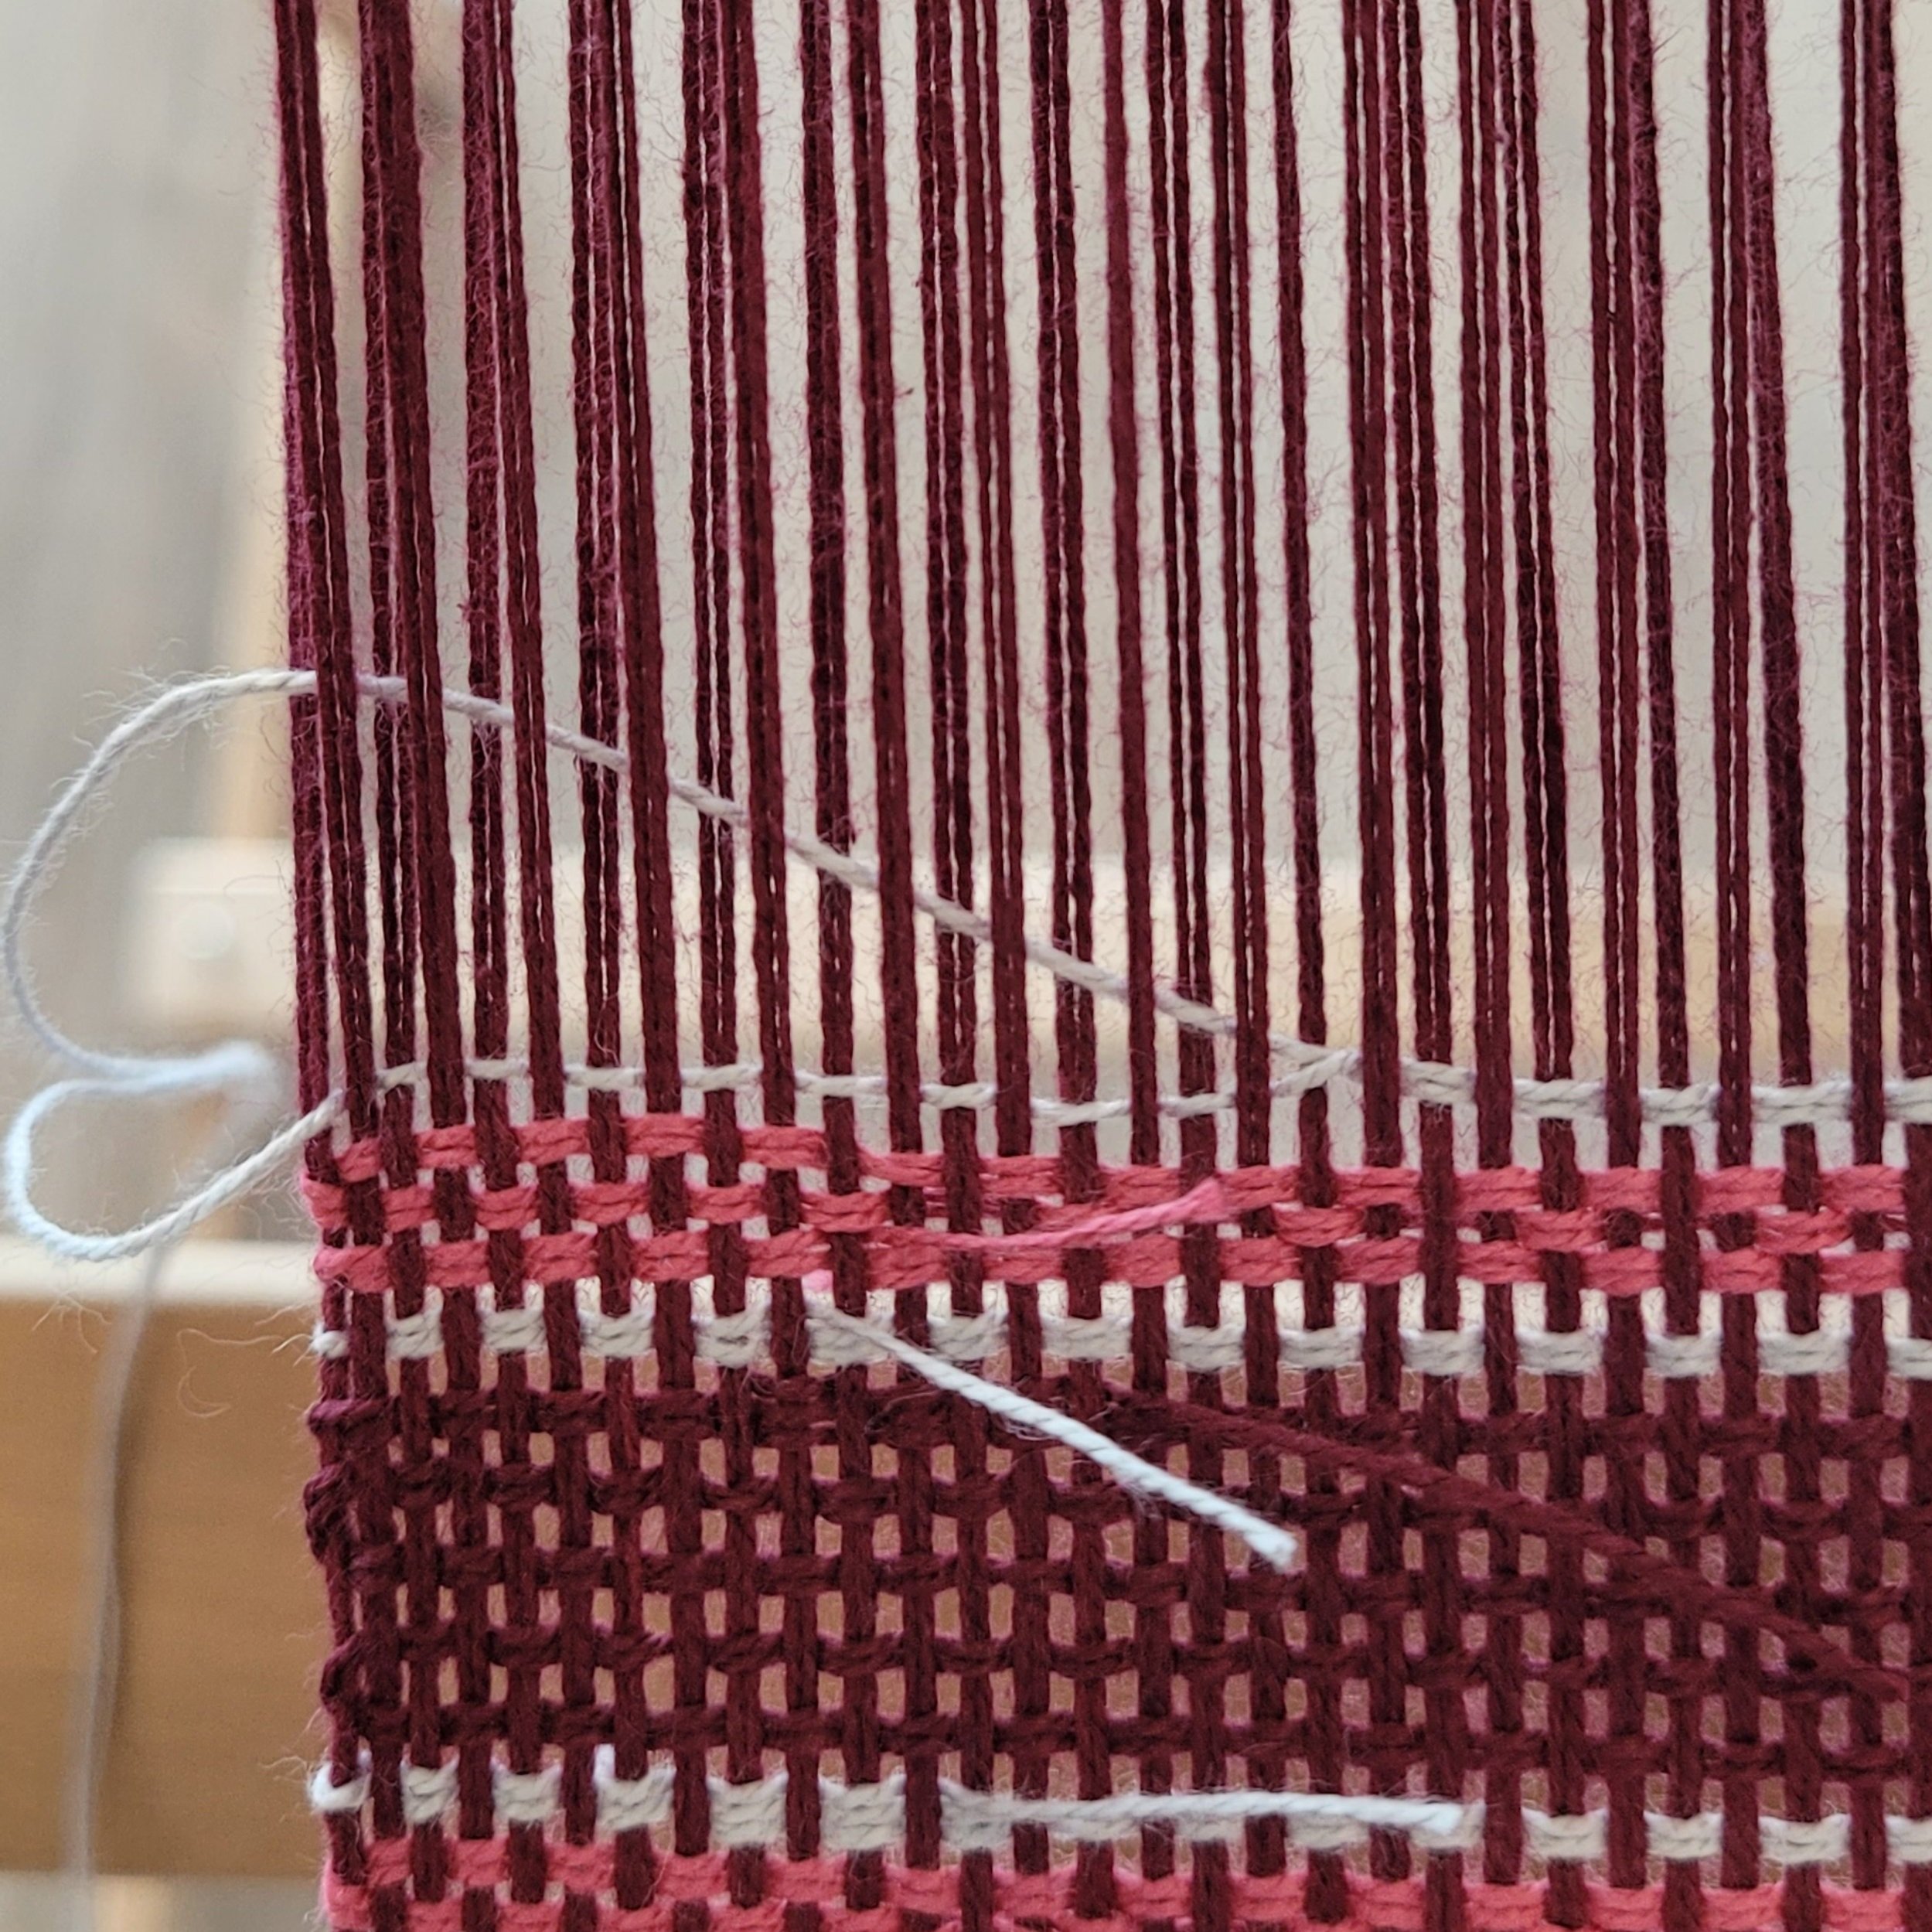
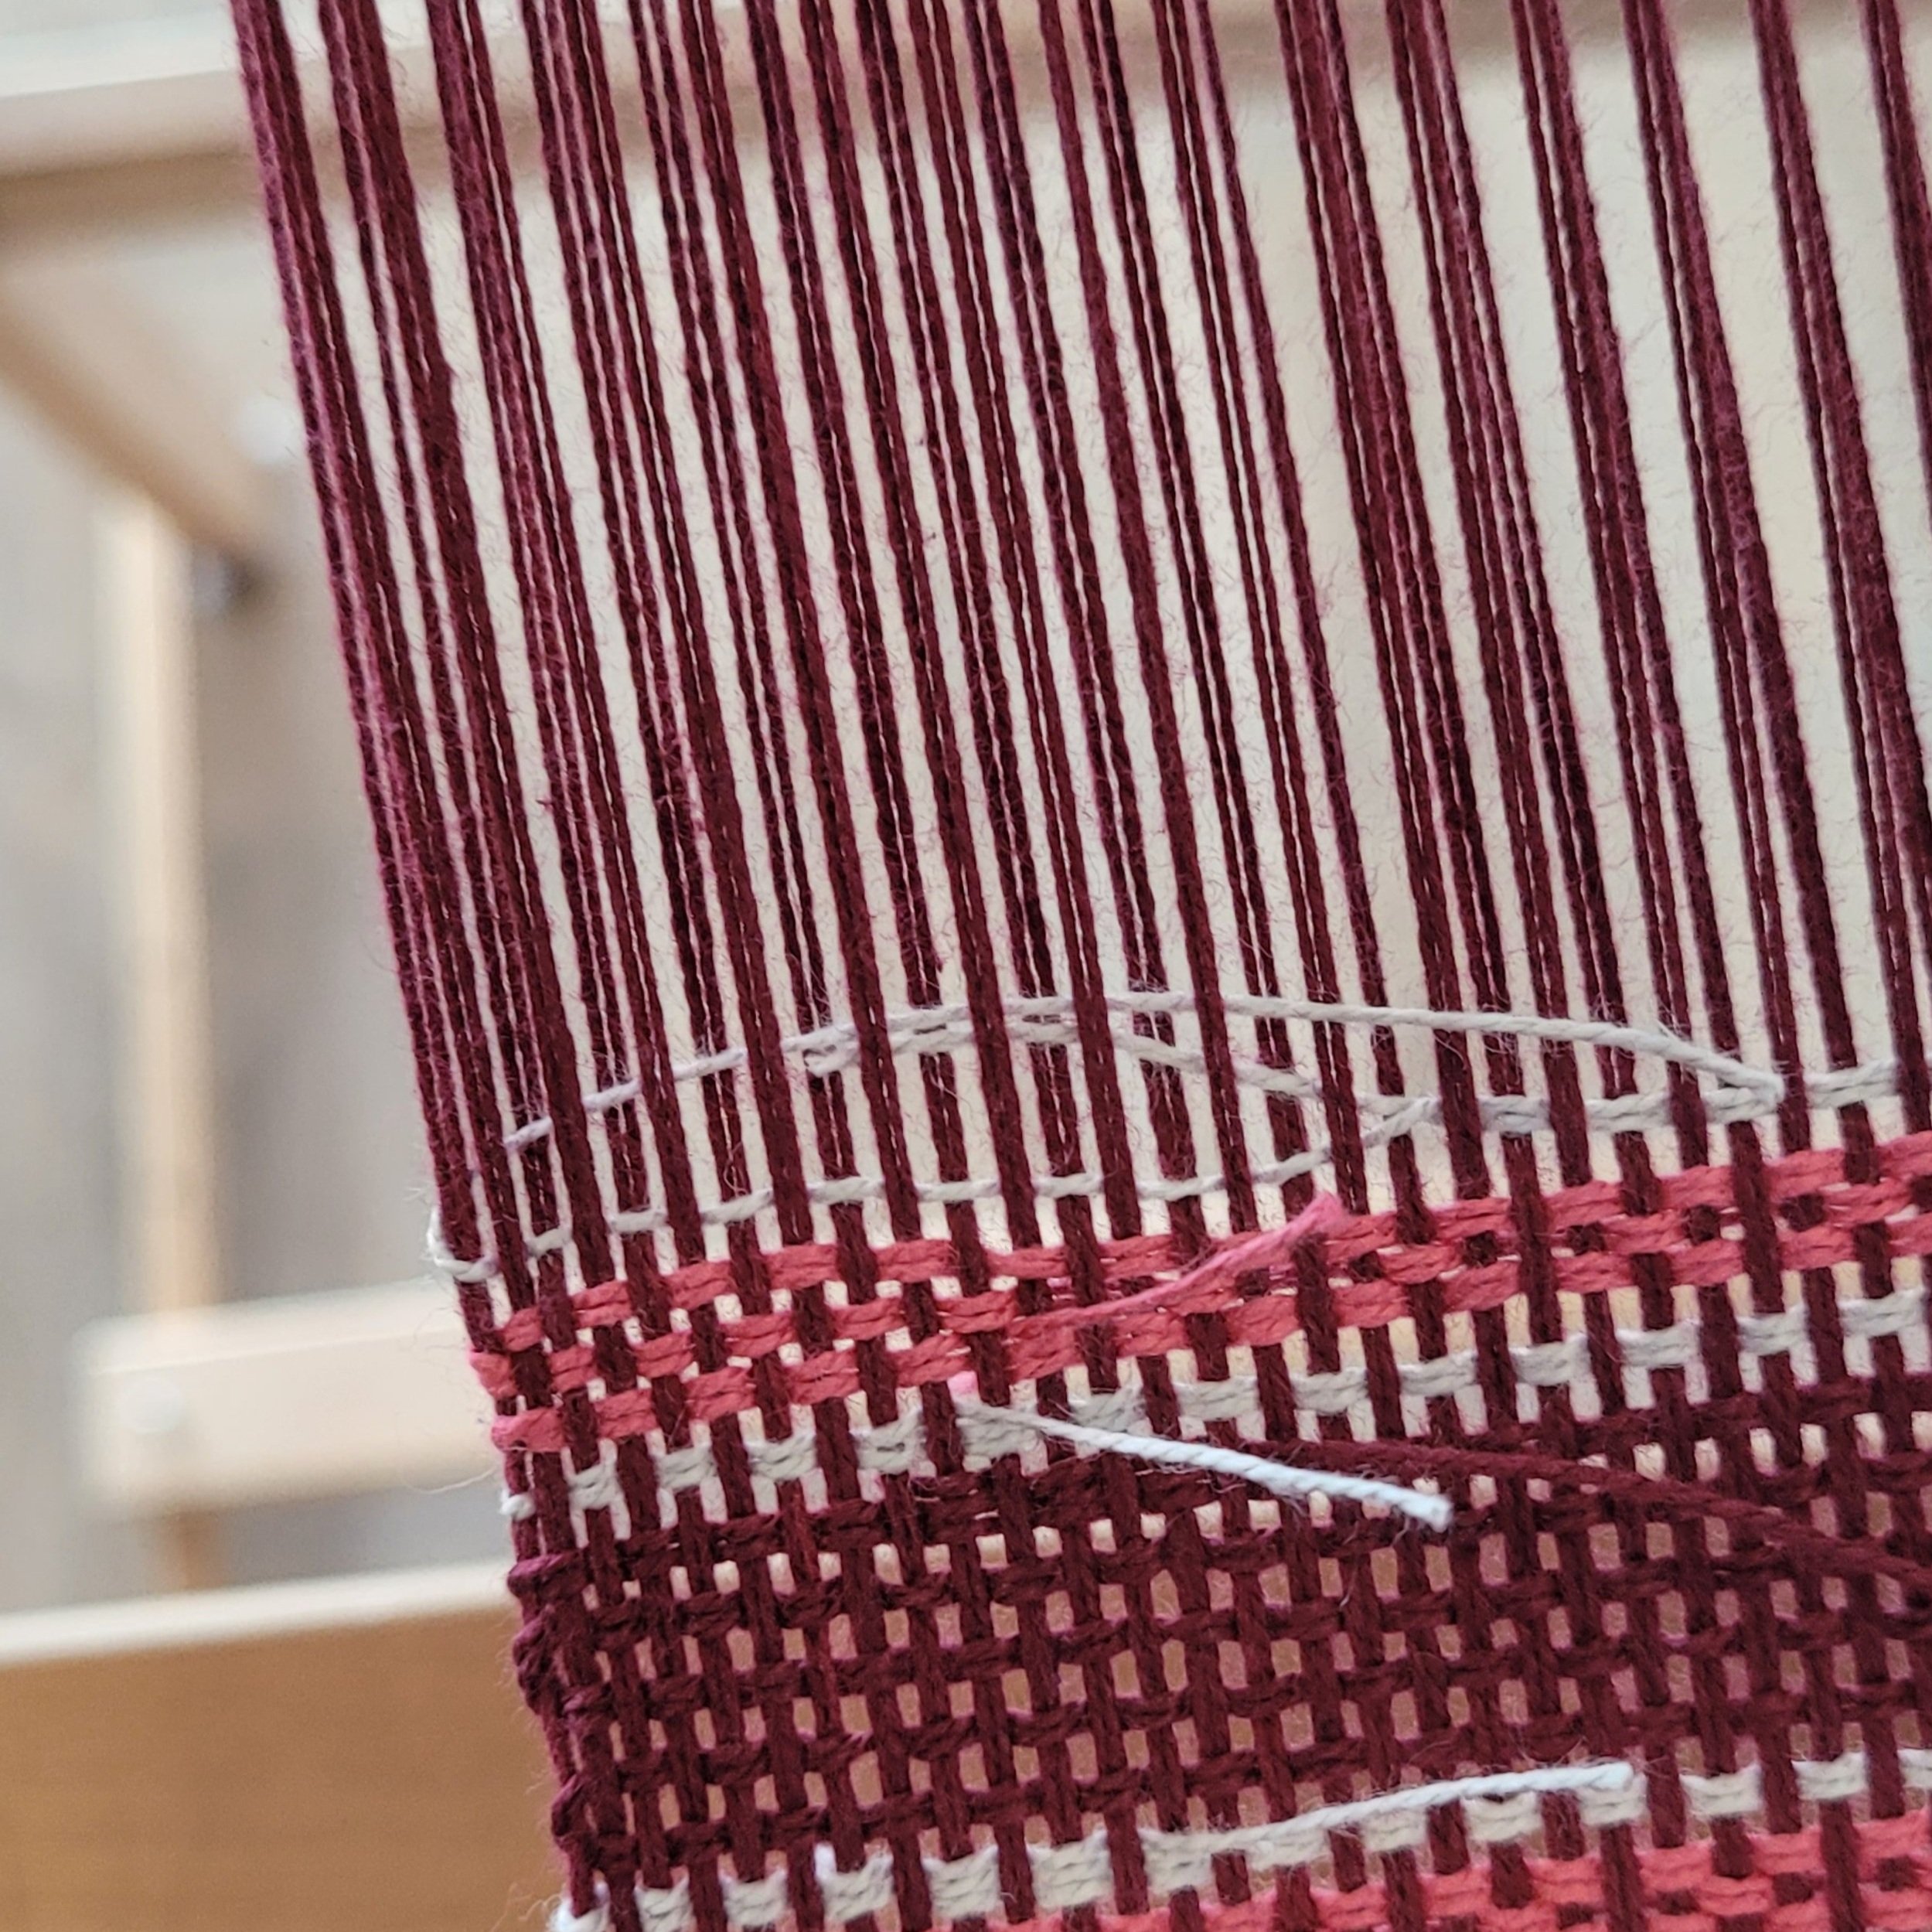
Step 1: Weave the last pick of the colour. After the shuttle leaves the shed, clip the end leaving about a 2” tail.
Step 2: Untwist the fibre in the tail and split the plies in half. (I’ll discuss single ply weft later)
Step 3: Pull half the plies out of the weaving about an inch into the shed
Step 4: Take the remaining pies, wrap them around the last warp end and send them back through the shed overlapping the other ply and a bit past into the full fibre
Step 5: press the weft into place. Do not trim the tails until after the piece has been wet finished.

That’s it! It’s not hard, but it is time consuming, particularly if there are a lot of colour changes. Here’s a video: https://youtu.be/VHmaK8LCKIc
Now, about carrying yarn up the side…if the carried yarn is the same colour as the warp, go for it! IBe sure to catch the resting weft with the working weft. f they are different colours, I’ll only carry up a maximun of 2-3 picks. I find it really shows and I don’t like how it looks. But you do what gives you the result you want!
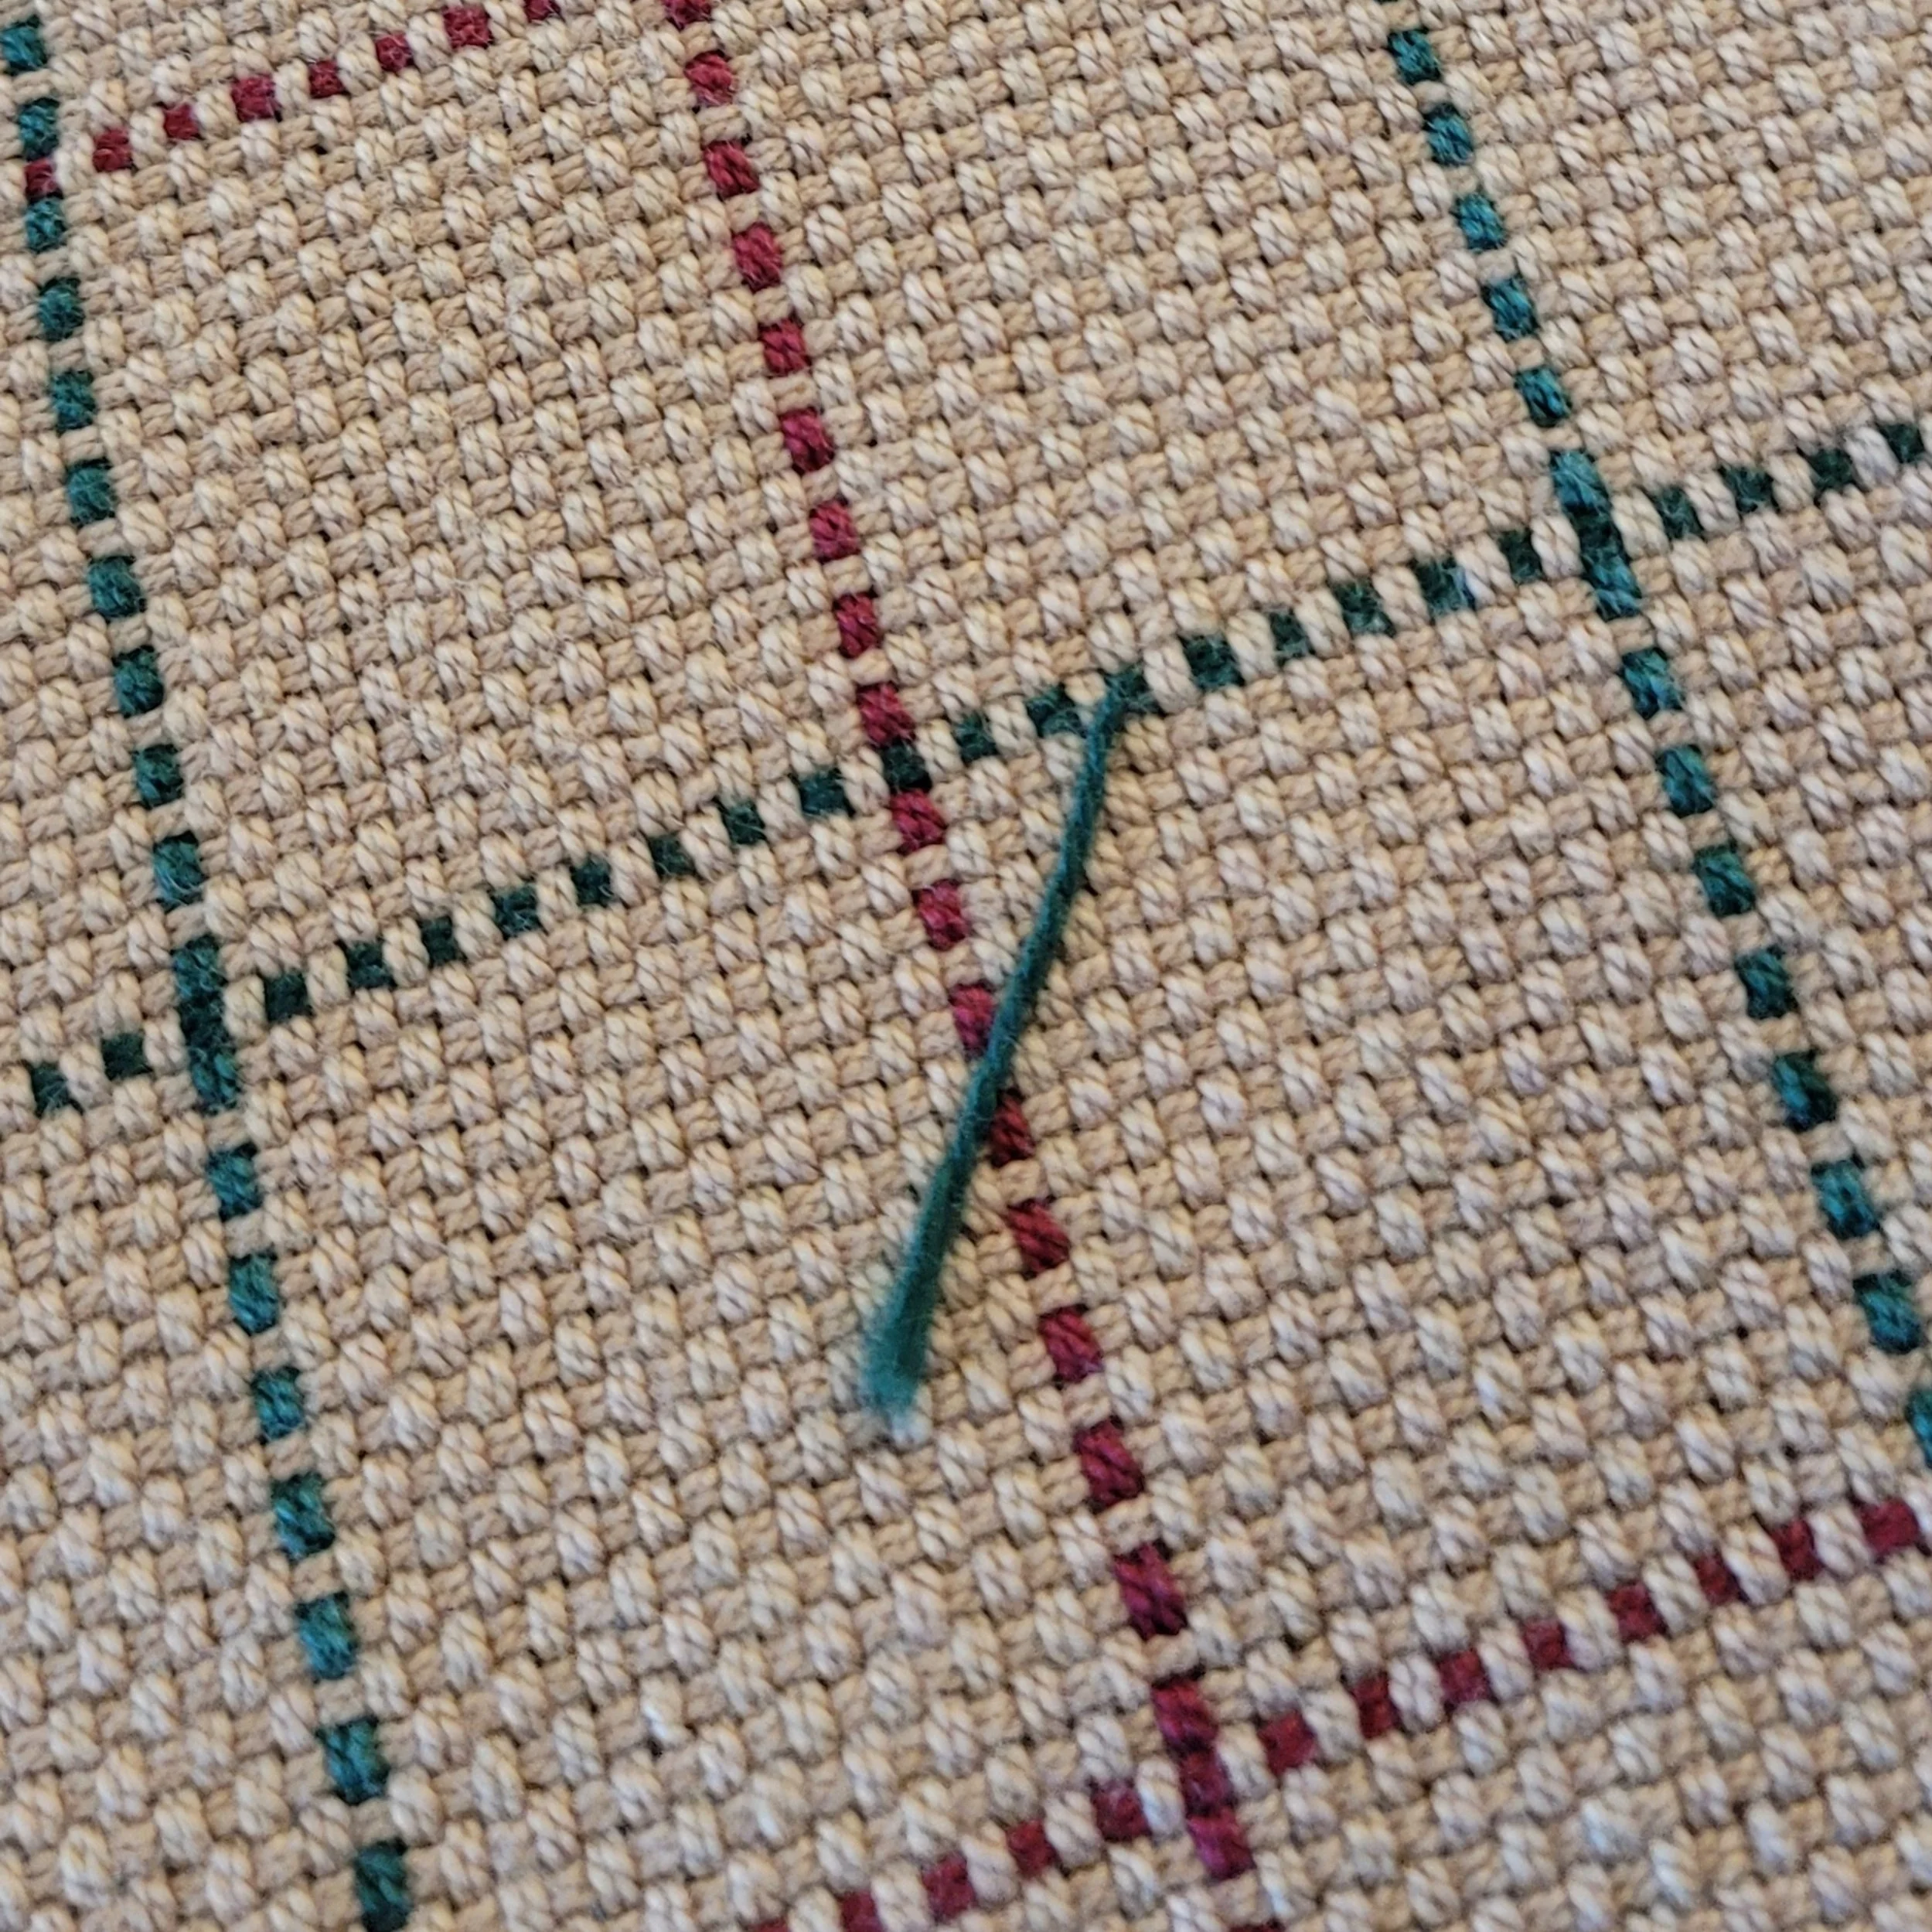
The green shows the overlap of a single pick doubled…its virtually invisible!
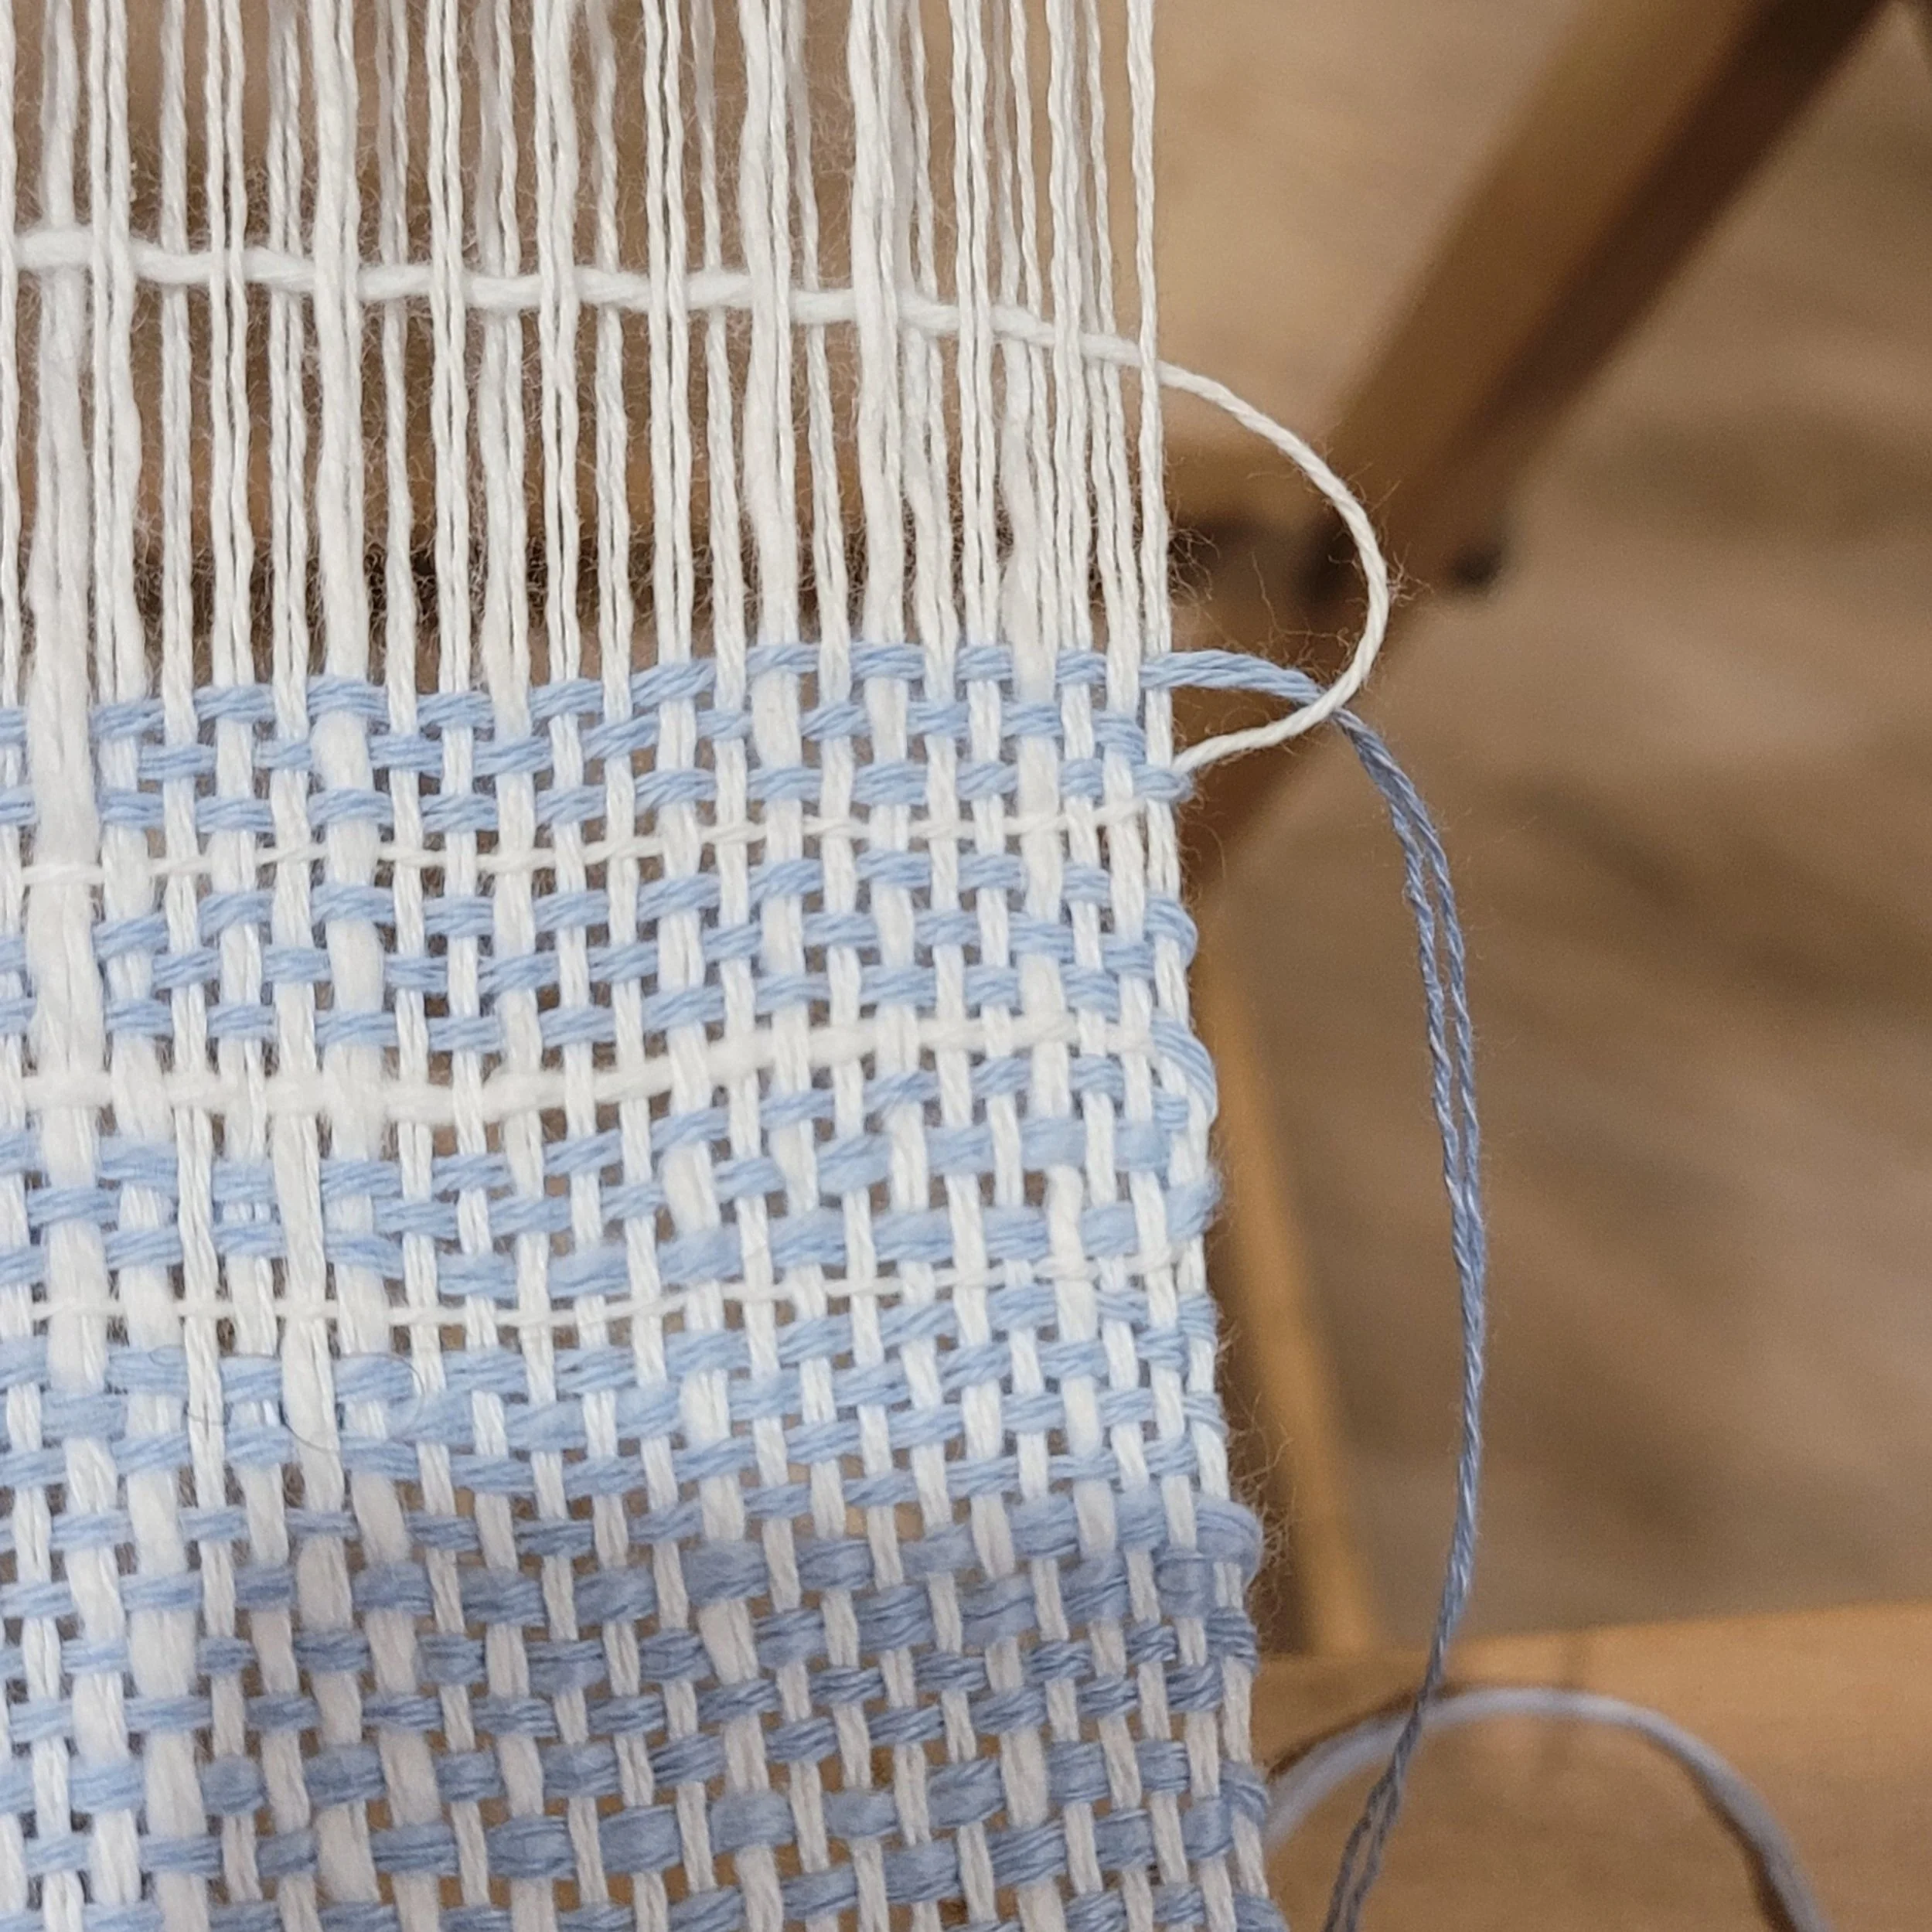
And finally…a single pick of a colour. This is pretty easy if you are using your weft doubled. Have a shuttle with the weft wound single. Send the shuttle through the shed leaving a long tail. Press into place, do not change sheds. Split the plies of the tail. Wrap the tail around the last warp end and send it through the same shed about halfway or so. Wrap the shuttle around the last warp end and send it back through the shed. Bring it out of the shed just before you meet the weft from the other side. Clip leaving a tail long enough to overlap the first tail. Split the plies, and weave it back into the shed overlapping the other end. Press into place. Don’t clip any ends until after wet finishing. That’s it! If there are lots of single picks, I like to stagger when my yarns overlap. Here’s a video: https://youtu.be/9mflcqlshJ0
One final thing, I said we would talk about single ply yarns. If your warp is heavier than the weft, I don’t worry too much about bulk or the change being seen. Simply wrap the weft around the last warp end and weave about an 1” back into the same shed. Press into place. Otherwise, single ply yarns will usually split if you untwist it. Just be careful because it will also want to pull apart.